VP-734 - Configuring the VP-734 via the OSD MENU Screens
7.1 The Input Screen
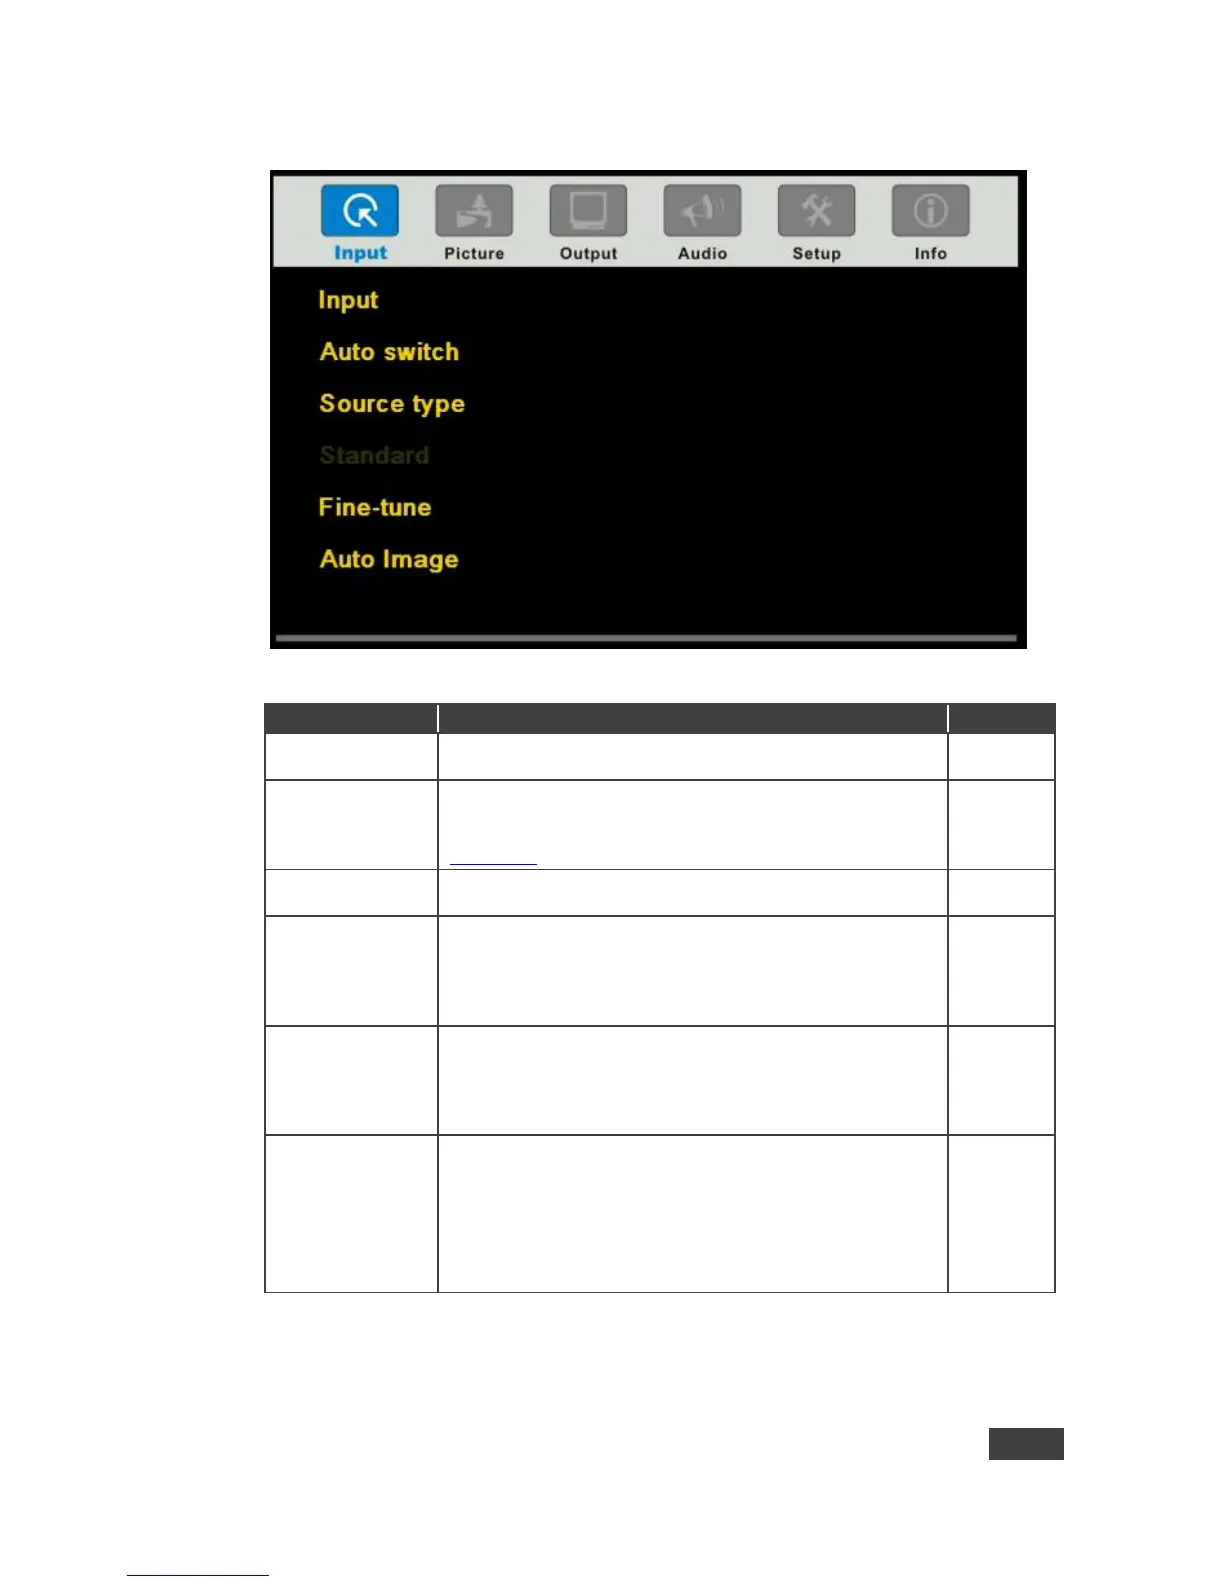
Figure 13: Input Screen
Select the input to switch to the output: UNIV 1, UNIV 2, HDMI
1, HDMI 2, HDMI 3, HDMI 4, DP 1
Set auto switching to Off or On
Set to On to have the system scan for a valid input in
accordance with the Auto-switch priority setup (see
Section 7.5)
Set the source type for each universal input: VGA, Component,
YC or Video
Select the Color Format to Auto/RGB/YUV (for HDMI and DP
inputs)
Select Video Standard to Auto/NTSC/PAL/PAL-M/PAL-
N/NTSC 4.43/SECAM/PAL-60 (for YC and composite video
inputs)
Set the H-Position, V-Position, Frequency and Phase for VGA
inputs only
We recommend that you update the Hpos, Vpos, Frequency
and Phase values (in the Fine-tune OSD menu) only after Auto
Image is complete (if necessary)
Click Execute to activate auto image setup
Assesses the image and improves the quality accordingly, by
automatically adjusting the phase, frequency and position
We recommend that you update the Hpos, Vpos, Frequency
and Phase values (in the Fine-tune OSD menu) only after Auto
Image is complete (if necessary).
Enabled for VGA