Maintenance
98
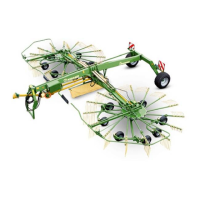
13.9 Replacing the tines (in case of repairs)
6
5
1
2
3
4
SWN1400036_1
8
7
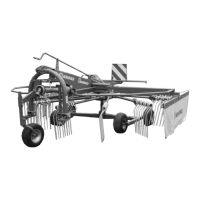
Fig. 59
1) Hex bolt M12 x 90 - 10.9 2) Detent edged washer SKB 12
3) Disc 12.5x35x8 4) Fastening clamp
5) Surface 6) Locknut M12
7) Tines 8) Tine arm
Adhesive (high-strength) (order No. 938 627 0)
• Remove all tines in front of the broken tine to remove the broken tine.
• Remove the broken tine.
Installing New Tine
• Slide fastening clamp onto the tine.
• Slide tine onto the tine arm.
• Guide hex bolt with detent edged washer and washer from below through the fastening
clamp and the tine arm.
• Apply adhesive (high-strength) on the threading overhang of the screw.
• Install support, washer and locknut, raise tine on the tine end and tighten nut with torque (95
Nm).
Proceed as described above with all tines.

 Loading...