After you have connected the AC adapter, plugged the AC adapter into the
nearest outlet and installed the label cartridge, you are ready to make your first
label.
Turning the Printer On
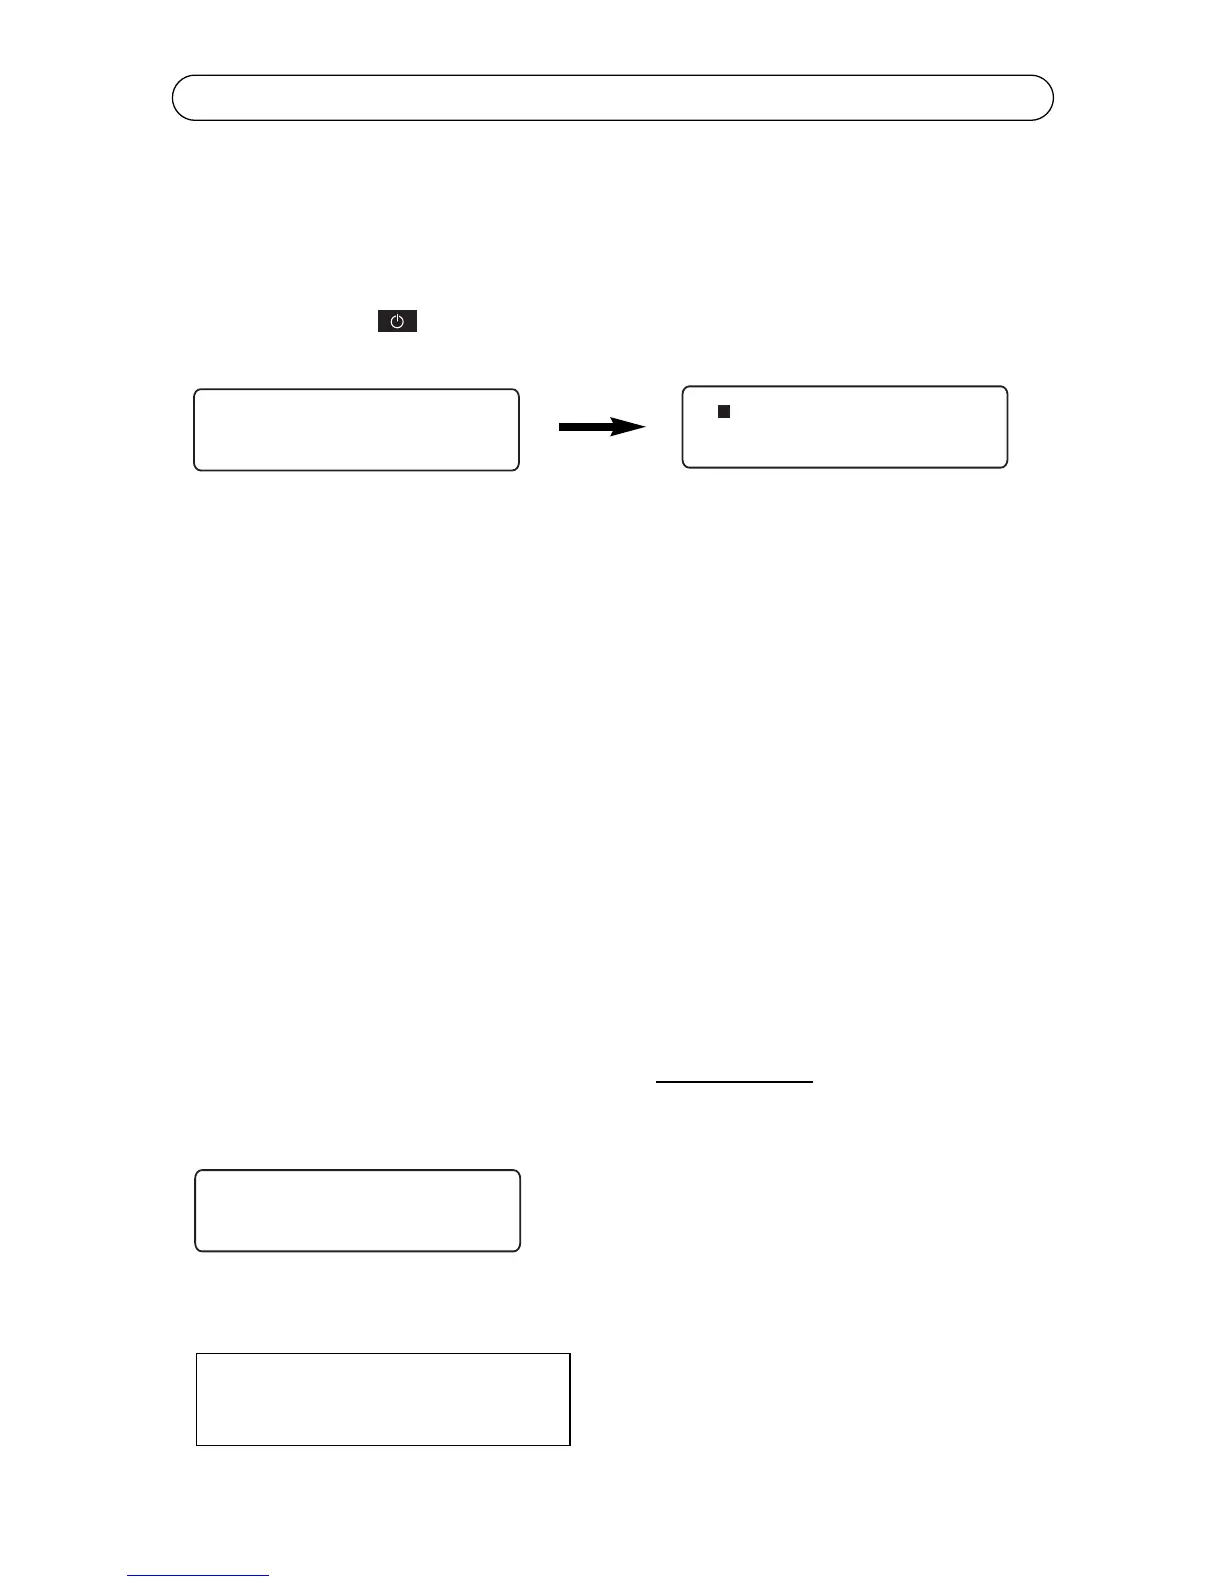
Press the Power key located on the front left corner of the keyboard to turn
the printer on. The following displays will appear:
Cursor Movement
The underline seen above is the cursor. The cursor shows you the current
typing position. Cursor keys move the cursor through text without changing it
and through options without selecting any. The left and right cursor keys move
left and right, one option or one character at a time; the up and down cursor
keys move the cursor up and down through lines of text, one line at a time.
Default Printer Settings
When the power is turned on for the first time, there are pre-programmed
printer settings. One of these is the Auto Size feature. This feature auto sizes
the text of your label to the current cartridge supply and size of media. You can
find this function by pressing the Size key. You can always turn auto sizing off
and type in a designated size, but for our example we will have auto sizing ON.
The default font is “Block”. No other font is installed on your K4100, however,
other fonts of your choice can be downloaded into your K4100. The default
justification is left. For more information on formatting and label setup see
Chapter 3.
In the following examples, we have kept the default settings
ON.
Type in the text “Cable 2E45”
Now that your label is typed, you will press the Print Key and the auto sizing
feature automatically sizes the text for the cartridge you are using.