To make a two line label, press Enter at the end of line 1 and you will see the
cursor go to line 2. Type in the text “Floor 2C” on line 2.
Now that you have two lines typed, press the Print key and the auto sizing
feature automatically sizes the two lines for you.
To add additional lines, perform the same function again.
Editing Text
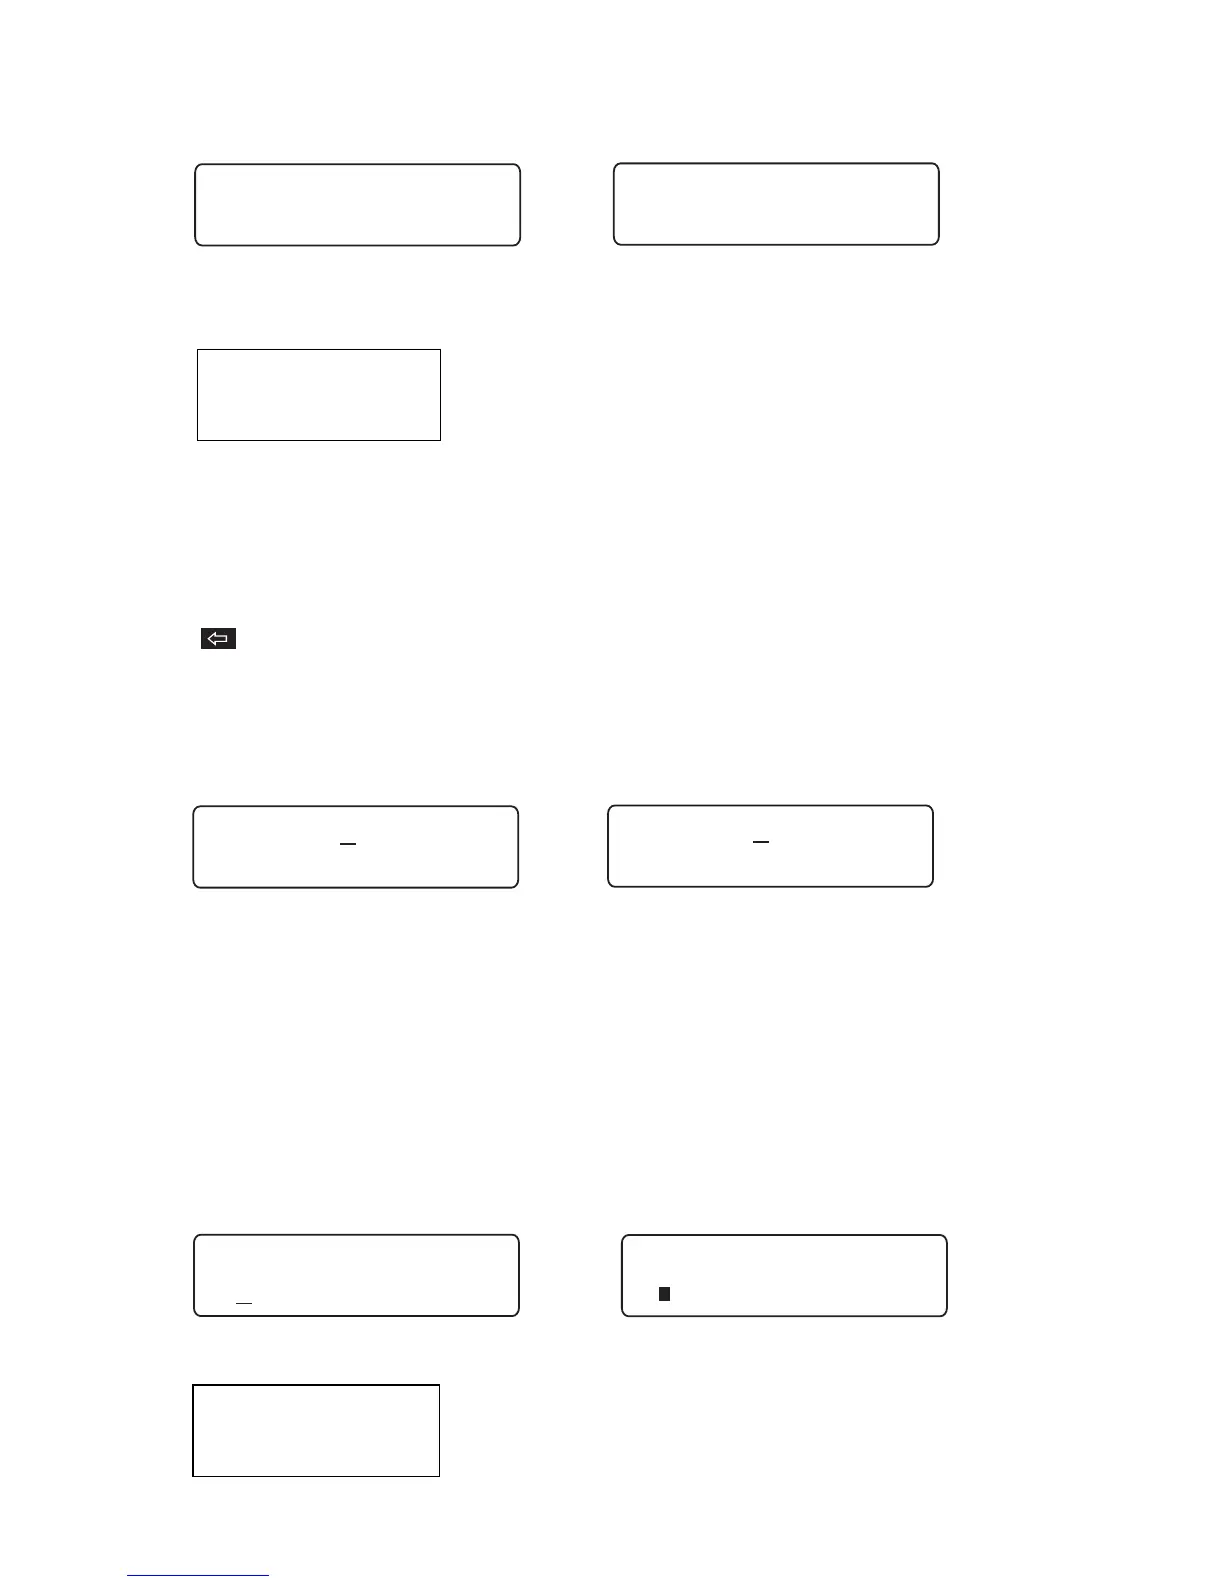
You can correct or change characters by using the left and right cursor keys to
move the cursor to the right of the character to be changed. Use the Delete key
to delete the character and type in the correction. Below we changed the
“E” on line 1 to “F” in our example.
Move the cursor to the right of “E” on line 1, press the Delete key and type in
the letter “F”.
Adding a Character Style
You can change the style of text previously entered by using the left and right
cursor keys to position the cursor to the beginning of your text. Press the Style
key to select your character style of choice. To turn styles on and off use your
Enter key.
In the following example, the cursor is moved to the beginning of the word
“Floor” and Bold was then selected in the Style Menu.
Note: Only text to the
right of the cursor will be changed.
Now that your label has been edited and styled press the Print Key.
Cable 2E45
Floor 2C