Label Setup
To select the Label Setup press the Shift and the Style key together. The
prompt below will appear. The menu options are length, cutmark, left margin
and vertical margin.
In the default setting, the Length of a printed label automatically adjusts to fit
the length of text. If you want to specify the length of a label, the Length func-
tion allows you to set the length between 0.3” and 20”. To turn Auto off, type in
your specific length and press Enter. To exit the length menu without making
any changes press Delete.
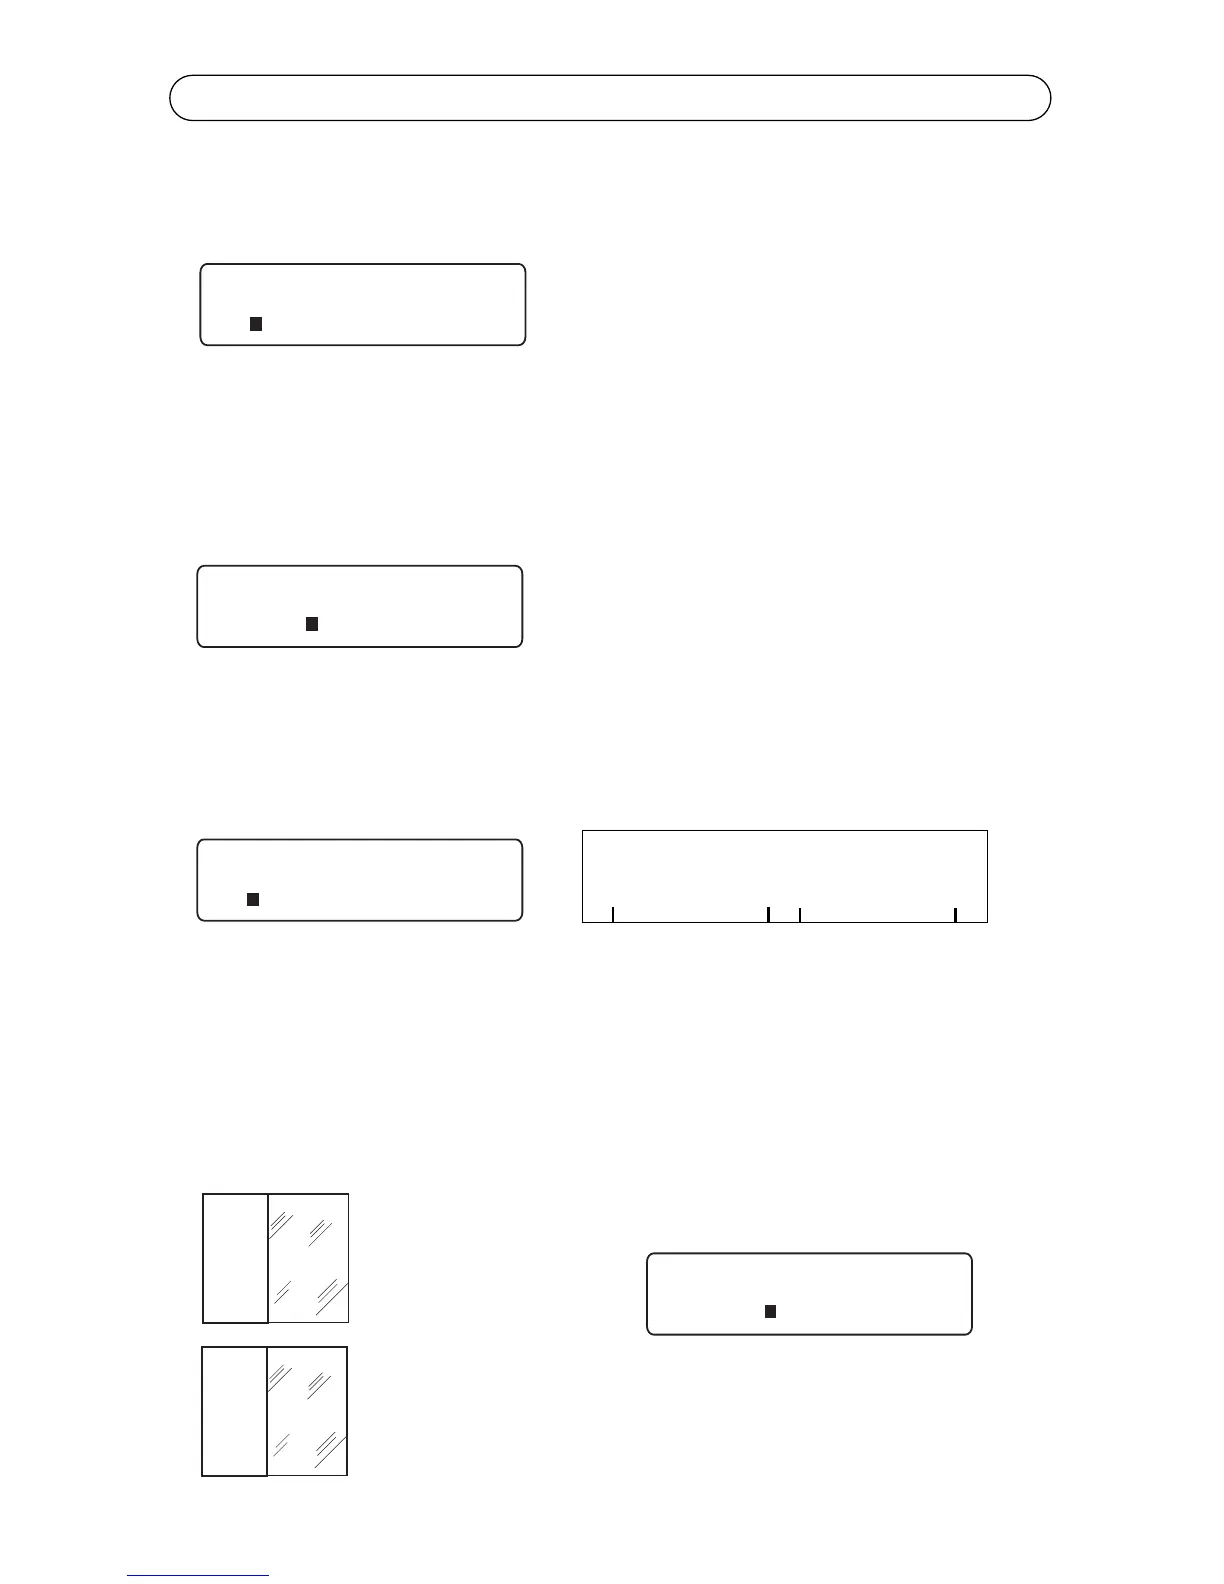
The Cutmark function creates cutmarks along a print job. Use the left and right
cursor keys to move the cursor to the left of Cutmark and press Enter. When
turned on, an asterisk will appear. To turn Cutmark off press Enter again or to
exit the menu without making any changes press Delete.
The Left margin function allows you to increase the size of your left margin by
moving text from the left to the right of your label. The amount is measured in
pixels. Use the left and right cursor keys to move the cursor to the left of
Leftmargin and press Enter. A prompt will appear. Use the right and left cursor
keys to select an increment up to 30 pixels. Press Enter to select the increment
of choice. See the example below.
This function is used with die cut labels and self-laminating wire wraps only.
The text seen here
has printed right
to the edge.
The text is now adjusted.