33
ENGLISH
4. Start-up
t 5IFDPGGFFNBDIJOFNVTUCFTUBSUFECZRVBMJmFEUFDIOJDBMQFSTPOOFMBQQSPWFECZ-B
4BO.BSDP
t 0ODFUIFFMFDUSJDBOEIZESBVMJDDPOOFDUJPOTBSFDPNQMFUFEUIFVTFSJTVSHFEUPTUBSU
UIFFTQSFTTPDPGGFFNBDIJOFXJUIUIFGPMMPXJOHQSPDFEVSFJOPSEFSUPBWPJEEBNBHJOH
the appliance.
4.1 Charging the water in the boiler
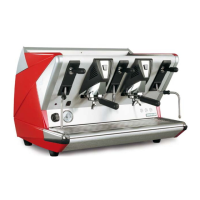
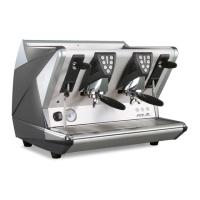
1) Check that the machine main switch 1 (gure 1) is in position 0 (zero).
2) Remove the tray and the cup support grill and make sure that:
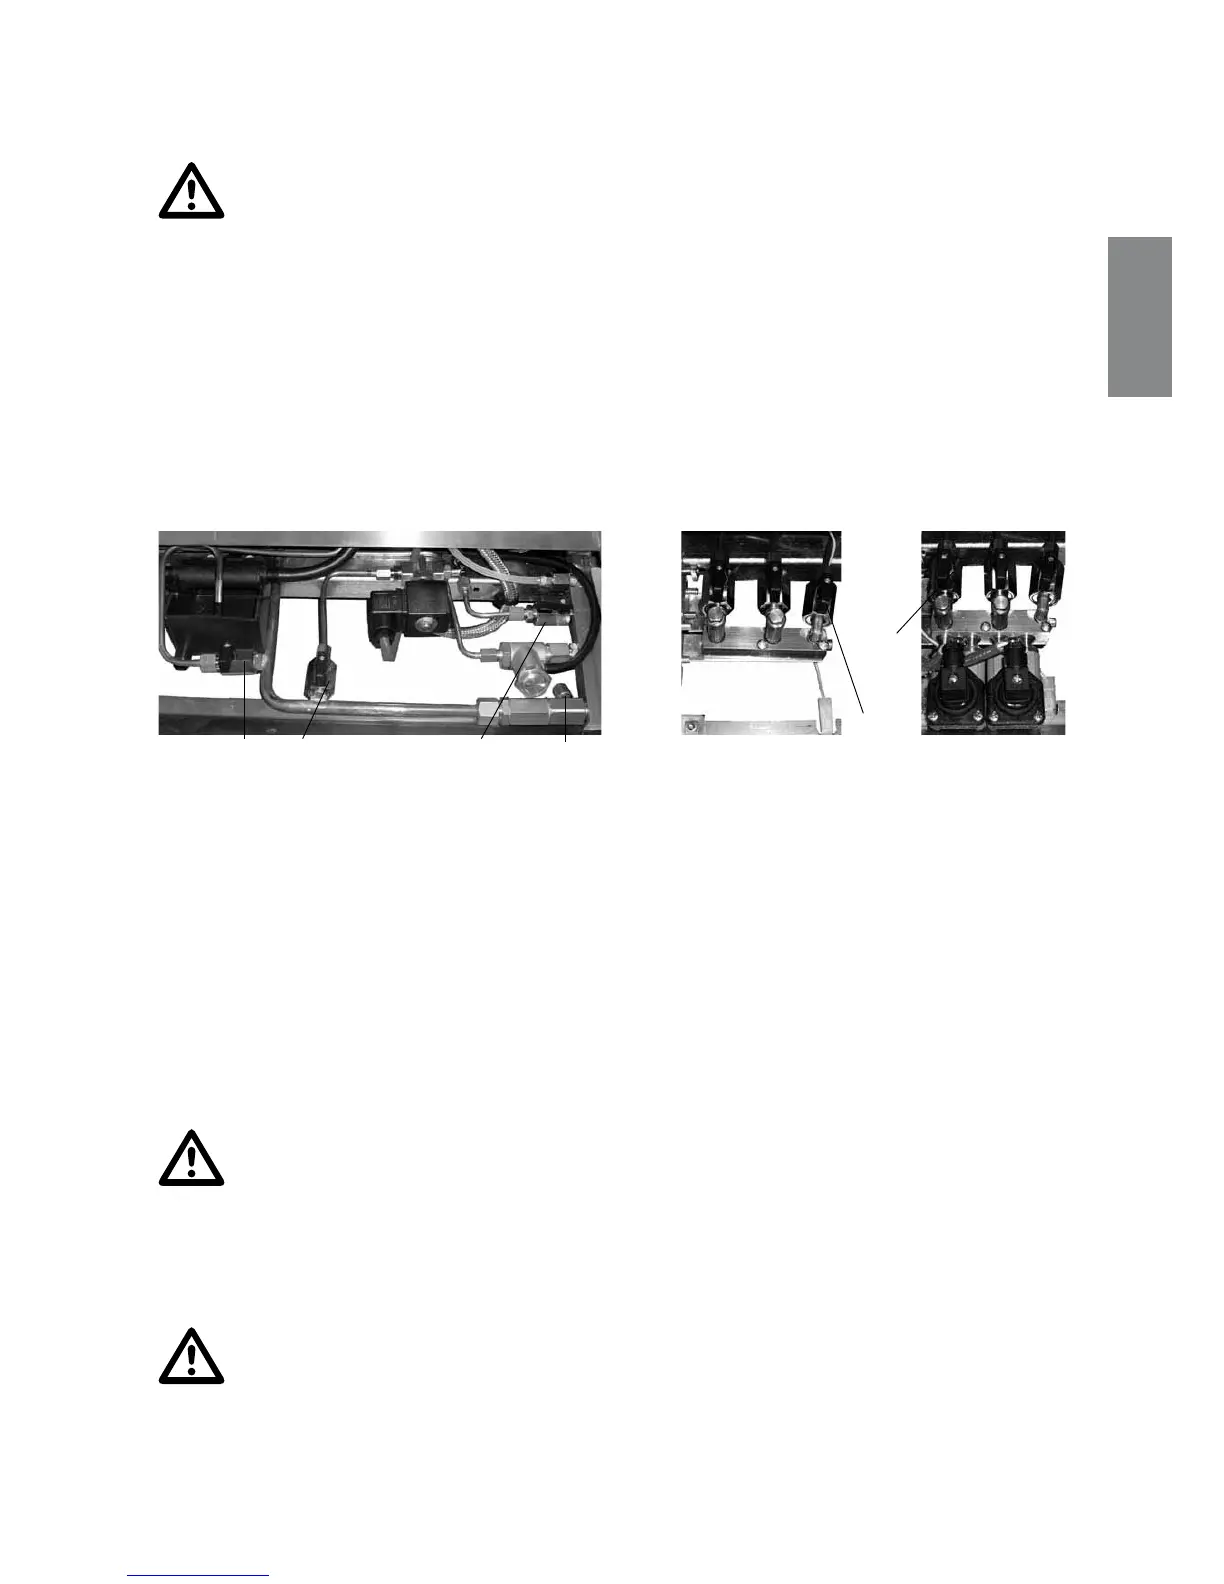
a) The boiler drain valve a is closed (gure 8).
b) The taps of the automatic level valve b-c must be open (gure 8).
c) MODELS 100 S: The taps for the cold water dispensers d must be open (gure 9).
d) MODELS 100 E: The taps for the volumetric counters e must be open (gure 10).
Figure 8 Figure 9 Figure 10
3) Open the water supply on-off valve.
4) Open a steaming tap 6 (gure 1) to allow the exit of the air in the boiler lling phase.
5) Reinstall the tray and cup support grill in its place.
6) Turn the knob of the main switch to position 1 so as to carry out automatic lling of the boiler with water.
In models100 Practical, when water reaches the level probe, lling stops and the green “MAX” LED of the
electronic level control comes on. In other models of the 100 series, when water reaches the level probe,
lling stops and the blue “OK” LED of the electronic level control comes on.
/PUF
XIFOUIFCPJMFSJTmMMFEXJUIXBUFSJUNBZUBLFMPOHFSUIBOTFDPOETBGUFSXIJDIUIFBVUPNBUJDMFWFMBMBSN
USJQTTFFUIFDIBQUFSPOEJTQMBZPGBMBSNT*GUIJTIBQQFOTUVSOUIFNBJOTXJUDIUP0[FSPBOEUIFOCBDLUP
15IFOQFSGPSNBVUPNBUJDmMMJOHPGUIFCPJMFSBHBJOBTEFTDSJCFEJOQPJOU6
5PLFFQUIFBVUPNBUJDMFWFMBMBSNGSPNPDDVSSJOHKVTUTQFFEVQBVUPNBUJDmMMJOHPGUIFCPJMFSVTJOHUIFNBOVBM
mMMJOHCVUUPOfmHVSF
5IFNBJOTXJUDIDBOCFUVSOFEUPUXPQPTJUJPOT1 and 21PTJUJPO1 starts the electronic automatic
MFWFMGVODUJPOUPmMMUIFCPJMFSBOEFYDMVEFTUIFPQFSBUJPOPGUIFIFBUJOHFMFNFOUT1PTJUJPOTUBSUT
UIFIFBUJOHFMFNFOUTUPIFBUUIFXBUFS/FWFSTUBSUUIFDPGGFFNBDIJOFCZUVSOJOHUIFNBJOTXJUDI
to position 2JOPSEFSUPXPSLUIFIFBUJOHFMFNFOUTNVTUBMXBZTCFJNNFSTFEJOUIFXBUFS
5. Adjustments
"OZBEKVTUNFOUTUPUIFDPGGFFNBDIJOFNVTUCFDBSSJFEPVUCZRVBMJmFEBOEBVUIPSJ[FETUBGGGSPN
-"4"/."3$041"
a
b
d
e
f
c