EasyManuals Logo
Home>Labconco>Laboratory Equipment>Protector Echo 180 Series

Labconco Protector Echo 180 Series User Manual

Labconco Protector Echo 180 Series
193 pages
To Next Page IconTo Next Page
To Previous Page IconTo Previous Page
Page #105 background imageLoading...
Page #105 background image
Chapter 6: Maintaining the Protector Filtered Hood
Product Service 1-800-522-7658
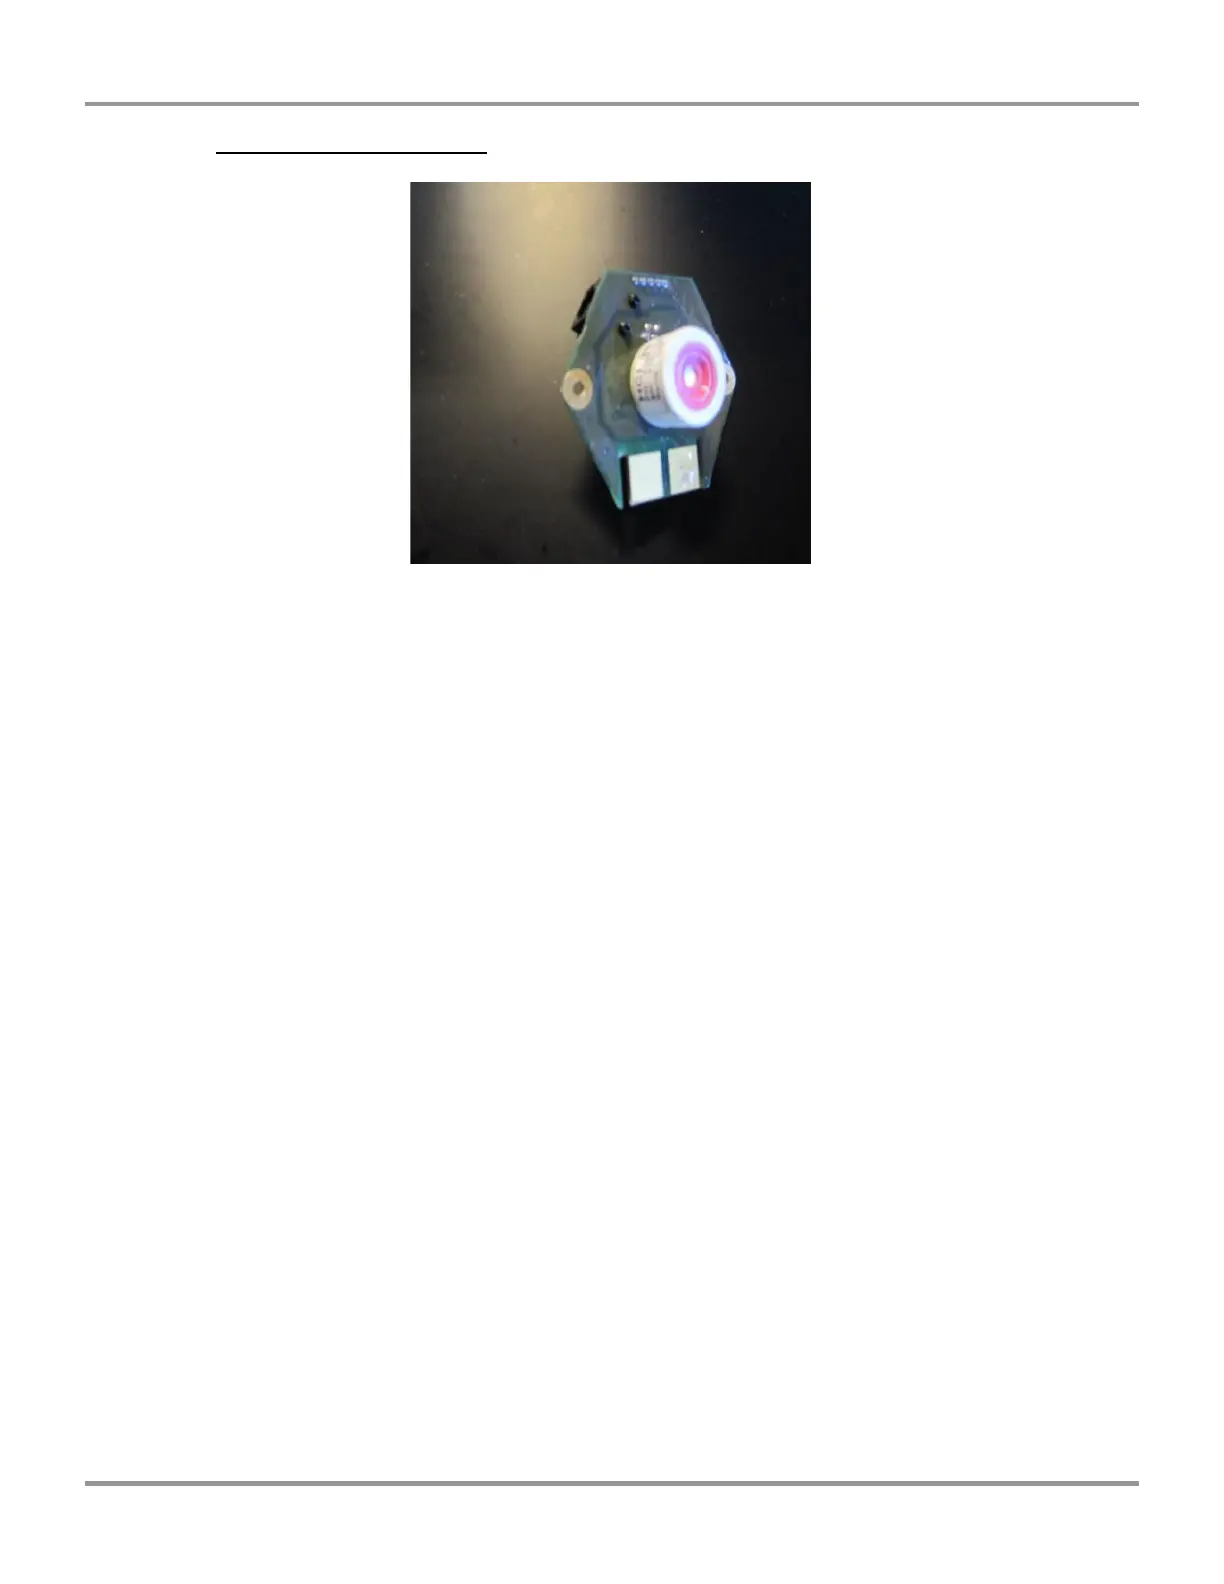
100
Original instructions
Step 9 Install new sensor
To install a new sensor, line up the holes from the board to the controller housing
and make a few turns with your Torx driver or Phillips screwdriver.
Now that you have the screws partially tightened, hold the board firmly down to
the housing with one hand and use the other to tighten the screws the rest of the
way.
Now that the board is in place locate the RJ9 connector that you removed earlier
and insert it into the board.
You should now have the board securely in place and the RJ9 connector plugged
into the board.

Table of Contents

Questions and Answers:

Question and Answer IconNeed help?

Do you have a question about the Labconco Protector Echo 180 Series and is the answer not in the manual?

Labconco Protector Echo 180 Series Specifications

General IconGeneral
BrandLabconco
ModelProtector Echo 180 Series
CategoryLaboratory Equipment
LanguageEnglish

Related product manuals