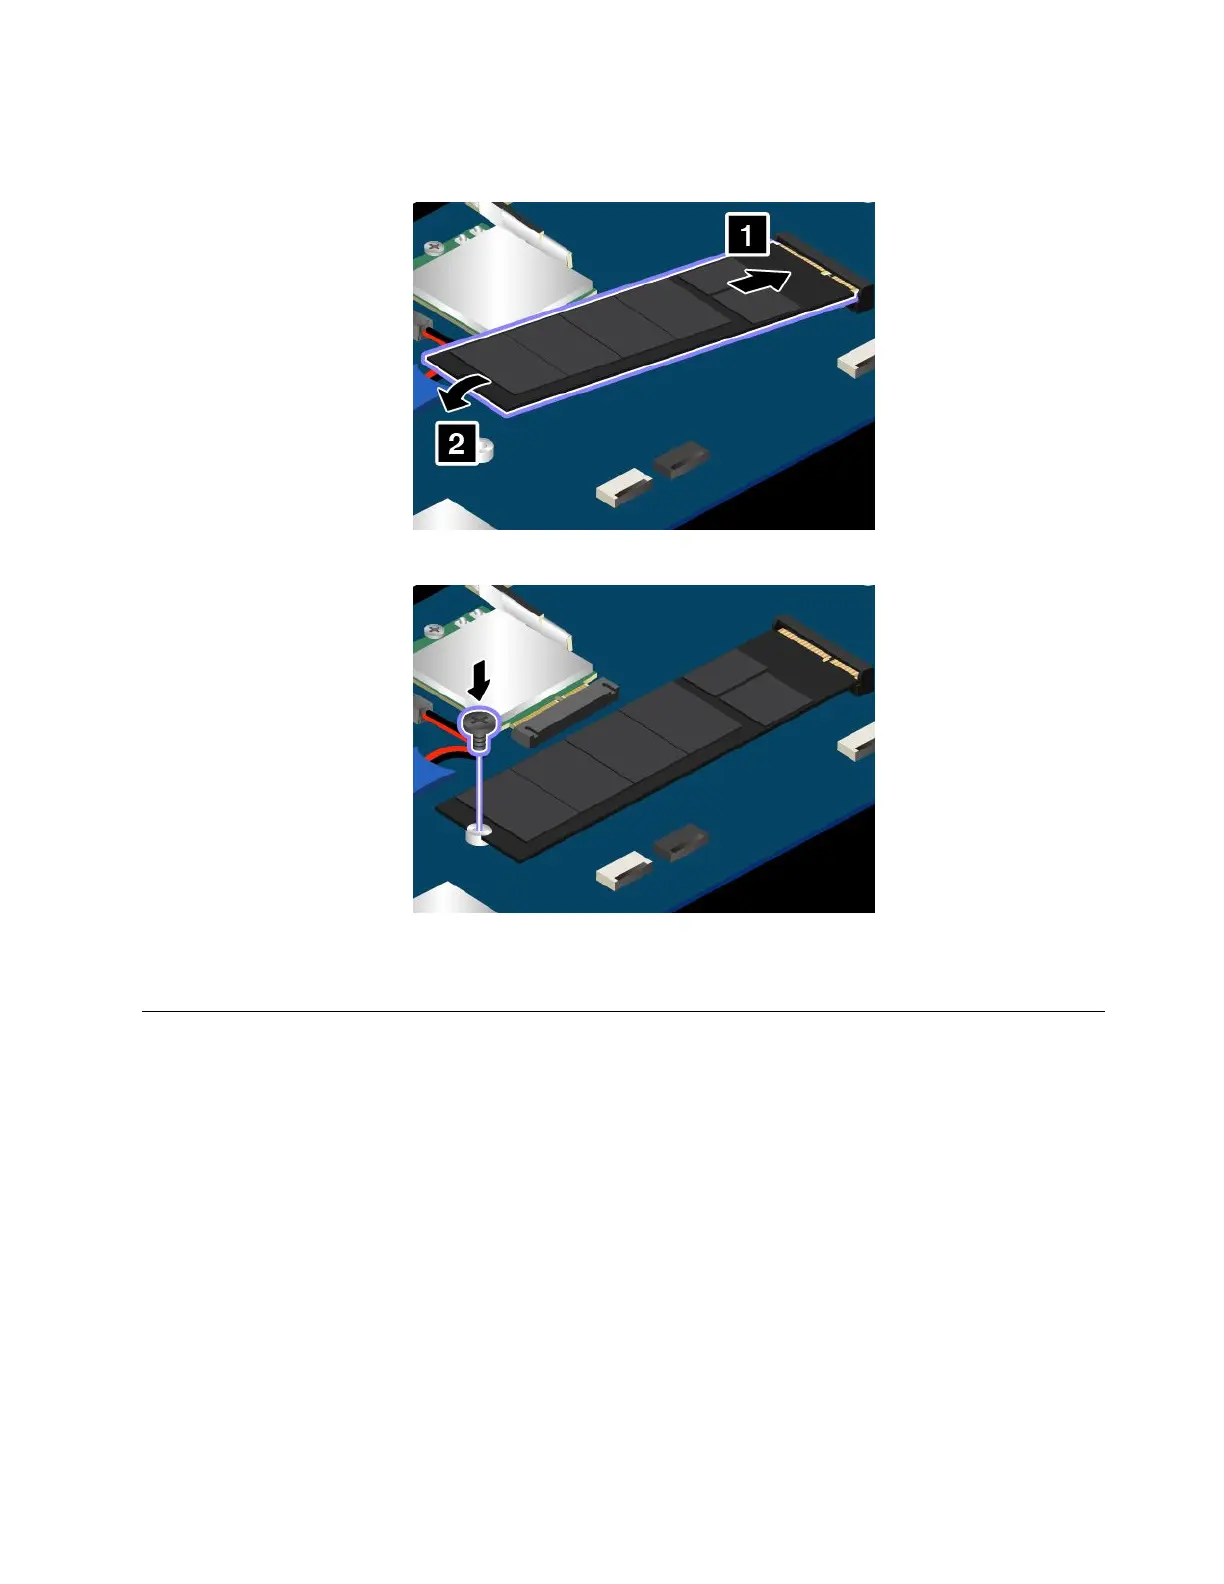
downwarduntilitsnapsintoplace.EnsurethattheM.2solid-statedriveisfirmlyinstalledintheslot
andcannotbemovedeasily.
8.InstallthescrewtosecuretheM.2solid-statedrive.
9.Reinstallthebasecoverassembly.See“Replacingthebasecoverassembly”onpage102.
10.Turnthecomputeroveragain.Connecttheacpoweradapterandallcablestothecomputer.
Replacingamemorymodule
Beforeyoustart,printtheseinstructions.Readtheimportantsafetyinformationfirst.See“Important
safetyinformation”onpagevi.
Increasingmemorycapacityisaneffectivewaytomakeprogramsrunfaster.Youcanincreasememory
capacitybyreplacingoraddingamemorymodule.
Note:Theoperatingspeedofthememorymodulehasdependencyonthesystemconfiguration.Insome
conditions,thememorymoduleinyourcomputermightnotbeabletooperateatthemaximumspeed.
Attention:Beforeyoustartinstallingamemorymodule,touchametaltableoragroundedmetalobject.This
actionreducesanystaticelectricityfromyourbody.Staticelectricitycoulddamagethememorymodule.
Toreplaceamemorymodule,dothefollowing:
1.Turnoffyourcomputeranddisconnecttheacpoweradapterandallcablesfromthecomputer.
2.Disablethebuilt-inbattery.See“Disablingthebuilt-inbattery”onpage101.
Chapter10.Replacingdevices111