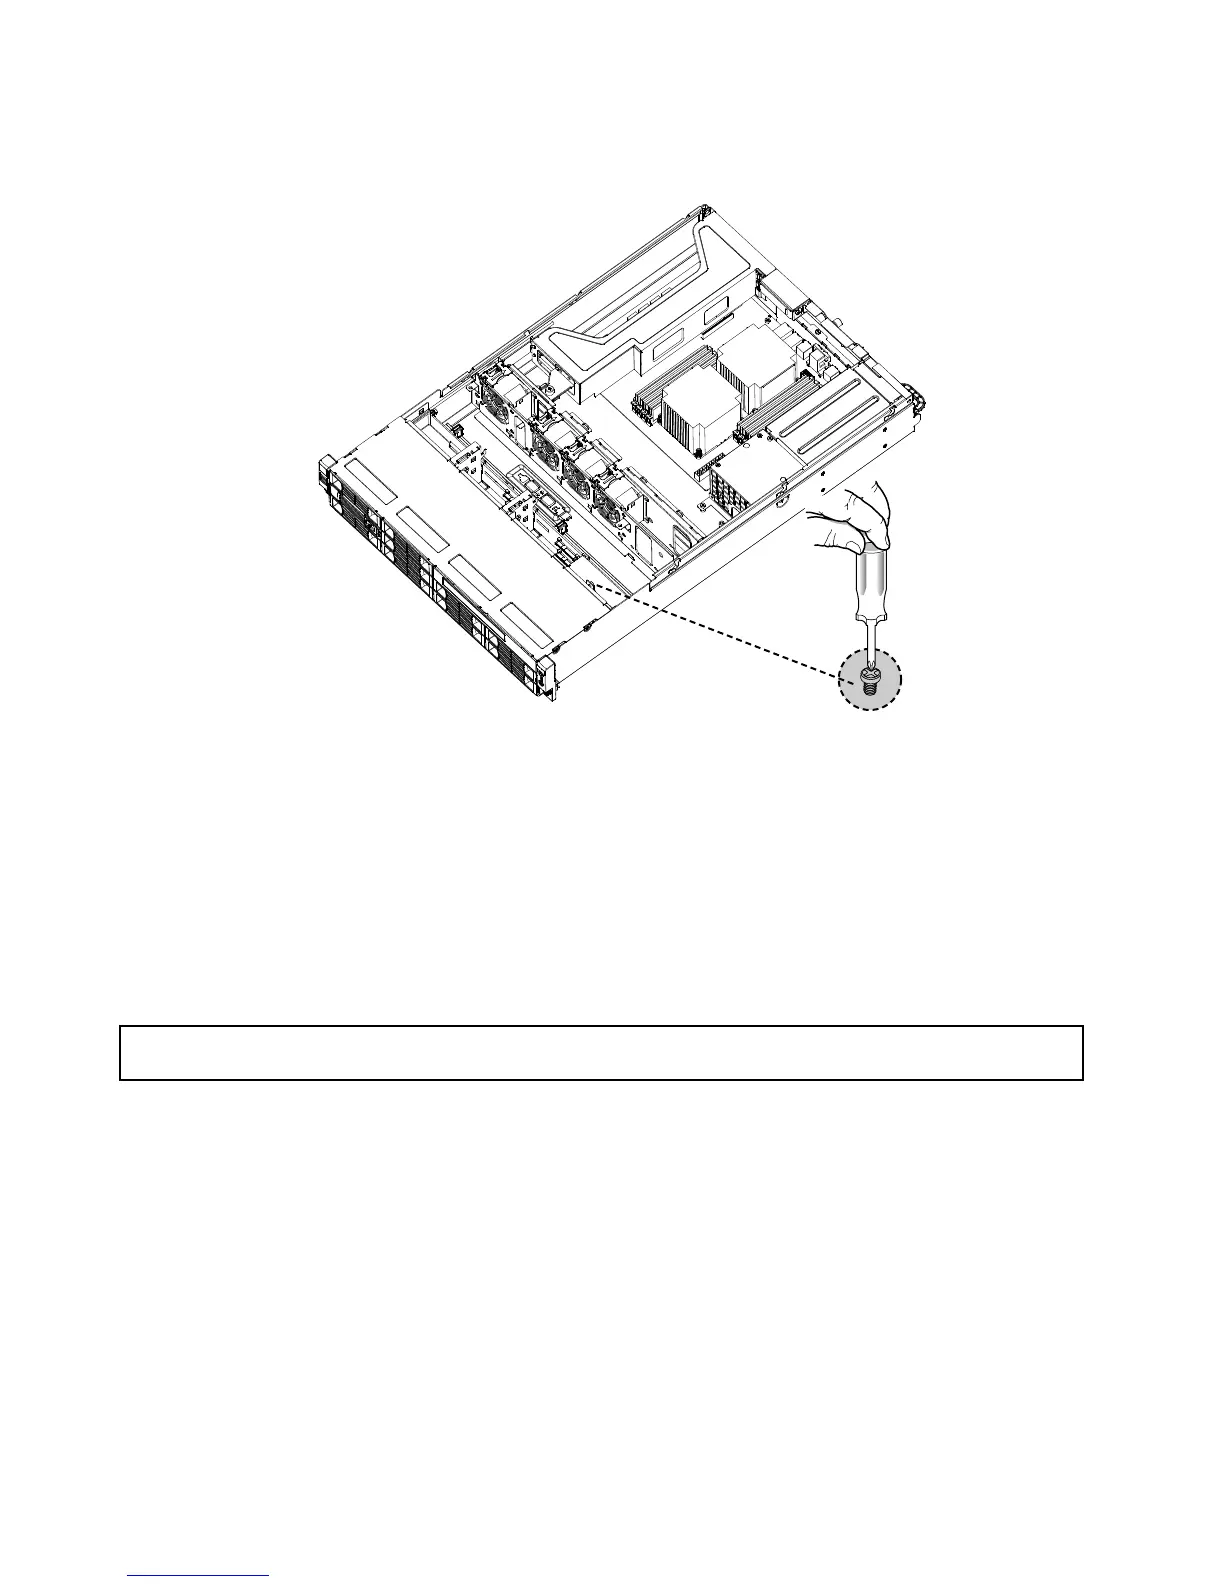
13.Installtheretainingscrewtotherearofthecagetosecuretheopticaldrivecageinplace.
Figure23.Installingtheopticaldrivecageretainingscrew
14.Connectthepowercable(P8)andthesignalcable(SATAcable)totherearoftheopticaldrive.
15.Reinstallthedriveaccesspanelandsecureitinplacebythefourscrews(oneoneachsideandtwo
onthetopoftheopticaldrive)thatyouhaveremovedinstep4.
Whattodonext:
•Toworkwithanotherpieceofhardware,gototheappropriatesection.
•Tocompletetheinstallation,goto“Completingthepartsreplacement”onpage68
.
Removingahot-swapharddiskdrive
Attention:Donotopenyourserverorattemptanyrepairbeforereadingandunderstandingthe“Safetyinformation”
onpageiii
and“Guidelines”onpage17.
Thissectionprovidesinstructionsonhowtoremoveahot-swapharddiskdrive.Thissectionappliesonlyto
servermodelsthathavehot-swapharddiskdrivesinstalled.
Attention:Tomaintainpropersystemcooling,donotoperatetheserverformorethan10minuteswithout
eitheradriveorallerpanelinstalledineachdrivebay.
Toremoveahot-swapharddiskdrive,dothefollowing:
Note:Youdonothavetoturnofftheserverwhenremovingahot-swapharddiskdrive.
32ThinkServerInstallationandUserGuide
 Loading...


