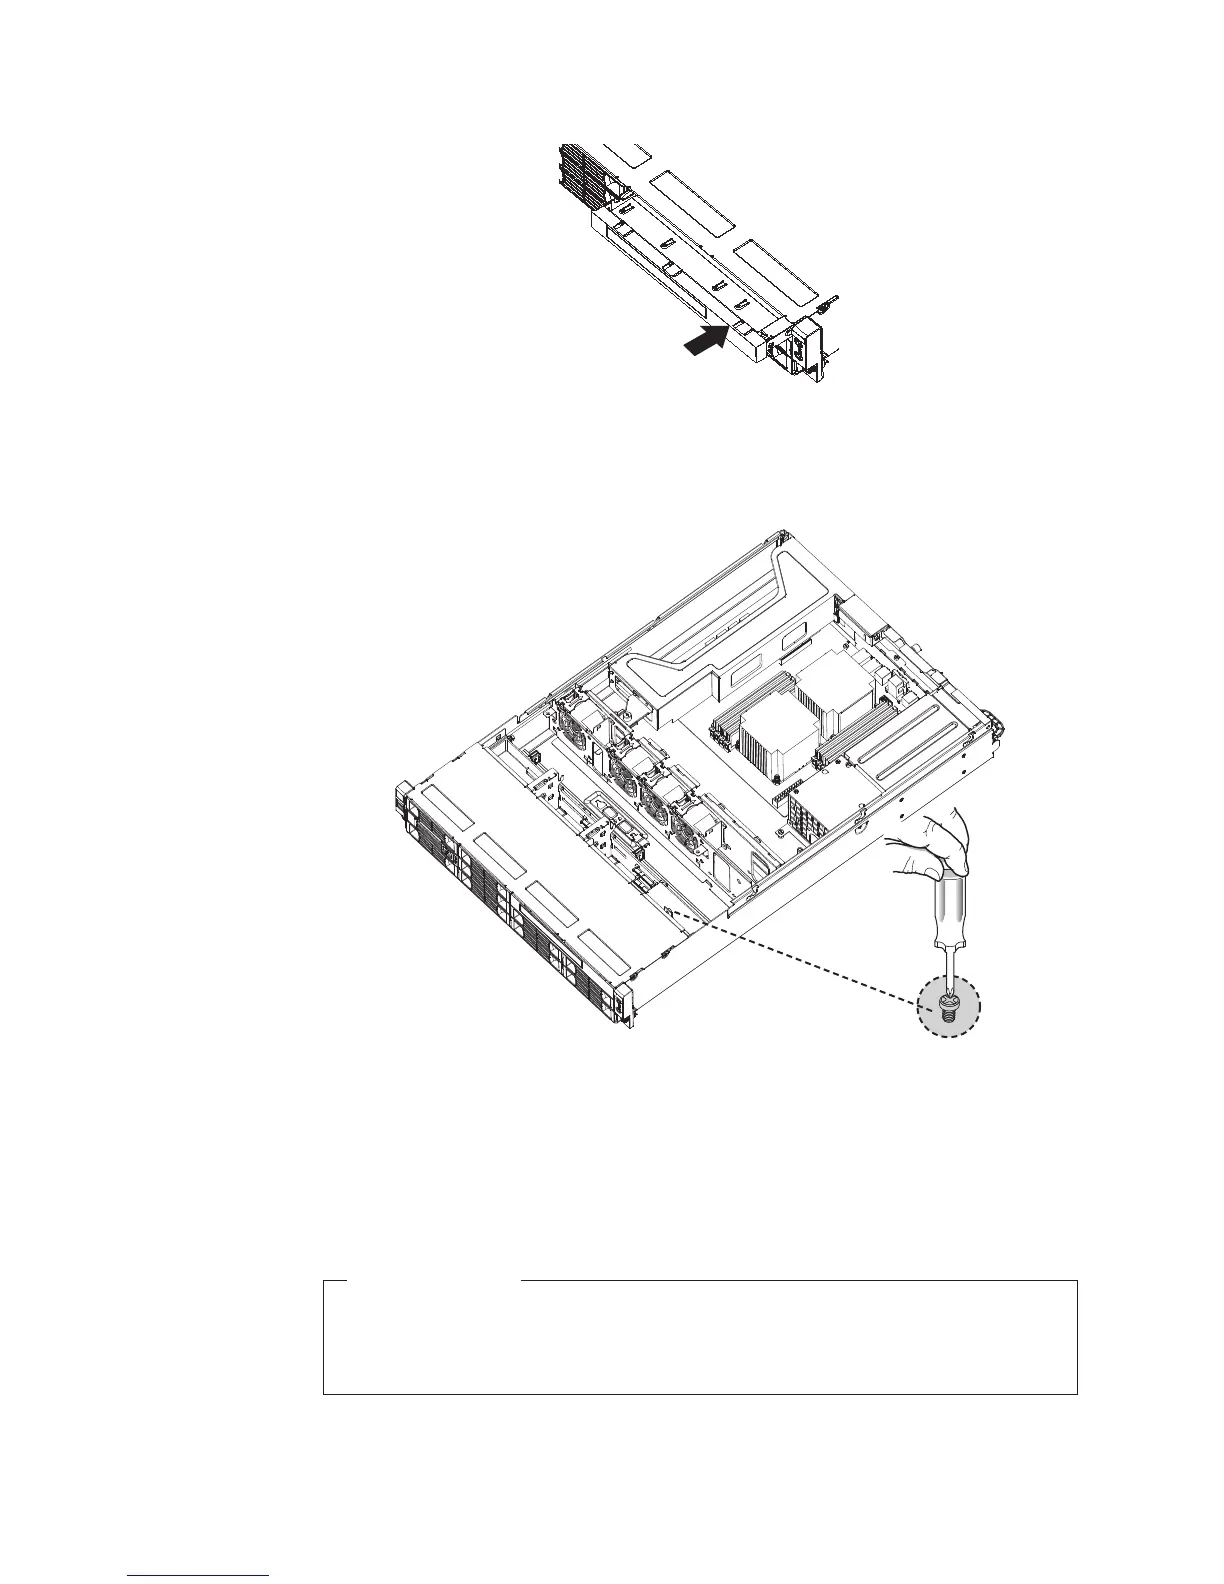
13. Install the retaining screw to the rear of the cage to secure the optical drive
cage in place.
14. Connect the power cable (P8) and the signal cable (SATA cable) to the rear of
the optical drive.
15. Reinstall the drive access panel and secure it in place by the four screws (one
on each side and two on the top of the optical drive) that you have removed
in step 4.
What to do next:
v To work with another piece of hardware, go to the appropriate section.
v To complete the installation, go to “Completing the parts replacement” on
page 67.
Figure 22. Sliding the cage with the optical drive into place
Figure 23. Installing the optical drive cage retaining screw
34 Installation and User Guide