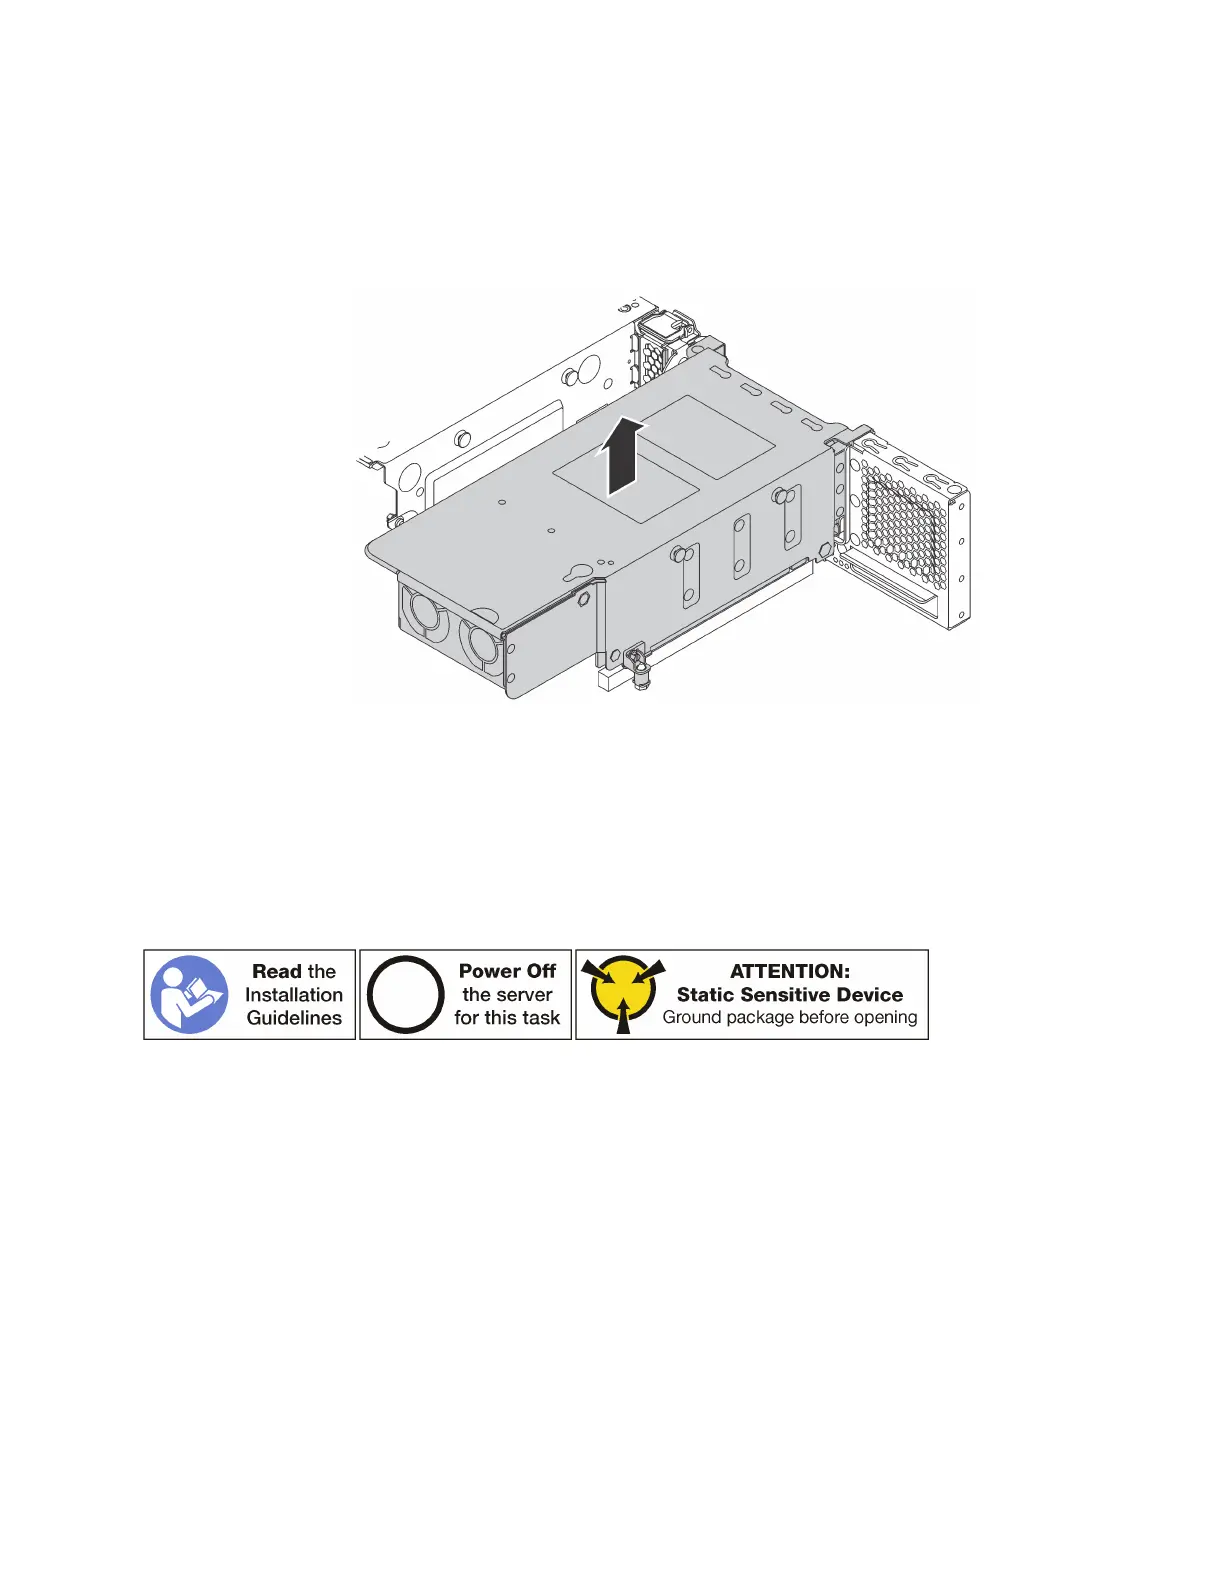
To remove the rear hot-swap drive assembly, complete the following steps:
Step 1. Disconnect the signal cable from the rear hot-swap drive assembly. See “Internal cable routing” on
page 27.
Step 2. Grasp the rear hot-swap drive assembly by its edges and carefully lift it straight up and off the
chassis.
Figure 124. Rear hot-swap drive assembly removal
If you are instructed to return the old rear hot-swap drive assembly, follow all packaging instructions and use
any packaging materials that are provided.
Install the rear hot-swap drive assembly
Use this information to install the rear hot-swap drive assembly.
Before installing the rear hot-swap drive assembly, touch the static-protective package that contains the new
rear hot-swap drive assembly to any unpainted surface on the outside of the server. Then, take the new rear
hot-swap drive assembly out of the package and place it on a static-protective surface.
To install the rear hot-swap drive assembly, complete the following steps:
Chapter 3. Hardware replacement procedures 161