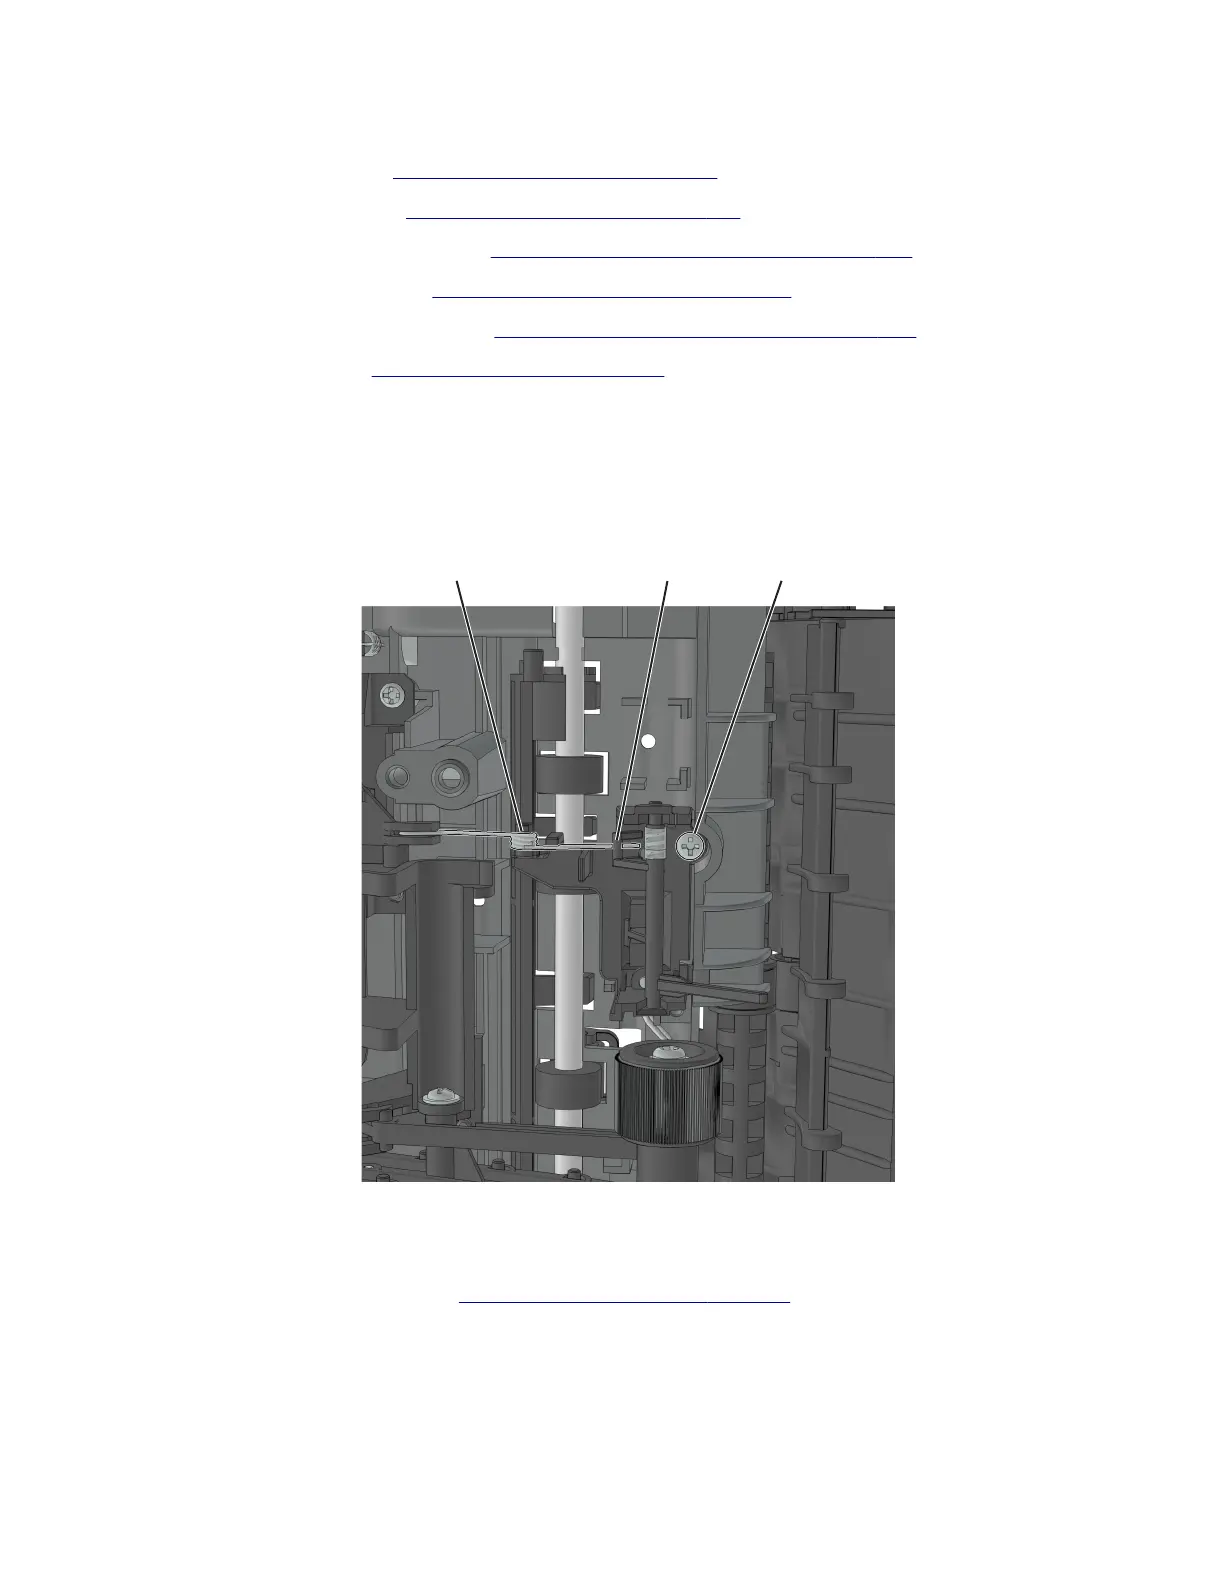
Trailing edge sensor removal
1 Remove the left cover. See “Left cover removal” on page 228.
2 Remove the right cover. See “Right cover removal” on page 241.
3 Remove the rear door and cover. See “Rear door and cover removal” on page 307.
4 Remove the power supply. See “Power supply removal” on page 289.
5 Remove the power supply shield. See “Power supply shield removal” on page 290.
6 Remove the duplex. See “Duplex removal” on page 291.
7 Position the printer so that it sits on its left side.
8 Disconnect the cable JACM1 from the controller board.
9 Release the retainer spring (A) from the bracket (B).
10 Remove the screw (C).
A C
B
Media present sensor flag removal
Note: For a video demonstration, see Media present sensor
flag
removal.
1 Remove the toner cartridge, and then remove the imaging unit.
2 Remove the tray insert.
4514-6xx
Parts removal
299