Image controller board removal
1 Remove the top front door. See “Top front door removal” on page 327.
2 Remove the bottom front door. See “Bottom front door removal” on page 327.
3 Remove the waste toner door mount. See “Waste toner door mount removal” on page 328.
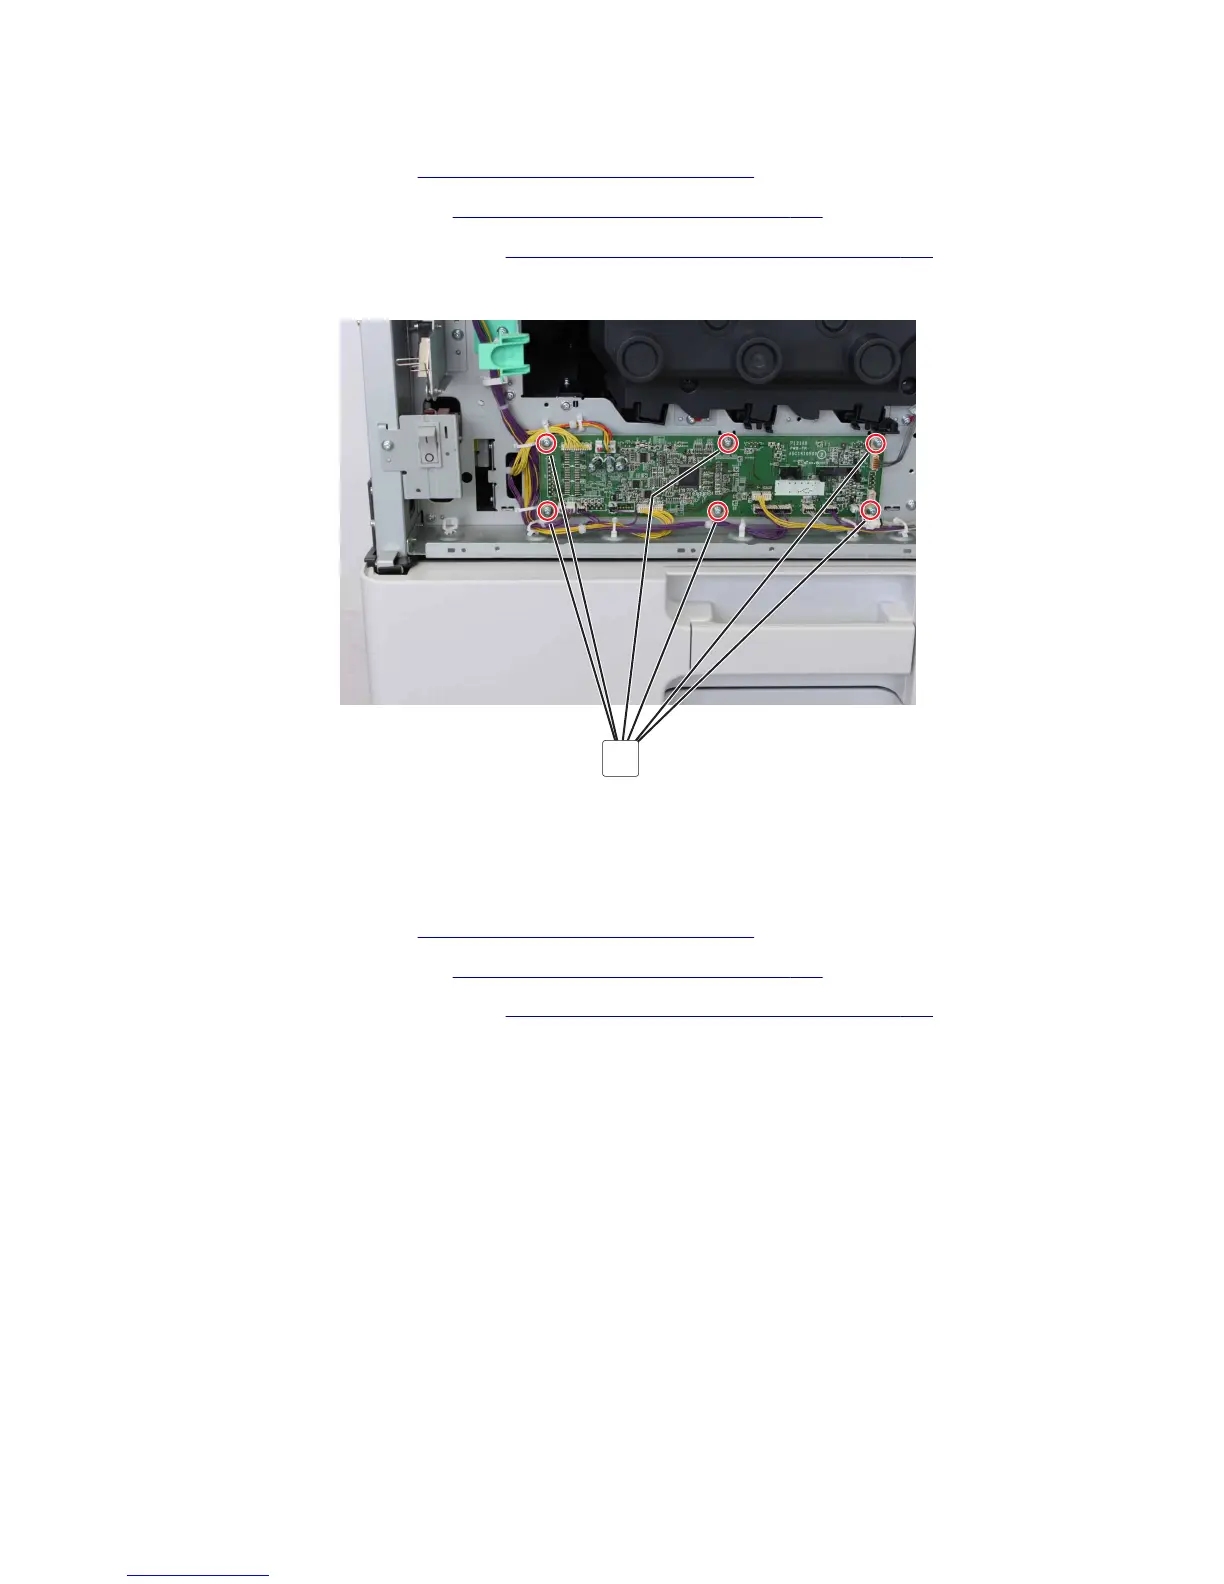
4 Disconnect the cables, and then remove the six screws (A).
A
5 Remove the board.
Door switch removal
1 Remove the top front door. See “Top front door removal” on page 327.
2 Remove the bottom front door. See “Bottom front door removal” on page 327.
3 Remove the waste toner door mount. See “Waste toner door mount removal” on page 328.
7421
Repair information
329