29 300781172_002_C0 - 01/2019 - © Leybold
Operation
6 Operation
Your RGA can either measure using a computer (PC) running the dedicated gas
analysis software, or it can measure in local mode after you press the START button.
6.1 Measurement with software (remote)
Refer to the Appendix for PC network setting and refer to the software manual for
operating instructions.
1. Install the gas analysis software on your PC.
2. Connect the LAN port of your PC to the sensor unit using a LAN cable.
3. With measurement stopped, set DIP switch 4 to OFF.
4. Switch on the power to the sensor unit.
5. If this is the first time you have connected the RGA to this PC, temporarily
disable Windows Firewall. See
Disable the firewall on page 87.
6. Start the software on the PC.
7. Enter the sensor unit number and sensor type in the sensor type dialog and
click OK.
8. When communication between the PC and the RGA is established, the
software loads the default recipe or the recipe used last time
9. Check the operating pressure on an ionization gauge or other to make sure it is
sufficiently low.
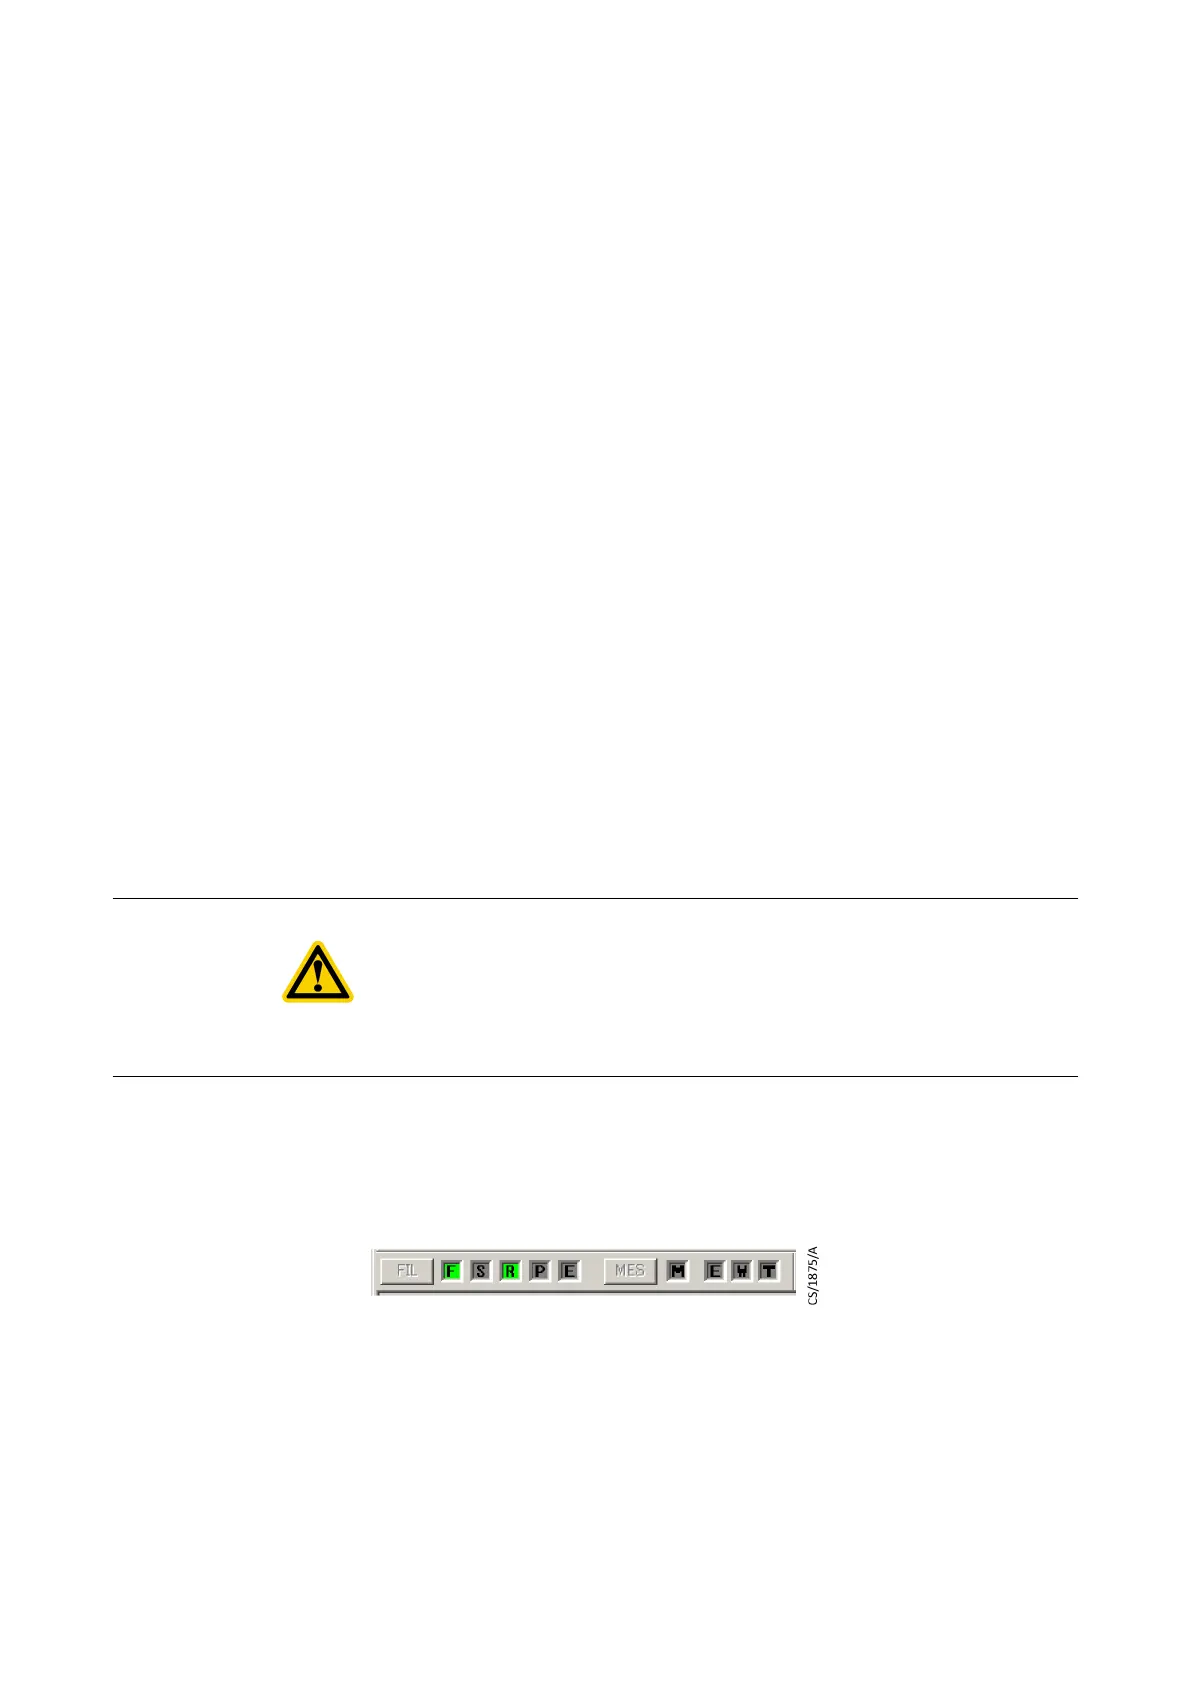
10.Click the "FIL" button to turn on the filament of the analyzer tube. The "F" and
"R" lights come on.
If filament is turned on soon after pumping down, the self-protection against
high pressure might activate because of gas emitted by the filament.
Confirm that the operating pressure is sufficiently low and turn the filament
on several times until the emitted gas reduces.
11.Click measure MES to start gas analysis. The S and M lights come on.
(Whether the F, R and S lights are on or off depends on the settings on the control
panel.)
CAUTION:
Before pressing START, use an ion gauge or other instrument to make sure that
the pressure is within the operating pressure range. Always use under a pressure
of 1 x 10⁻² Pa or less. If the pressure is higher than 1 x 10⁻² Pa, the filament will
burn out and the life of secondary electron multiplier (SEM) will be extremely short
and the RF power supply will fail.