EVOS
®
FL and EVOS
®
FL Color User Guide
27
• Click in the Comment text field to enter a comment and date.
• The date button can be used within a file or folder name. Clicking the Date
button anywhere within a text field will automatically insert the current date
(MM-DD-YYYY) wherever the cursor is in that field.
• In the Save Folder list and the saved files list, selected items will appear
orange.
• If a USB keyboard is installed, the virtual keyboard will not appear. Pressing
the Enter key on a physical keyboard is like pressing the Save button in the
Save file dialog box.
• Saved image files include the date/time stamp. To ensure accurate date/time
information, verify the settings before your capture session. See “Date/Time
Settings” (page 30) for instructions.
• To delete a file or folder, highlight the item on the list and click the Delete
button. A confirmation dialog box will pop up. It is not possible to recover a
deleted file.
• To rename a file or folder, highlight the item on the list and click the Rename
button. The virtual keyboard will pop up; you can use the Clear button to
reset to a blank field.
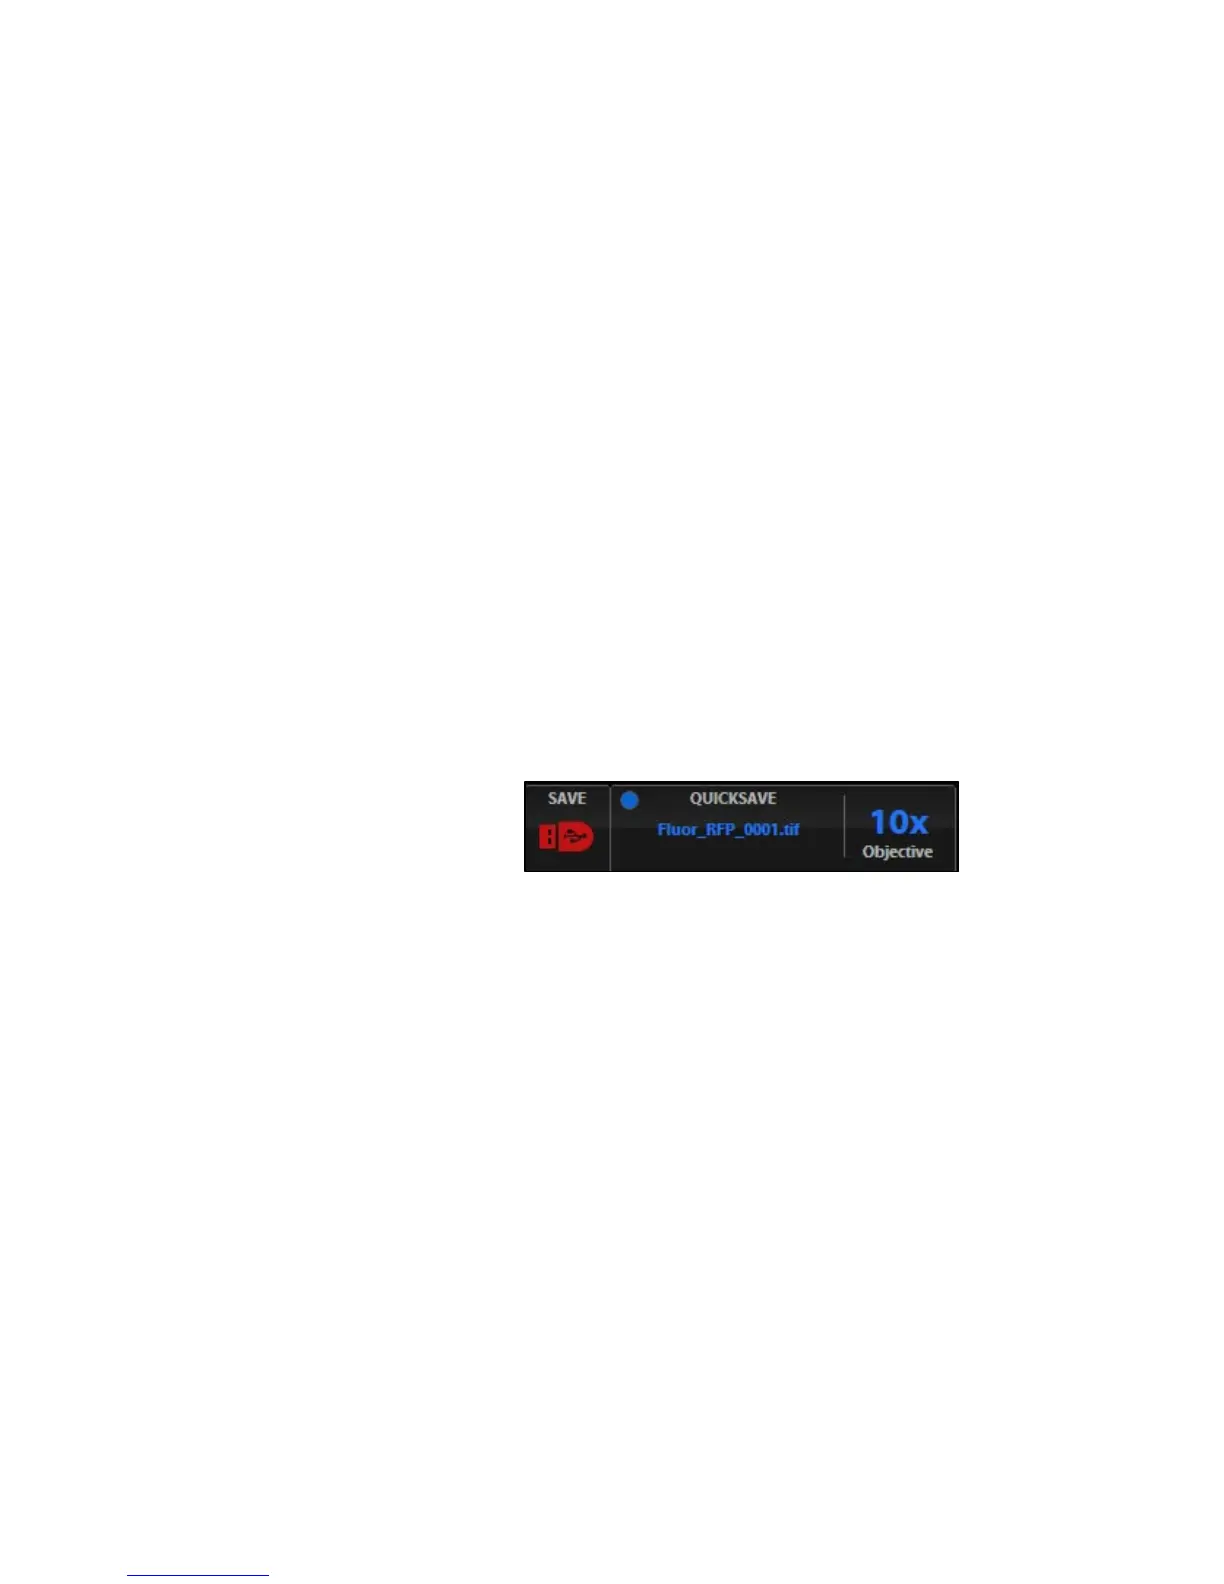
QuickSave
QuickSave allows you to save multiple images under a single base file name.
Simply specify the settings and select the QuickSave option, and the system will
save each image with a single click of the Save button.
Click the Settings button to open the Settings dialog box, and then select the
QuickSave tab (Figure 18).
Figure 18 QuickSave Option
2.
Click in the Base Filename text field and enter a name that describes the
imaging session. The orange “Next” file name will reflect the information
entered.
3. Click in the Count text field to enter the starting number, if you do not want to
start at 1. The orange “Next” file name will reflect the information entered.
4. Select a file format (.tif or .png) from the File Type drop-down menu.
5. Click the Browse button to select a destination folder for the QuickSave files.
In the Browse popup, highlight the desired folder and click OK.
6. To create a new folder, first click the name of the desired parent folder, then click
the New Folder button and enter a folder name (date is optional); see “Basic
Saving” on page 26. After creating the new folder, click OK to close the Browse
popup.
7. Select “Also save each channel separately” to save multiple channels for each
image (within an overlay image). This will create up to five files per captured
image, named according to the following conventions:
BaseName_ChannelCaptured_0001.tif (Overlay image).
8. Click OK to accept the QuickSave settings.
9. Select the Overlay tab and click the radial button to enable QuickSave.