EVOS
®
FL and EVOS
®
FL Color User Guide
31
Network Settings
You can log EVOS
®
FL Imaging System onto a Windows/SMB network via an
Ethernet cable connection and save captured images directly to shared folders on
the network.
Note: SMB is the only supported protocol. No other protocols (such as
HTTPS, FTP, or WebDAV) are currently supported. If you are connecting
to a Linux server, it will have to use Samba in order for EVOS to find it.
Contact your network administrator for help if a physically connected
EVOS cannot find the SMB network.
Items Needed for
Ethernet
Connection
To set up the network connection, you need the following items (not included):
• Ethernet Cable
• USB-to-Ethernet Adapter
Note: For best results, use one of these compatible USB-to-Ethernet
adapters:
• Belkin model F5D5050
• Cisco Linksys model USB300M
• D-Link model DUB-E100
• TRENDnet model TU-ET100C
• TRENDnet model TU2-ET100
Logging onto the
Network
1. Verify the instrument is powered on and the network cable is plugged into the
correct jack and connected via the adapter to the USB port.
2. Be sure you are logged in under your own EVOS
®
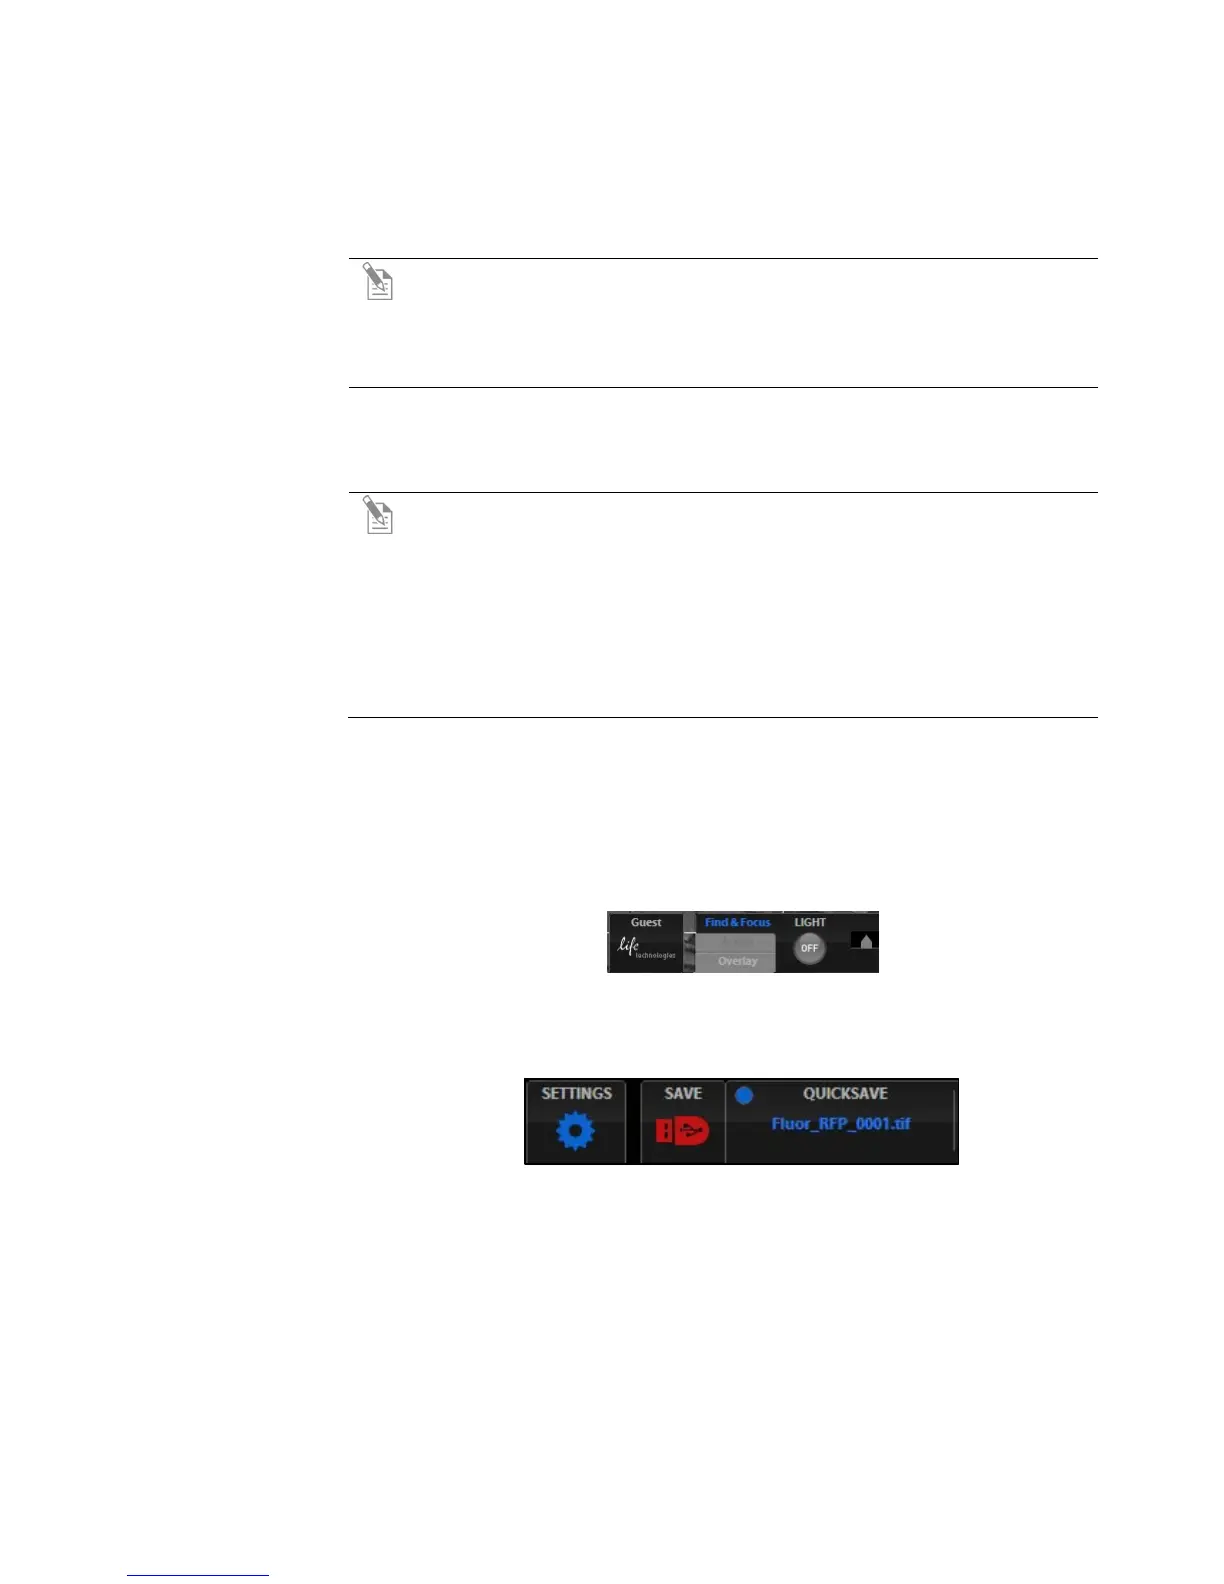
user ID. The current user ID
is displayed above the Life Technologies logo in the bottom left corner of the
screen (Figure 24). See “Logging onto the Network” (page 31) for more
information.
Figure 24 Login Button (set to Guest profile)
3. Click the Settings button to open the Settings dialog box, and then select the
Network tab (Figure 25).
Figure 25 Settings Button