INSERT INSTALLATION PAGE 15
SAFETY NOTICE:
If this appliance is not properly installed, a house fire may result. For your safety,
follow the installation directions. Contact local building or fire officials about
restrictions and installation inspection requirements in your area.
¥ Check with local building officials for any permits required for installation of this stove and
notify your insurance company before proceeding with installation.
PLANNING THE INSTALLATION
HINT: We suggest that you have an authorized Travis Industries dealer install your insert. If
you install the insert yourself, your authorized dealer should review your plans for
installation.
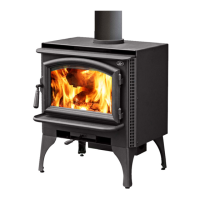
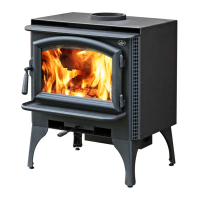
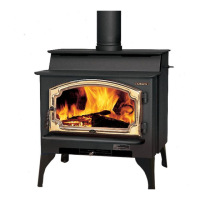
This insert is approved for installation into an existing masonry or zero clearance (metal) fireplace.
Depending upon your installation concerns, several options are yours to provide the most desirable
installation. The sections that follow detail the requirements that must be met for a safe installation. To
further help installation, the most common types of installations are explained in the section "Insert
Installation Considerations". Prior to installing your insert make a detailed plan with dimensions to
double-check them against all of the requirements listed.
PREPARATION FOR INSTALLATION
¥ Check for damage to the exterior of the insert (dents should be reported, scratches can be fixed
by applying touch up paint).
¥ Check the interior of the firebox (cracked firebrick should be replaced, displaced baffle
components should be replaced).
HINT: The stove can be lightened by removing the firebricks and baffle. - see "Firebrick
Removal and Replacement Instructions" on pages 30 and 31.
INSERT INSTALLATION CONSIDERATIONS
The table below details the most common types of installations and the considerations for each type of
insert installation. Alternative methods of installation are available if they comply with local building
codes.
Installation Type Considerations
Insert with Positive Flue (Full Reline)
(Page 19)
¥ Utilizes existing masonry or zero clearance fireplace
¥ Provides best draft
¥ Easiest to clean
Insert with Direct Connect Flue
(Page 19 and 20)
¥ Utilizes existing masonry or zero clearance fireplace
¥ Provides good draft
¥ Requires fireplace block-off plate - see page 18
Insert with Face Seal Connection
(Page 20)
¥ Utilizes existing masonry fireplaces with cross section of 28" to
144" (not approved for zero clearance fireplaces)
¥ Provides okay draft
¥ Easiest to install
¥ Requires the optional surround panels and insulation (see
"Surround Panels" on page 40 and 41.
OPTIONAL EQUIPMENT REQUIREMENTS (See "Optional equipment" starting on page 36
¥ Must be installed with the surround panels