2
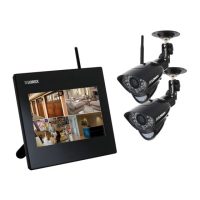
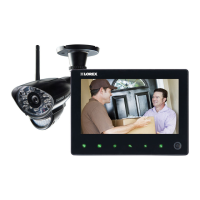
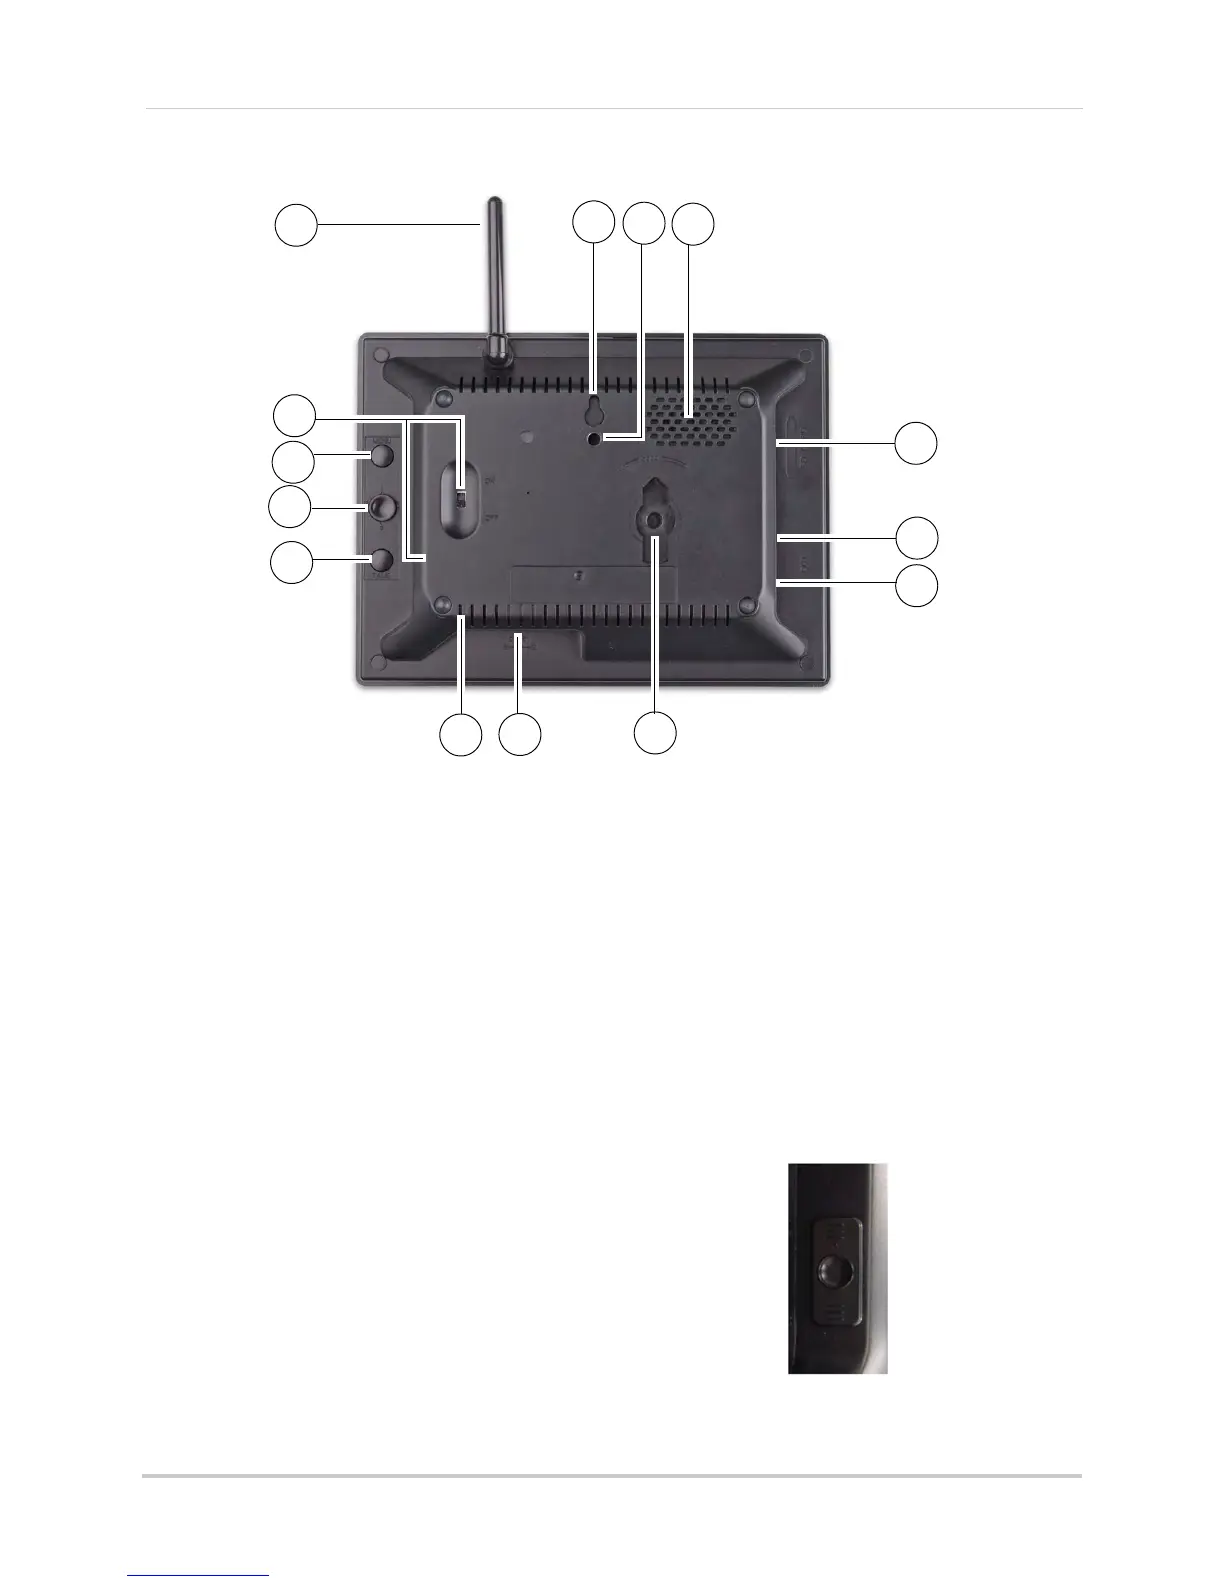
LCD Monitor/ Receiver overview
1 Wireless Antenna: Position the antenna as needed for best reception.
2 Wall Hanger:
Use hole to hang the LCD Receiver like a picture frame.
3 Mounting Hole: Att
ach the included under-the-counter mount to mount the LCD Receiver
underneath a counter/cupboard, wall, or ceiling.
4 Speaker: Speak
er f
or two-way audio.
5 SD Card Slot: Insert up to a 16GB SD card.
6 USB P
ort: Used for Skype c
onnectivity. For details see, page 39.
7 AV OUT: Connect the Audio/Video c
able to view video on an external TV or monitor (optional)
8 Support Stand: Atta
ch the included support stand to position the LCD receiver like a picture
frame.
9 DC5V: Co
nnect the included power adapter.
*LW2910 Series uses a slide switch located
on the side panel.
10 Microphone: Microphone for two-way audio.
11 TALK: Pr
ess to talk using the Intercom; release to listen.
12 Channels/Navigation Joys
tick: Press to open the Main
Menu. Use to change channels within quad view.
13 MENU: Pres
s to open the main menu.
14 Power:
Slide button to turn the LCD receiver ON/OFF*
11
 Loading...