3
Using the Joystick to change channels
To change channels during Quad mode:
Move UP to view camera 1, RIGHT (2) to view camera 2, DOWN (3) to view camera 3, and
LEFT (4
) to view camera 4; move UP/DOWN/LEFT/RIGHT to navigate menus; press the
joystick to confirm menu selections.
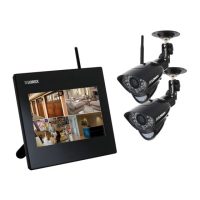
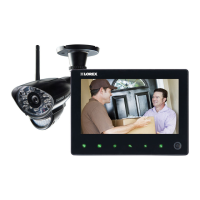
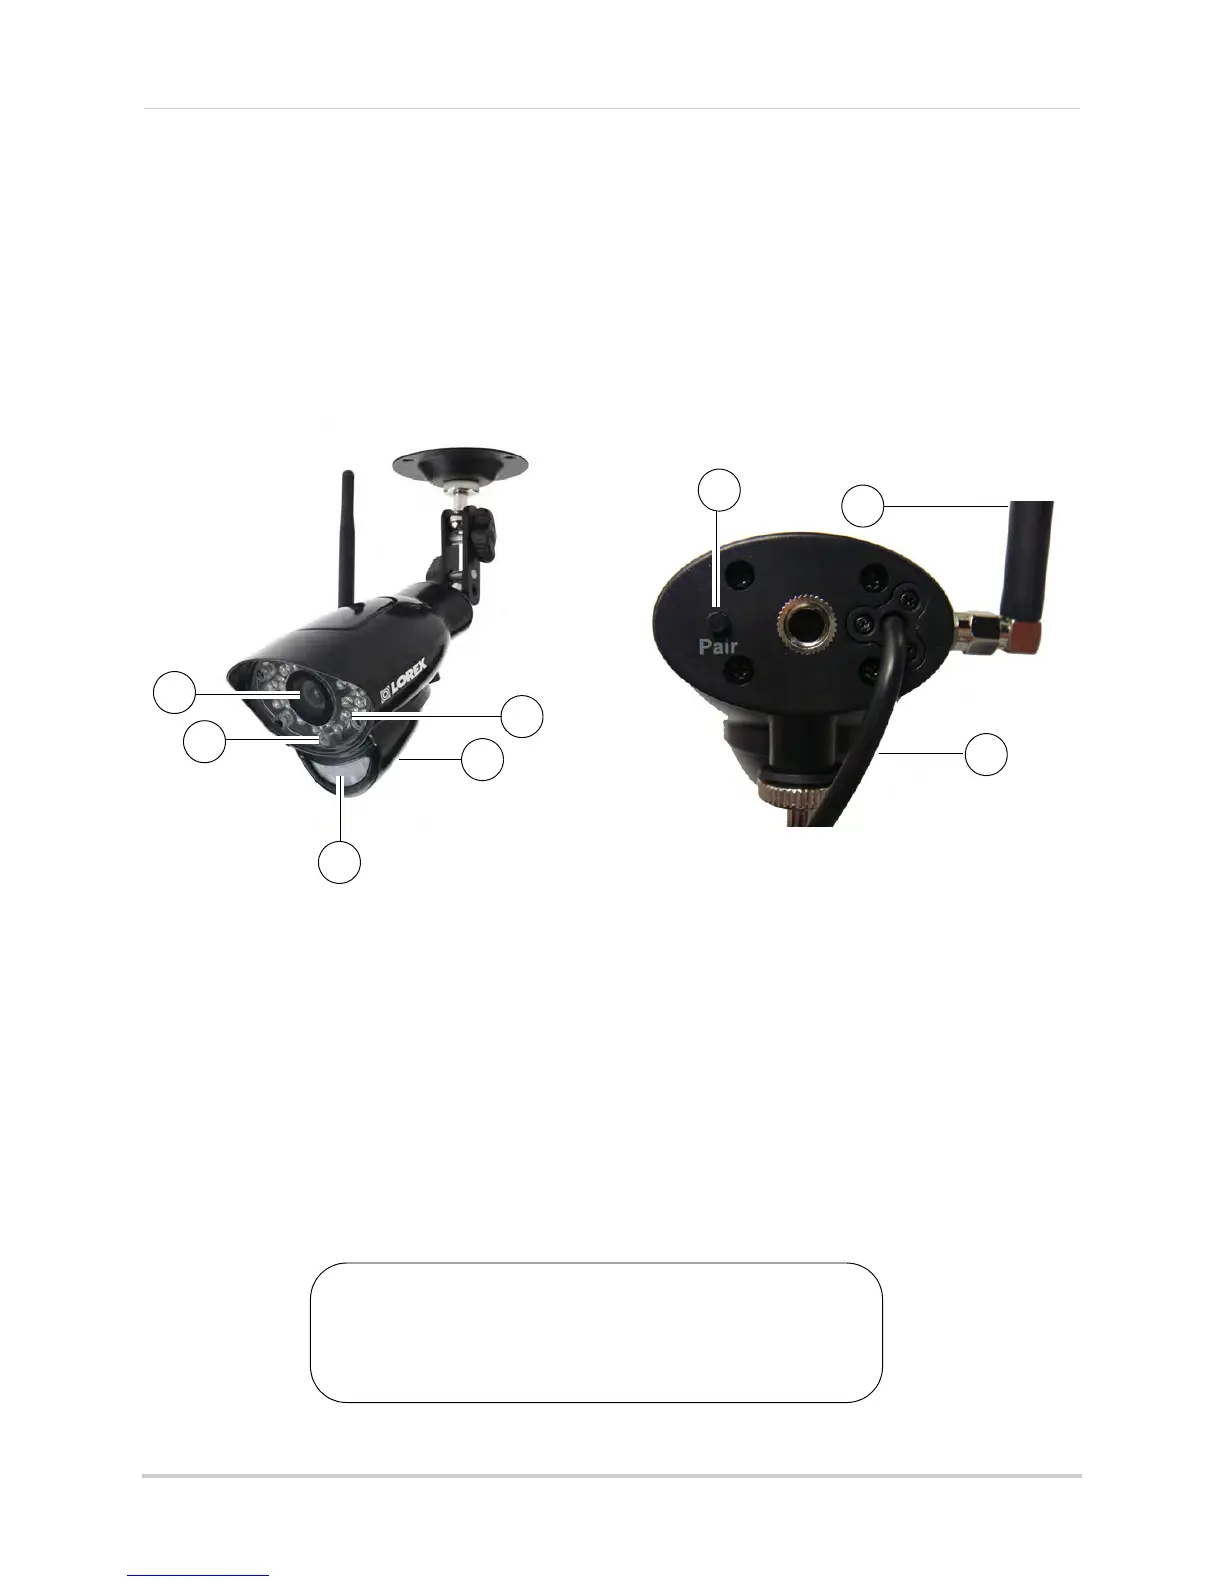
Camera overview
1 Lens: Camera lens.
2 Microphone: Built-in micr
ophone underneath camera body.
3 PIR Sensor: Pa
ssive IR motion sensor for more accurate motion recording.
4 Speaker: Speak
er for two-way audio.
5 Night Vision IR: Night vision IR
LEDs used for viewing in complete darkness.
6 Pair: Pairing button. For more details, see “
Appendix C: Adding Cameras” on page 33.
7 Antenna: Wir
eless antenna.
8 Power Cable:
Connect the included power adapter to the cable extending from the camera.
This camera includes an Auto Mechanical IR Cut Filter. When the
camera changes between day/night lighting, an audible clicking
noise may be heard coming from the camera. This clicking is normal,
and indicates that the camera filter is working.
ATTENTION
 Loading...