17
Recording
Manual Recording
Manual Recording allows you to
manually start/stop recording from one
channel at a time. You cannot record
while in Quad mode.
You can also record while in Zoom
mode. For details on using
Zoom, see
“Zoom” on page 29.
NOTE: You cannot change channels or
enabl
e Auto Sequence Viewing
Mode during Manual Recording.
To enable Manual recording:
1 Select a channel (1~4) on the wireless
r
eceiver or from the remote control.
2 Pr
ess the Record button
() on the remote
control.
• "REC" appears on screen to indicate the
sy
stem is recording.
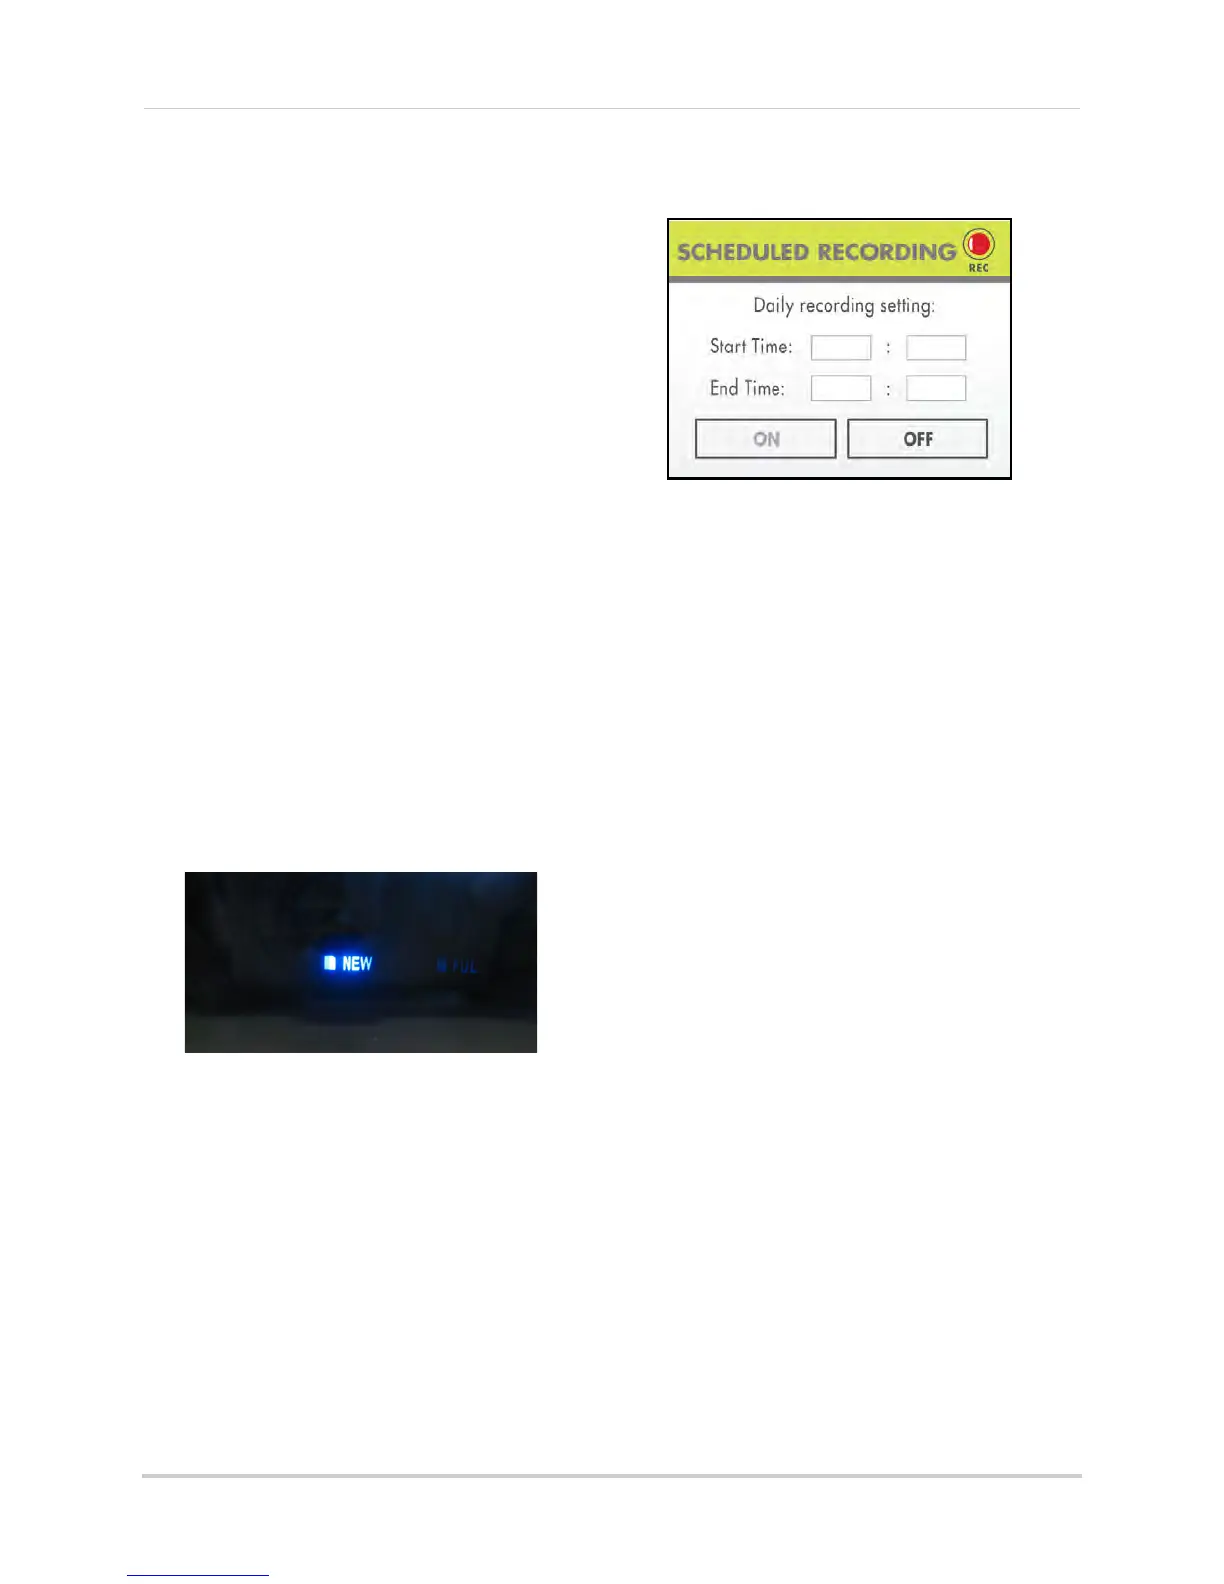
3 T
o stop Manual Recording, press the
Rec
ord button
() again. "NEW" will
appear on the LCD receiver indicating a
new file is on the SD card.
When Should I Use Manual Recording?
• Emergency recording
• Low tr
affic environments
Schedule Recording
Use Schedule Recording to have the
system automatically record
continuously from a selected camera,
or from Auto Sequence Viewing Mode
according to a start and stop time.
NOTE: You must set a Recording
Schedul
e in the main menu in
order to use Schedule
Recording.
NOTE: Aut
o Sequence is available
during Schedul
e Recording.
However, the system will record
video of the sequence itself.
Therefore you cannot playback
video of individual cameras.
Prerequisite:
Please ensure you have set the date and
time on
the receiver
prior to setting a
recording schedule.
Step 1 of 2: Set a recording schedule
1 Press the MENU butt
on on the remote to
open the Main Menu.
2 Select Record
and press the Enter button.
3 Using the remote,
press RIGHT/LEFT to
move the cursor (yellow); press UP/DOWN
to change the hour and the minutes.
NOTE: You need to press RIGHT to move
the
cursor from Start Time to
Stop Time.
4 Press the En
ter button on the remote to
save your schedule.
5 Press MENU on the r
emote until all menu
windows are closed.
 Loading...