23
Using the Main Menu
Using the Main Menu
Use the Main Menu to configure camera
and receiver settings.
To open the Main Menu:
• Press the MENU
butt
on on the wireless
receiver or the remote control
NOTE: Make sure the display is in single
cha
nnel full-screen view prior to
opening the Main Menu
NOTE: If a
power failure occurs on your
sys
tem, you may need to
re-configure your settings. For
more details, see “Appendix G:
Power Failure Indicator” on
page 38.
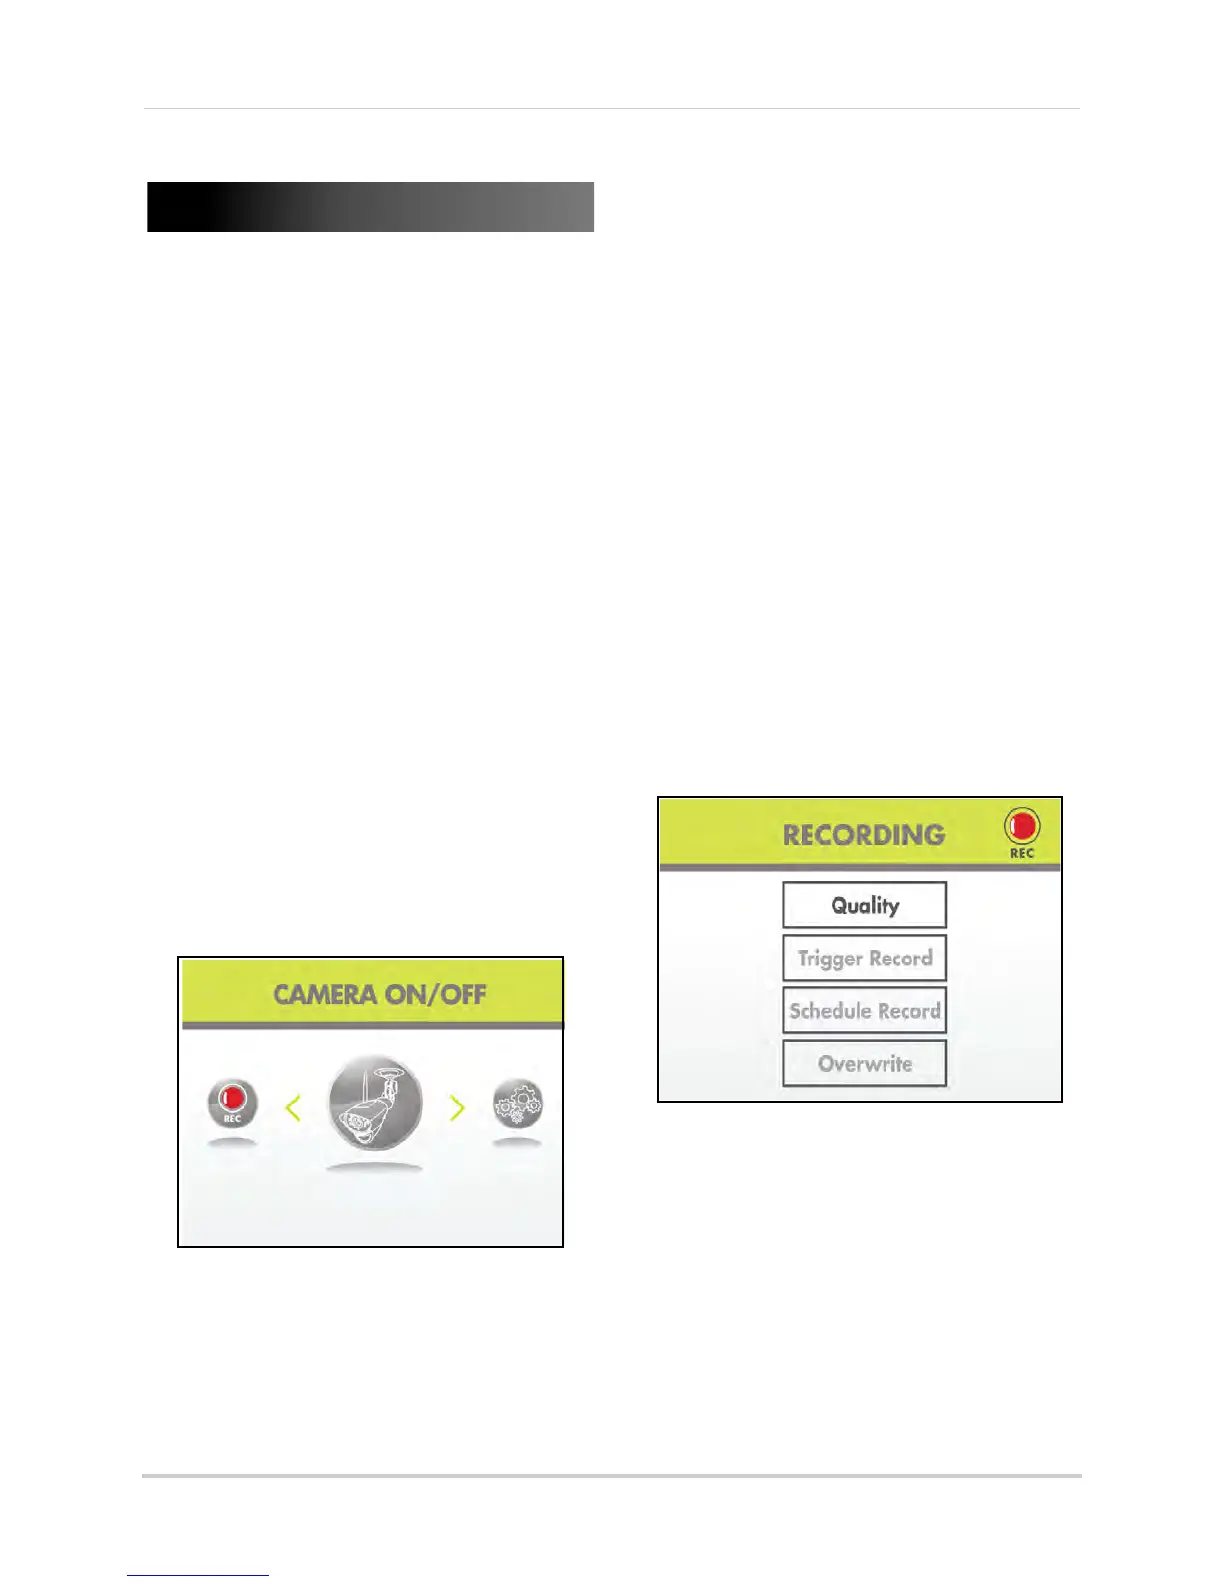
Camera On/Off
Use the Camera On/Off menu to show/
hide camera channels on the main
display screen. For example, if you
disable camera 3, it will not appear in
single channel full-screen, or in Quad
mode.
NOTE: Make sure cameras are properly
connected and paired to the
receiver before disabling.
To enable/disable cameras:
1 F
rom the Main Menu, select Camera On/
Off
and press the Enter button on the
remote.
2 Select the desired camera and press
RIGHT/LEFT to sel
ect On or Off.
NOTE: The curr
entl
y selected camera
will have On/Off highlighted in
RED.
3 Press the Enter butt
on on the remote.
4 Press the MENU butt
on on the remote to
exit.
NOTE: Any disabl
ed channels wi
ll be
blacked out in Quad mode.
Record
Use the Record menu to change image
quality, motion recording time, set a
recording schedule, and enable/disable
overwrite.
The Record menu contains the
following sub-menus:
• Qua
lity: Set the
image resolution to
320x240 (QVGA) or 640x480 (VGA)
• Record Time: Set the recording time when
motion is detected by a camera
• Schedule Record: Set start and stop times
for automatic recording
• Overwrite: Enable/disable overwrite of
the SD card
 Loading...