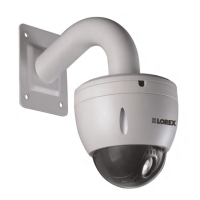
Using the On-Screen Display (OSD) Menu
1
To add presets:
1. Before entering the OSD menu, move the PTZ camera to the location where you would
like to add a preset location, then launch the OSD menu.
2. Use the on-screen arrow keys to navigate to FUNCTION SETTING and click Enter.
3. Select PRESET and click Enter.
4. Under PRESET NO, click the left / right arrow keys to select a number for your preset
location.
Note
The DVR can only call presets 1–80 while the OSD menu can call presets 1–300.
5. Select SETTING and click Enter. The camera’s current position has now been set as
a preset.
Note
If you wish to test your preset, select the present number under PRESET NO. Select CALL then click En-
ter. The camera will move to the preset location automatically.
1.4.2 Auto Pan
Set the camera to pan continuously at a set speed.
To setup auto-pan:
1. Use the on-screen arrow keys to navigate to FUNCTION SETTING and click Enter.
2. Select AUTO PAN and click Enter.
3. Set PAN SPEED between 1 (slowest) and 8 (fastest).
Note
If you wish to test auto-pan speed, select RUN and click Enter. The camera will start continuously pan-
ning at the chosen speed. To stop the test, select STOP and click Enter.
1.4.3 Auto Scan
An auto scan automatically cycles between a left and right point. You can set up to 5 auto-
scan cycles.
#LX400027; r. 1.0/16996/16996; en-US
23