Using the On-Screen Display
(OSD) Menu
1
You can configure the camera’s advanced settings on a Lorex LHV1000 Series DVR using
the OSD menu. Use the OSD menu to correct imperfections in the camera image as well
as configure automated PTZ functions, such as preset locations, patterns, and tours.
Note
It is recommended to change only one setting at a time. If you have made changes and are not happy
with the outcome, see 1.3.20 Camera Factory Defaults, page 20 to reset all items in the Camera Setting
menu to their default values. See 1.1.3 Restore Factory Defaults, page 2 to reset all other items in the
OSD menu.
To access the OSD menu:
1. In Live View, double-click the channel that has the PTZ camera connected to open in
full-screen.
2. Right-click and click Pan/Tilt/Zoom. Enter the system user name and password if
prompted. The PTZ menu opens.
3. Click the arrow in the PTZ control window to show advanced controls.
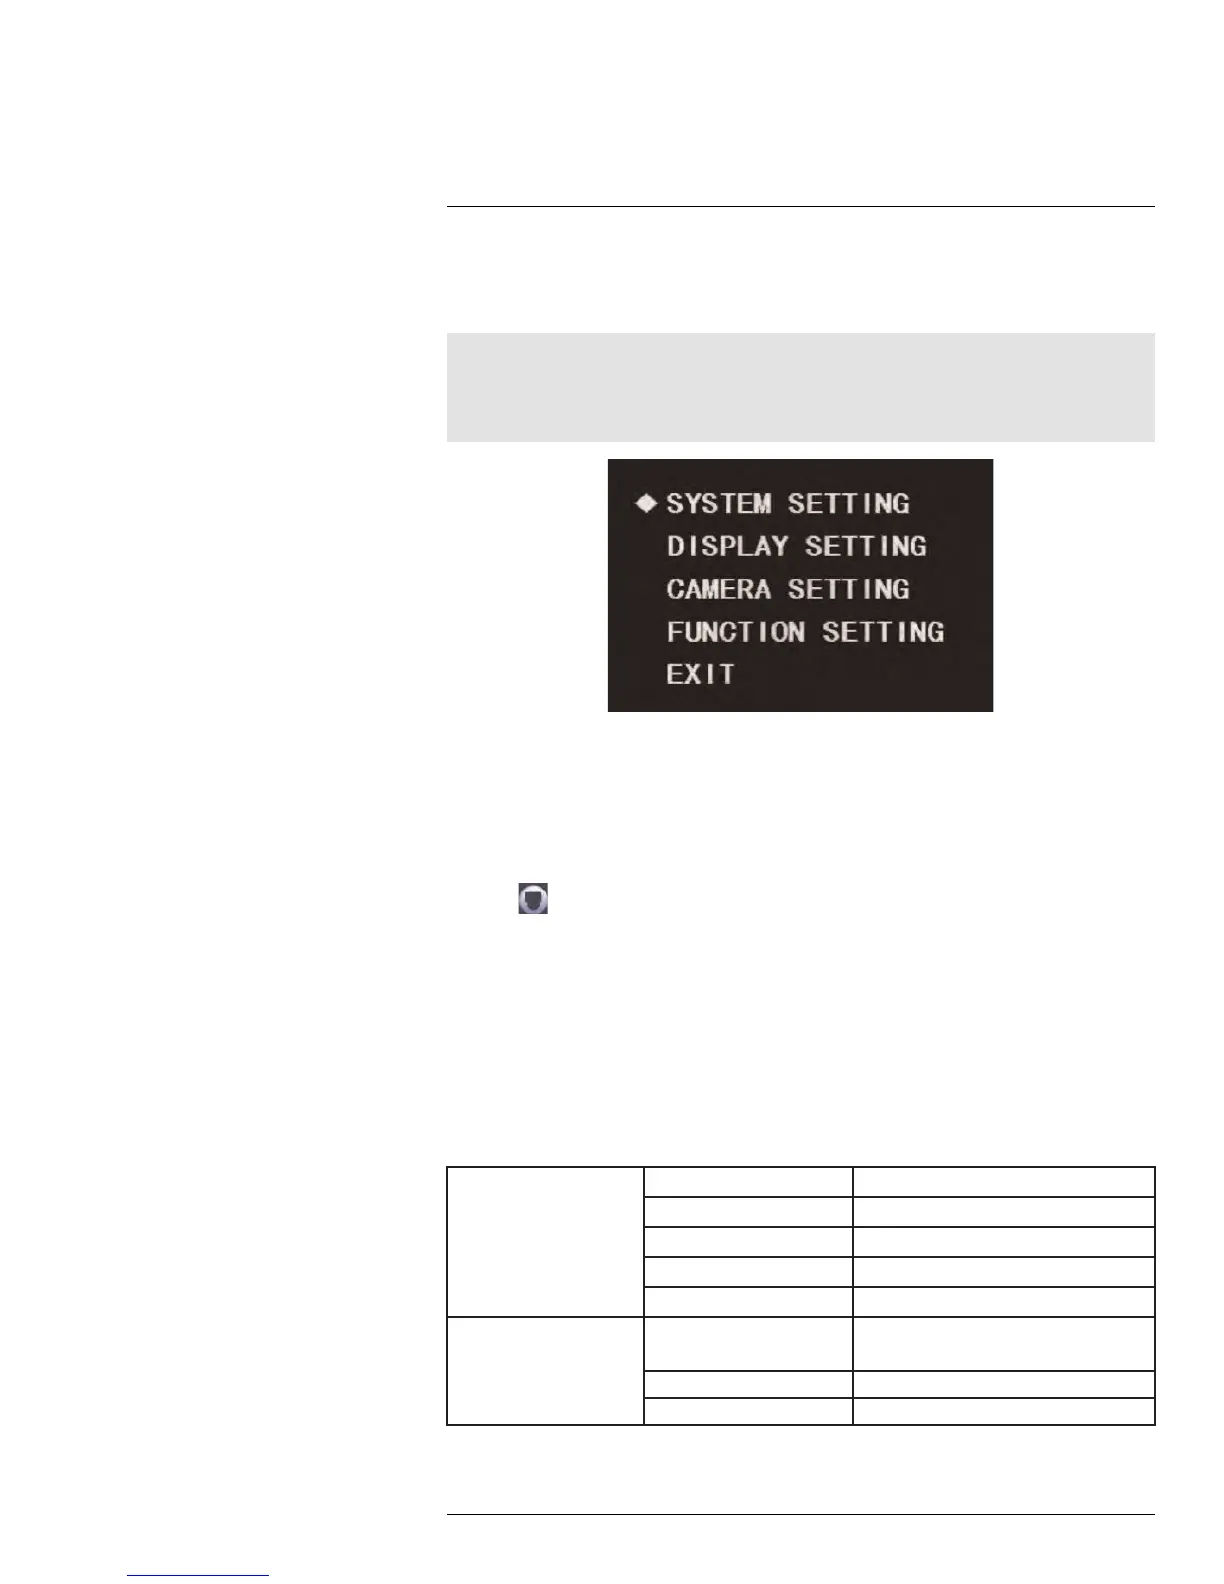
4. Click
. The OSD menu appears over the camera image.
5. Use the on-screen controls to configure menu items:
• Up / down arrows: Select menu items.
• Left / right arrows: Change values for menu items.
• Esc: Exit the OSD menu.
• Enter: Confirm selection.
1.1 System Settings
Use the system settings menu to configure basic system information.
System Settings — Menu Structure:
SYSTEM INFORMATION ADDR Displays the camera address.
BR Displays the camera baud rate.
PARITY Displays the communication parity.
PTZ VER Displays the PTZ firmware version.
CAM VER Displays the camera firmware version.
ADDR INFORMATION
ADDR TYPE
• HARD
• SOFT
ADDR-HARD 1–255
ADDR-SOFT
0–255
#LX400027; r. 1.0/16996/16996; en-US
1