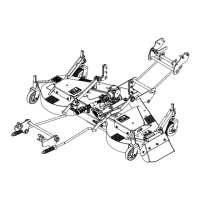
Installation of Tractor Brackets (figures 3-3A-3B)
NOTE: FRONT LOADER:
If you install the mower on a tractor not
equipped with a front loader, two
spacers (item 5) are required to replace
the front loader plate.
WITHOUT FRONT LOADER:
1. Install two spacers (item 5) and the right
or left tractor bracket (item 1) to the
tractor transmission with two M12 X 1.75
X 50mm hex bolts (item 2), two 12mm
lockwashers (item 3) and two 12mm flat
washers (item 4).
2. Insert a hex bolts M14 x 2.00 x 50mm
(item 6) in the spacers (item 5) and the
tractor bracket (item 1) and secure in
place with a 14mm flat washer (item 7),
a 14mm lockwasher (item 8) and a M14
hex nut (item 9).
3. Repeat for the other tractor bracket.
WITH FRONT LOADER:
1. Replace the original front loader
crossbar by the new crossbar (figure 3).
2. Remove the two M12 hex bolt at the end
of the loader bracket and one M14 hex
bolt of the loader's belly bar. These bolts
will be replaced by new hardware.
3. Install the right or left tractor bracket
(item 1) to the loader bracket and the
tractor transmission with two M12 x 1.75
x 50mm hex bolts (item 2), two 12mm
lockwashers (item 3) and two 12mm flat
washers (item4).
4. Insert a M14 x 2.00 x 50mm hex bolt
(item 6) in the belly bar and the tractor
bracket (item 1) and secure in place with
a 14mm flat washer (item 7), a 14mm
lockwasher (item 8) and a M14 hex nut
(item 9).
5. Repeat for the other tractor bracket.

 Loading...