Page 18 of 60
Diagram 2.4-10
10. Place the camera mount on the vertical stand and turn clockwise to tighten as shown below.
Diagram 2.4-11
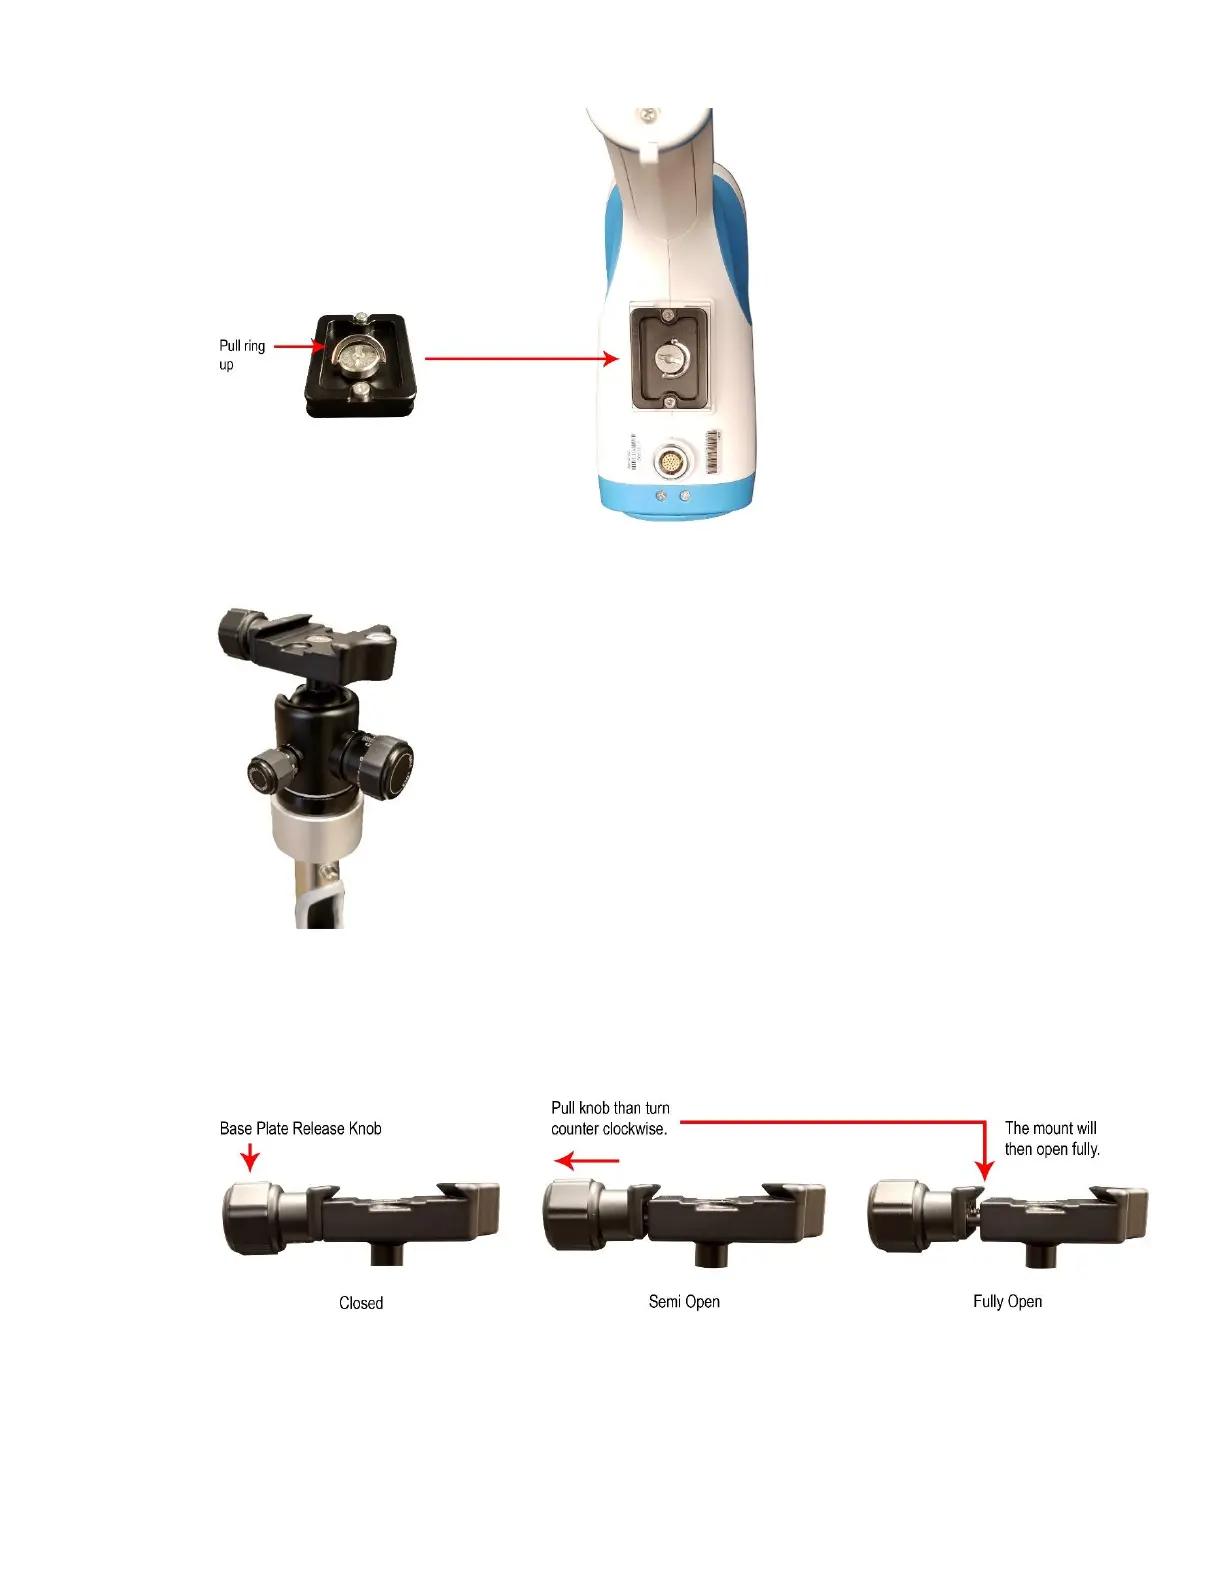
11. There are 2 phases to opening the Stand Mount release knob. Turn the Base Plate Release Knob
counterclockwise until it cannot turn anymore. Pull the knob outward to allow it to continue turning. Continue
turning counterclockwise until it stops. The base mount is now fully open and is ready to receive the
Camera, which is attached to the camera base plate.
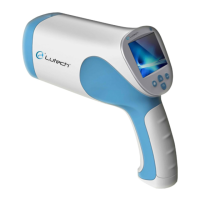
Diagram 2.4-12
12. Plug the main cable coming out of the top of the vertical tube into the connector located on the bottom of the
colposcope camera.
NOTE: There is a bump on top of the red dot on the main cable connector. This bump will fit into the notch