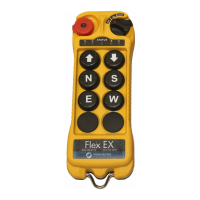
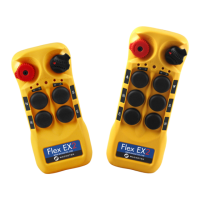
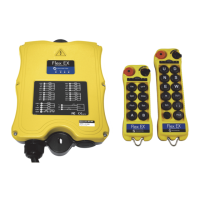
Flex 8EX / 12EX EU System Instruction Manual
March 2018
Page 47 of 66
4.2.4.2 Non-Interlocked Functions
Unlike interlocked settings, non-interlocked settings allow the two adjacent
pushbuttons to be used simultaneously. Non-interlocked settings are usually applied
to a crane’s auxiliary functions such as lights, horns, 3rd speed, auxiliary stop, and
Pitch & Catch. Each dipswitch on the decoder module corresponds to one (1) motion
or two (2) adjacent pushbuttons (left and right pushbuttons).
Example #1: Left button (set to function code A) / right button (set to function code A) 1 000 000
Example #2: Left button (set to function code B) / right button (set to function code B) 1 001 001
Example #3: Left button (set to function code A) / right button (set to function code C) 1 000 010
Example #4: Left button (set to function code E) / right button (set to function code A) 1 101 000
NOTE:
When set to Pitch & Catch function, make sure the 2nd transmitter is set to the next-
highest channel. For example, if the system is preset at Ch. 01, then the 2nd transmitter should
be set to Ch. 02. Furthermore, you must also set the dipswitch on the receiving module (positions
#7 and #8) to the “10” position (2-channel scanning) (
see Section 4.2.2.10 on page 44
).
NOTE: When set to “Auxiliary Stop”, be sure JP3 is inserted (see Section 4.2.5 on page 48).
Function
Code
Dip
Position
Setting
#1
Dip Position Setting
#2 - #4 (left button) and
#5 - #7 (right button)
Function Description
A 1 000 Normal (momentary) contact
B 1 001 Toggled (latching) contact
C 1 010 Acceleration (3rd speed)
D 1011
Toggled (latching) contact
affected by the E-Stop com-
mand. When E-Stop command
is initiated, all toggled (latch-
ing) relays are also deactivated.
H 1101
Normal + Start function.
For added safety, you must first
rotate and hold the power key
switch at the START position
and then press the intended
pushbutton at the same time to
activate the output relay.
E 1110
Pitch & Catch Type 1. When
Pitch (release) function is initi-
ated, receiver MAIN will not be
deactivated.
F 1111
Pitch & Catch Type 2. When
Pitch (release) function is initi-
ated, receiver MAIN will be
deactivated.
G 1 100 Auxiliary Stop