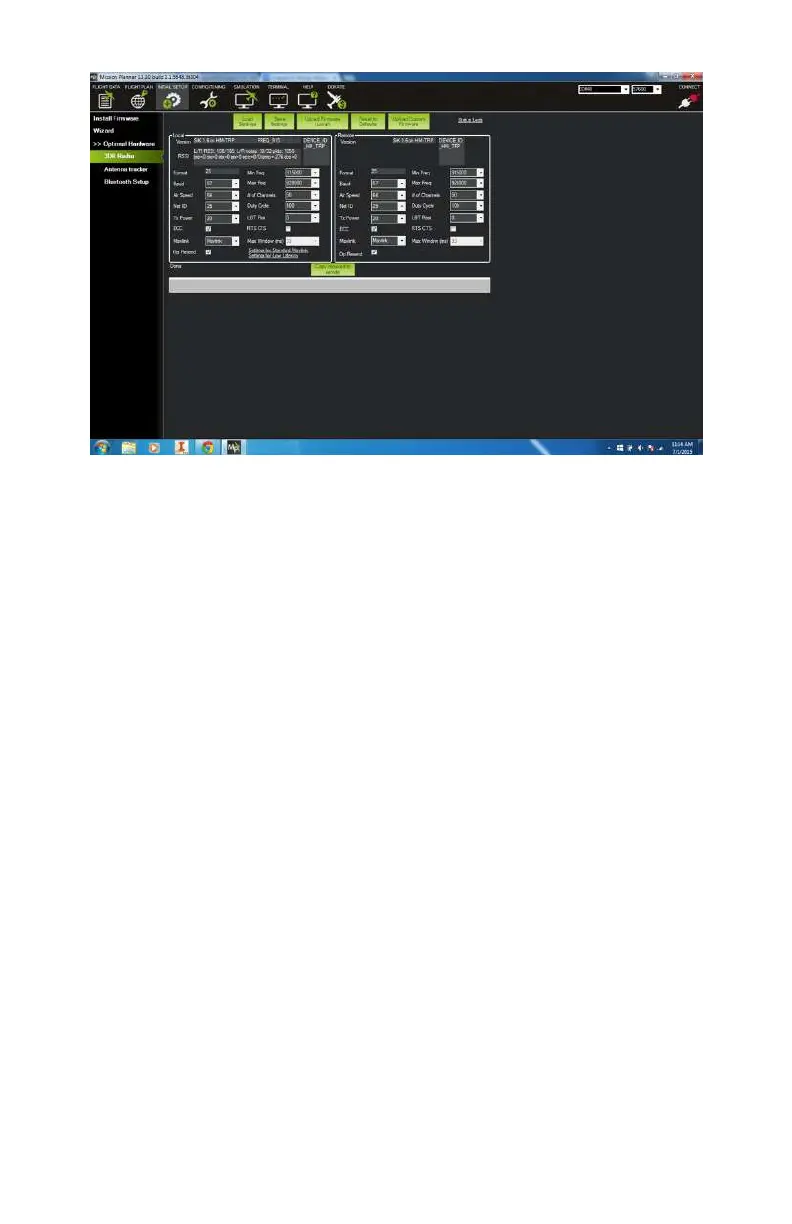
Figure 9-20. Telemetry radio setting loaded.
Step 3.2: Battery monitor
Another optional piece of hardware that many people like to use
is a battery monitor. This is a simple device but one that can
provide very valuable information and potentially save your air-
craft in the event of a battery failure. As we covered in Chap-
ter 5, the battery monitor installs inline between your main
power distribution plug and the battery itself. It uses a small
chip that communicates with the APM to analyze the current
draw and capacity remaining in the battery. This page in Mission
Planner allows you to adjust the few settings for the battery
monitor. To get to this screen, select Battery Monitor in the left-
hand menu. There are three settings that you have control over:
Monitor
This dictates what the battery monitor will keep an eye on.
Your options are Disabled, Battery Volts, and Voltage and
Current. We recommend using Voltage and Current if you
are using the battery monitor (see Figure 9-21). It provides
more information, and that is always a good thing.
150 Make: Getting Started with Drones