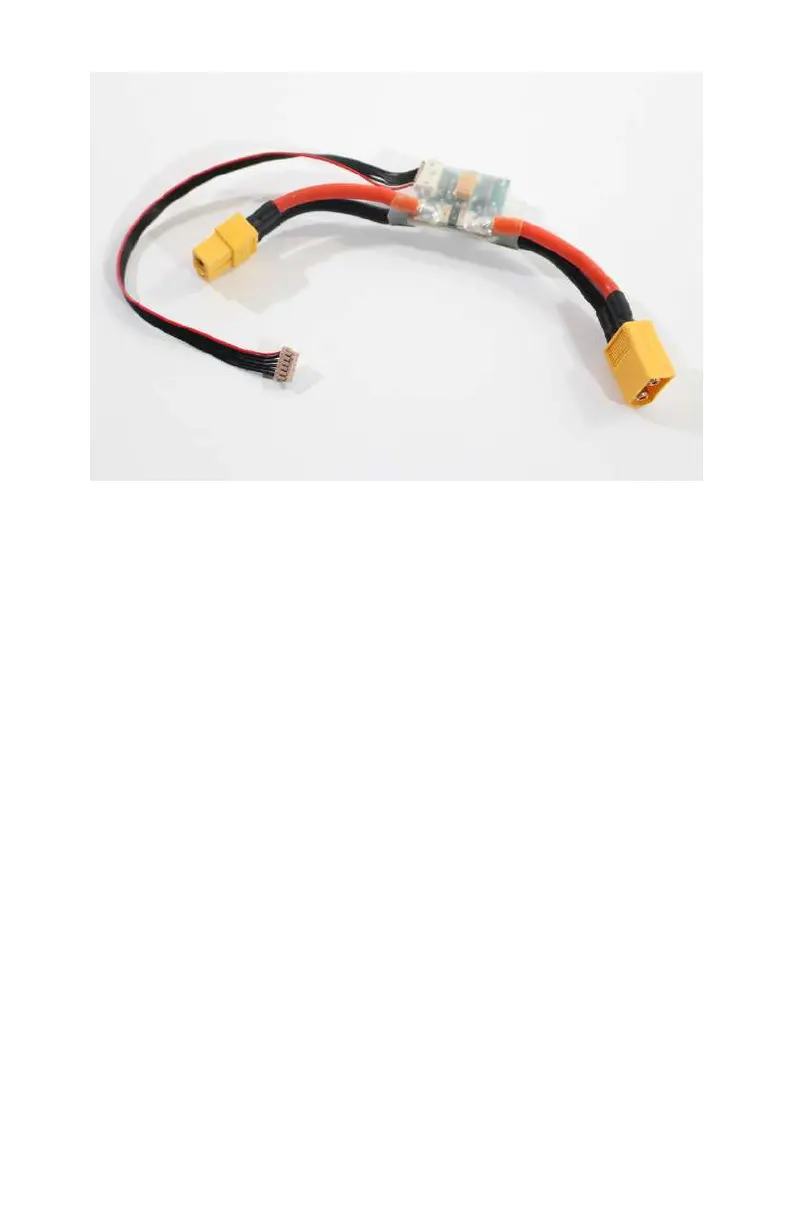
Figure 5-2. Our inline battery monitor collects very important
mission data as we
fly.
The theory behind the battery monitor is simple: place a small
circuit board inline with the main battery lead and allow it to col-
lect critical voltage and amperage information that is fed back
into the APM. From there, we can direct the firmware to do a
number of dierent things with that information, such as auto-
matically return to home (RTH) when a certain voltage is
reached as a failsafe measure.
Step-by-Step Build Instructions
The following steps will walk you through the installation of the
GPS, compass, and battery monitor. While this portion of the
build may seem fairly simple from an install perspective, please
pay careful attention, because getting these wrong could have a
huge impact on your aircraft stability and reliability:
Step 1: Mount the GPS Puck
Installing the GPS puck is probably one of the simplest steps of
this entire build. It is important to know that most GPS pucks
also contain a compass, which means they have a dedicated
96 Make: Getting Started with Drones