Step-by-Step Build Instructions
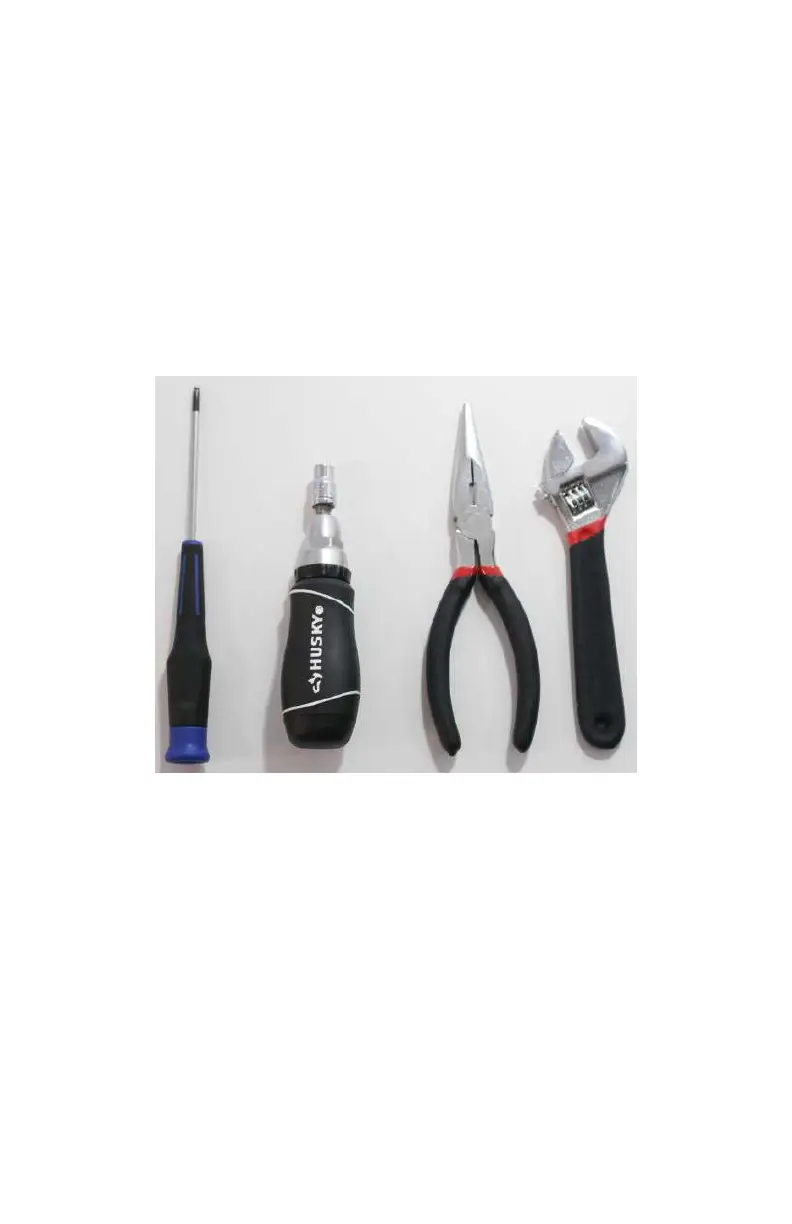
Here are the tools you will need to get started (see Figure 2-5):
• Metric Allen wrench (2.5 mm). A full set is nice to have, but
we will be using the 2.5-mm wrench during this build.
• An adjustable wrench, needle-nose pliers or a 7/32 nut
driver. Any of these will work, but if you use the nut driver,
make sure it is slim enough to
fit into the tight spaces
around the frame. A full ratcheting socket will not work,
because it is too large. The needle-nose pliers will mark up
your hardware slightly, so use those as a last resort.
Figure 2-5. Tools you will need for the frame build.
Step 1: Install the Standoffs
Begin building the bottom portion of the airframe—the dirty
frame—by attaching the short aluminum
standos (see
Figure 2-6). Locate the top dirty frame plate (plate B in
Figure 2-3). There are four 3-mm holes at each corner of the
plate (see Figure 2-7). Use those holes to mount the standos
with the 5-mm screws (the short black screws included in the
kit).
22 Make: Getting Started with Drones