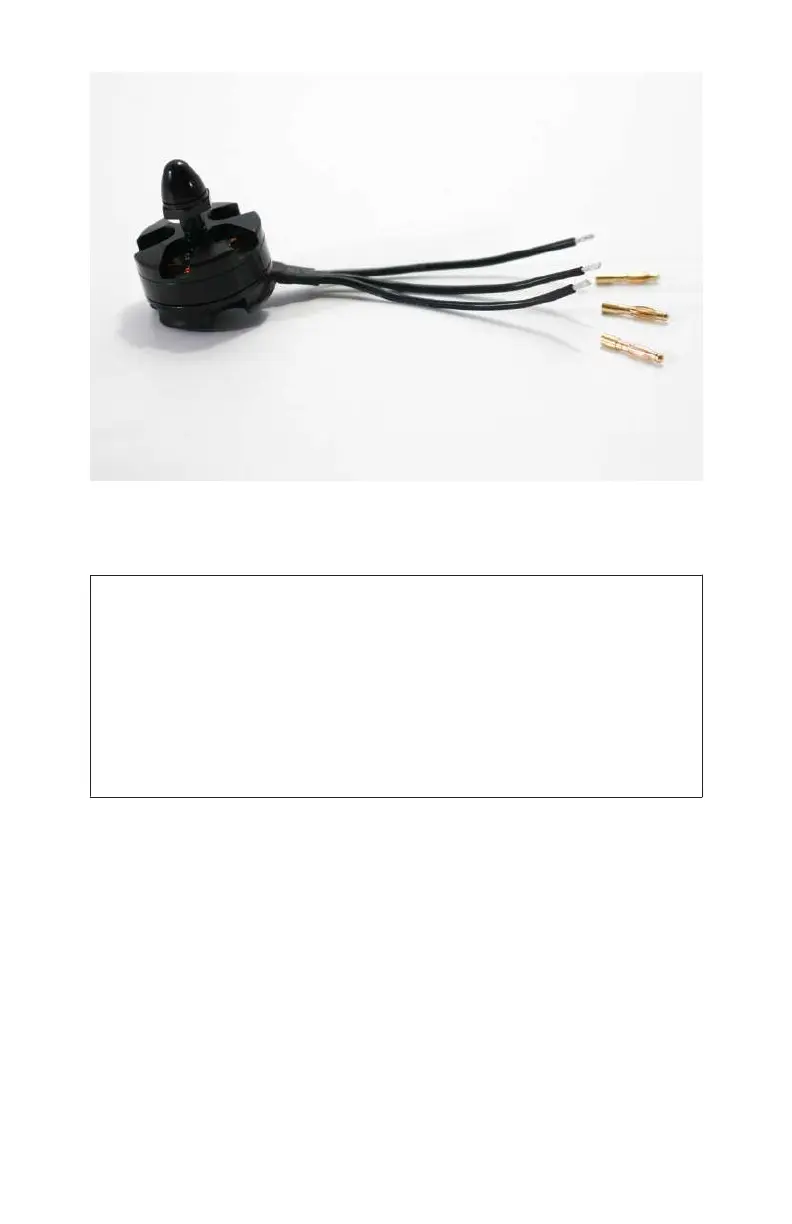
Figure 3-12. The motor leads are stripped, tinned, and ready to
take the male bullet connectors.
New to Soldering?
You are reading through a Make: book, so we assume that you
have used a soldering iron at some point in your past. Maybe it
was only once, maybe every day, but we do assume a basic
understanding of how it works. If you are entirely new to the
concept, or just want a refresher course, check out our in-depth
soldering tutorial on the website.
Next, we are going to get out our third hand and use it to add the
male bullet connectors to our motor leads. Clamp one bullet
connector into one of the alligator clips with one of the tinned
motor leads in the other. Take your time and make sure that you
can position both of these parts in a comfortable way so that
you can easily access them with your soldering iron. Once you
have everything
configured as needed, place your iron on the
outside of the bullet connector, allowing it to heat up for just a
few seconds before applying some solder to the inside of the
connector where the wire sits. Refer to Figure 3-13 for more info.
Power Train 57