Figure 3-15. Heat shrink is in place and ready for the heat gun.
Once you have the heat shrink in position, get your heat gun
ready. We will gently apply some heat to the heat shrink (see
Figure 3-16). Try to position the wires so that you can heat one
at a time, especially if you are new to this process. If you are
using a hair dryer or heat gun with a lot of wind displacement,
be careful that the moving air does not move your carefully posi-
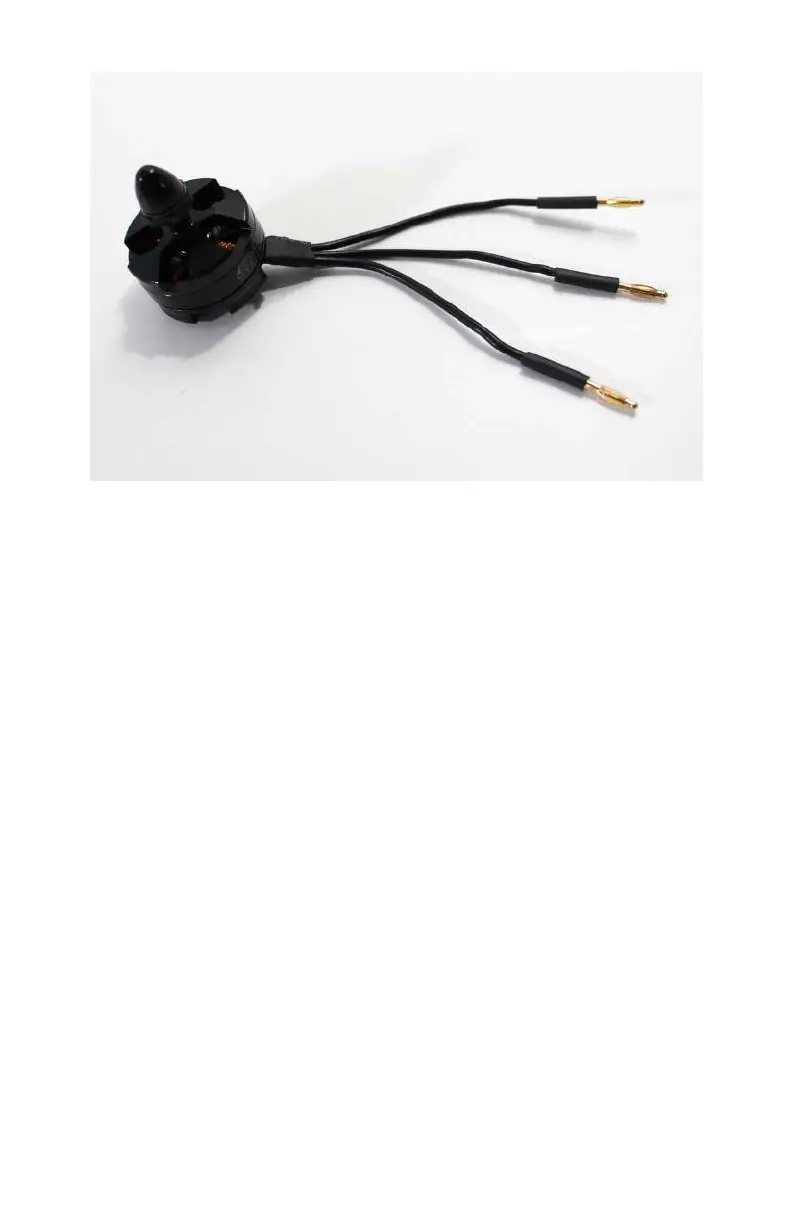
tioned heat shrink. Apply this process to all three leads and you
should end up with something that looks like Figure 3-17. It only
takes a few seconds to shrink the tubing. Once it’s tight around
the connector and wire you are good to move on.
60 Make: Getting Started with Drones