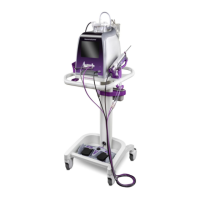
• This number is seen in the center of the SMS
graphic and represents the number of attempted
samples taken during the biopsy procedure for a
single probe. The number increases as each
sample is attempted for a single probe.
• The biopsy counter automatically resets when a
probe is removed from the holster. The user may
manually clear the count immediately after “Reset
Chambers” is executed by pressing and holding
the center of the SMS graphic for ~2 seconds.
• After probe initialization, as long as the probe
remains attached to the holster and the user does
not manually clear the count, the count tracks the
number of times the BIOPSY function is executed,
even if chambers have been advanced and/or
reset, a new SMS cup has been placed on the
original probe, or a probe has been placed in
standby then returned to the procedure to
continue sampling.
NOTE: Before any samples are attempted, no number
shows on the biopsy counter. If manually cleared after
sampling, the count clears to zero (0).
NOTE: This number tracks the number of times the
BIOPSY function is executed. It DOES NOT represent
the number of chambers in the SMS, or the number of
the active SMS chamber.
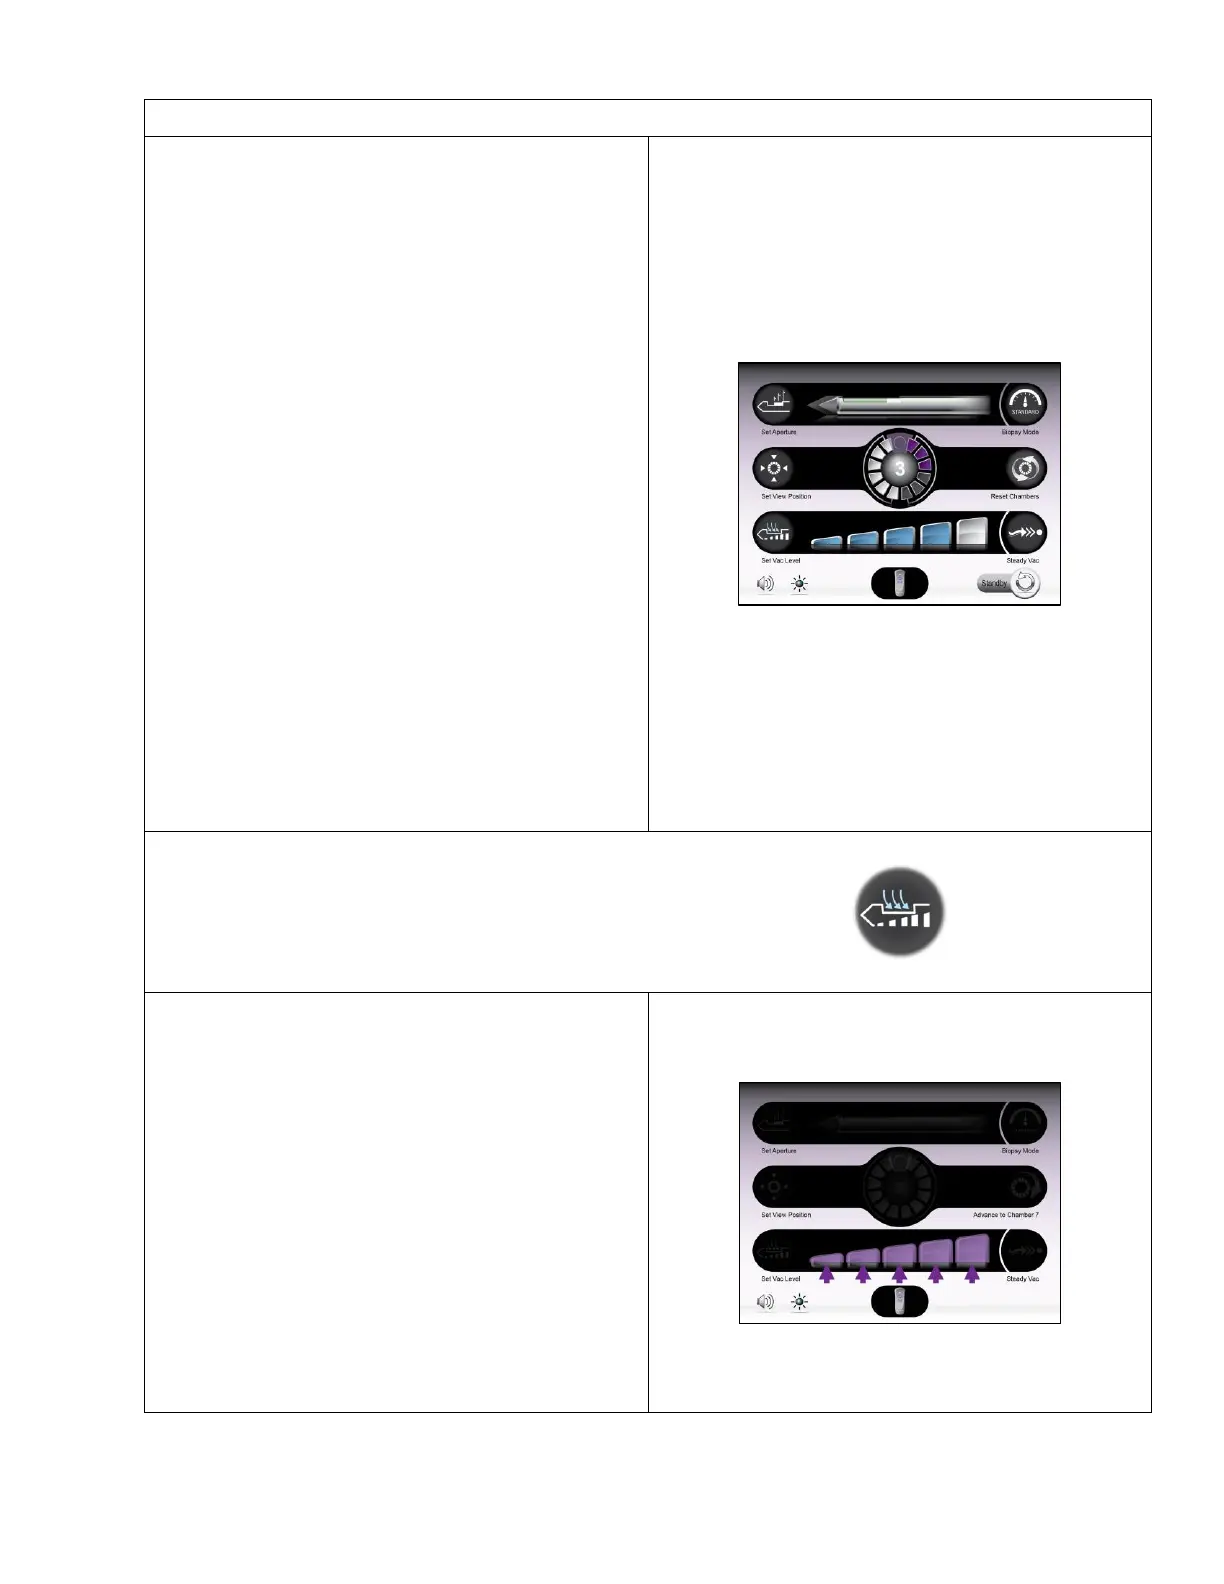
• On this Confirm Selection Screen, the user can
adjust the vacuum level of the system. The default
vacuum level at startup is represented by the
middle bar in the graphic. If ambient air pressure
is too low for the pump to create the default
vacuum, the graphic shows the highest attainable
vacuum level as the first or second bar in the
graphic.
• System shutdown returns the vacuum level to the
default setting.
• To adjust setting: First, touch the “Set Vac Level”
button. Then touch the desired vacuum level bar
that is available on the screen.
• Default Setting: 24 in./Hg, or the closest
attainable vacuum level.
 Loading...