mida
4.5 Installing the finger
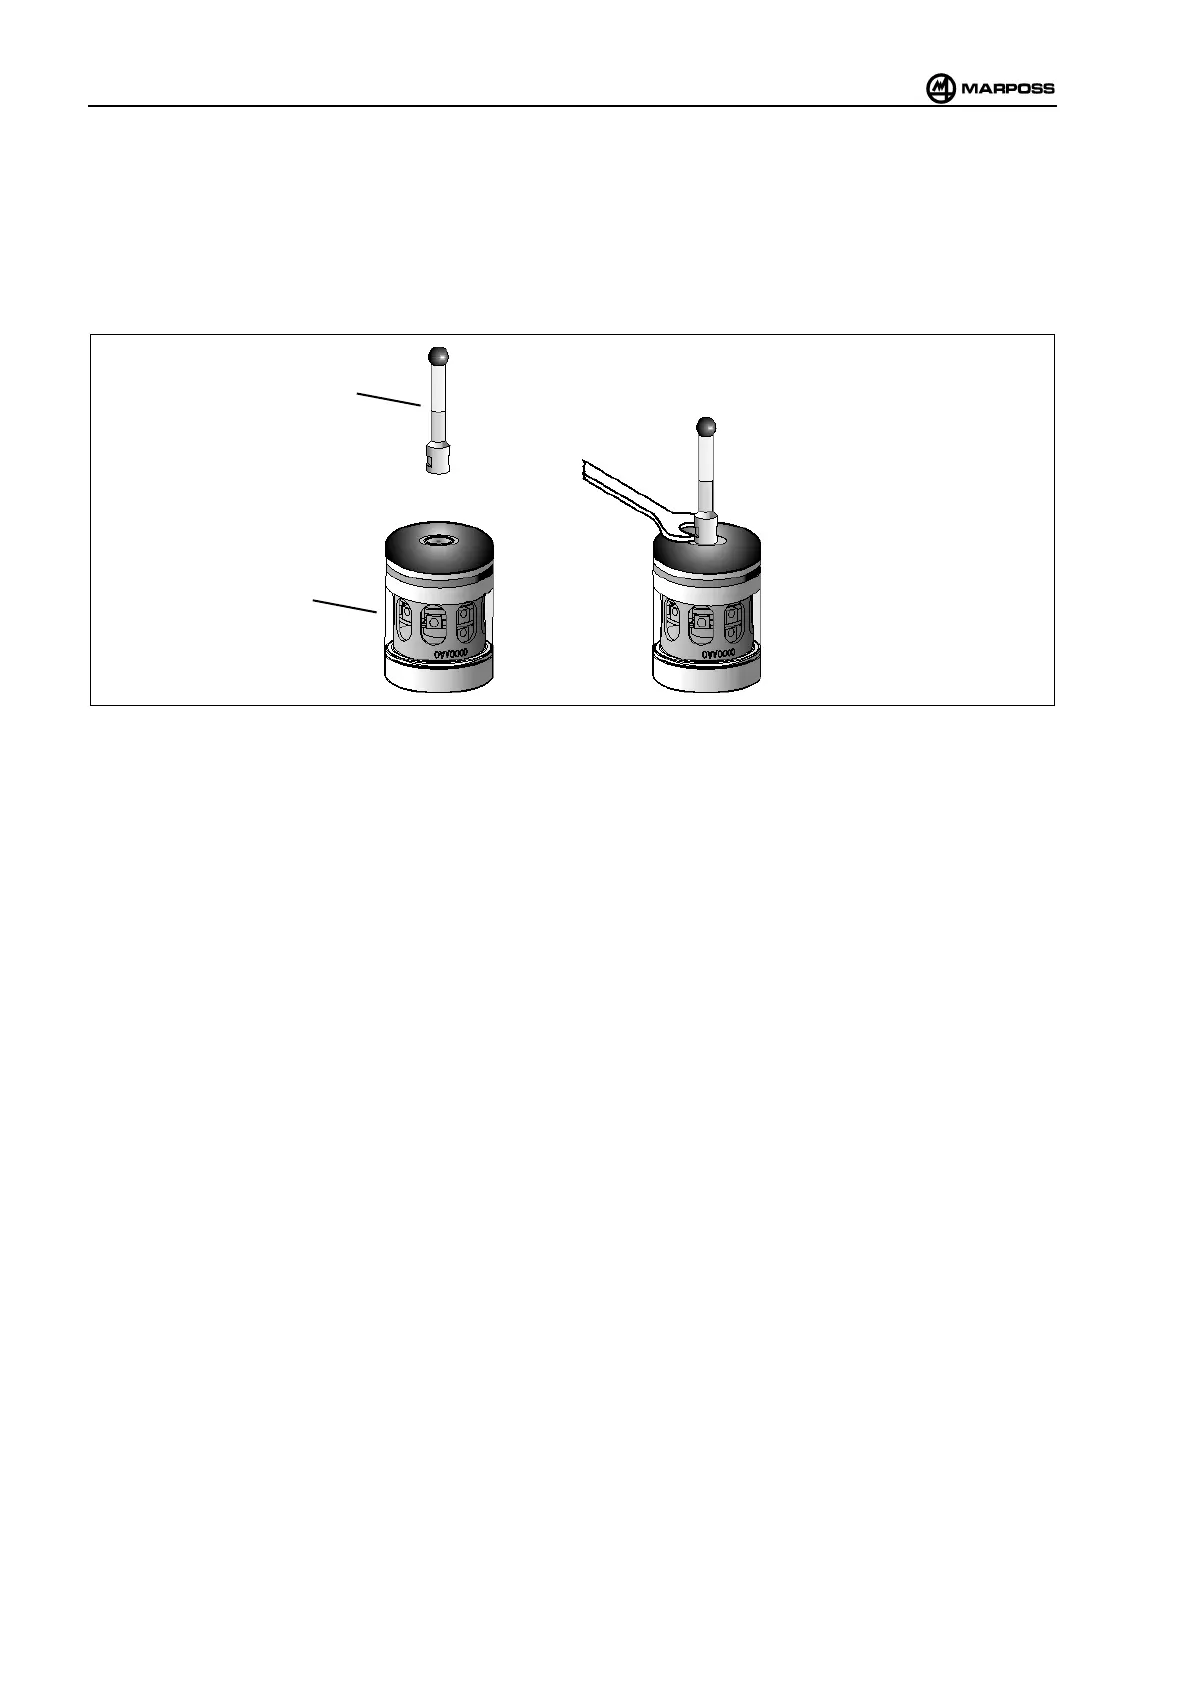
To mount the finger on the probe/transmitter proceed as follows:
• Use the open-end spanner (cod. 1320007000), supplied into tools kit, to tighten the stylus.
• Insert and screws the finger (A) on the probe/transmitter (B)
• Tighten the finger using a 1 Nm torque wrench.
Figure 4-4. Installing the finger.
4.6 Installing the receiver in the machine
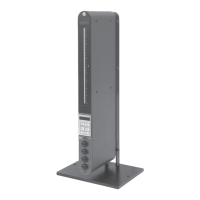
The receiver is provided with two ø 5,5 mm holes for mounting it on the machine (see receiver dimensions in para. 3.2
“E83 Receiver and adjustable support dimensions”).
The receiver can be installed directly in the machine, or by means of an adjustable support (optional).
When installing the receiver directly, ensure that the it is mounted on a surface where it can be aligned correctly with the
transmitter, allowing for the respective fields of view (see para. “9 “SIGNAL TRANSMISSION”).
The adjustable support makes it easier to install the receiver in the machine as it is possible to mount it in the most
convenient position and then align it as required (see para 3.2 “E83 Receiver and adjustable support dimensions”).