8 Martin
®
MAC One Safety and Installation Manual Rev. B
Introduction
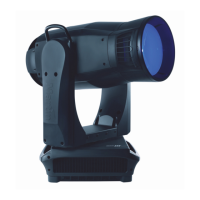
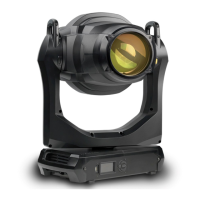
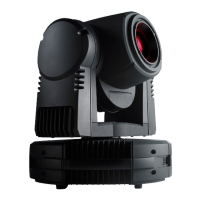
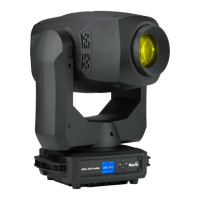
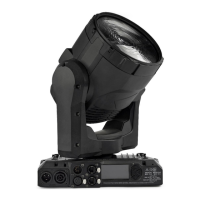
Thank you for selecting the MAC One moving head lighting fixture from Martin®.
This Safety and Installation Manual is supplied with the fixture. It gives details of installing and servicing
the fixture as well as connecting to mains power. The MAC One User Manual, containing full instructions
for connecting to control data, setting up, controlling and monitoring the fixture is available for download
from the MAC One area of the Martin website at www.martin.com. If you have any difficulty locating this
document, please contact your Martin supplier for assistance.
Before installing, operating or servicing the MAC One, please check the fixture’s area of the Martin
website at www.martin.com and make sure that you have the latest user documentation for the product.
Not all product specifications are included in the fixture’s user documentation. You can find full
specifications for the fixture in the MAC One area of the Martin website. The online specifications include
information to help you order accessories such as cables, flightcases etc.
The fixture is supplied with this Safety and Installation manual, a soft lens accessory that mounts on the
front of the head without tools and a Martin omega bracket for fastening a rigging clamp to the fixture
base.
Before using the product for the first time
1. Check the support pages on the Martin Professional website at www.martin.com for the most recent
user documentation and technical specifications for the fixture. Martin user manual revisions are
identified by the revision letter at the bottom of the inside cover.
2. Read ‘Safety information’ on page 3 before installing, operating or servicing the fixture.
3. Unpack and ensure that there is no transportation damage before using the fixture. Do not attempt to
operate a damaged fixture.
4. Check that the voltage and frequency of the local power source match the mains power requirements
of the fixture.
5. Either hard-wire the fixture’s power input cable to an AC mains power source or install as described in
this manual a power plug (cord cap) that is suitable for local power outlets on the power input cable
and connect the cable to an AC mains power outlet. If you need to fabricate a power cable, use only
the cable and connector specified in this manual.
Applying mains power
The fixture does not have an on/off switch. It becomes active as soon as AC mains power is applied at the
power input connector. Be prepared for the head to move and for the fixture to suddenly emit bright light.
Each time power is applied to the fixture, it will reset all effects and functions to their home positions. A
reset typically takes around 20 seconds.
Packing and unpacking
Allow the fixture to cool for 30 minutes before packing it for storage or transport in a flightcase or
packaging.
If you move the fixture from a cold to a warm environment, remove it from its flightcase or packaging and
give it at least two hours to acclimatize before you apply power. This will help to avoid damage due to
internal condensation.