22 P3-100 user manual
9. Deactivate the test pattern. The on-screen installation now matches the physical installation, and you are
ready to set up the video input. Go to
“3. Setting up video display” on page 28.
2.B Using the Layout Wizard
If you have a P3-100 with a rectangular array of Martin video panels connected
to it and powered on, you can use the Layout Wizard to configure the installation
automatically – with no preparation beforehand – by creating a virtual on-screen
installation with virtual panels that are linked to the physical panels in the
physical installation.
The Layout Wizard can be run on only one fixture type at any one time, but it can
be run more than once if you have more than one rectangular screen in your
installation. The wizard does not prevent panels from being added manually later.
To use the Layout Wizard:
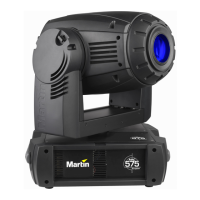
1. See Figure 21. Activate the Layout Wizard by pressing its button.
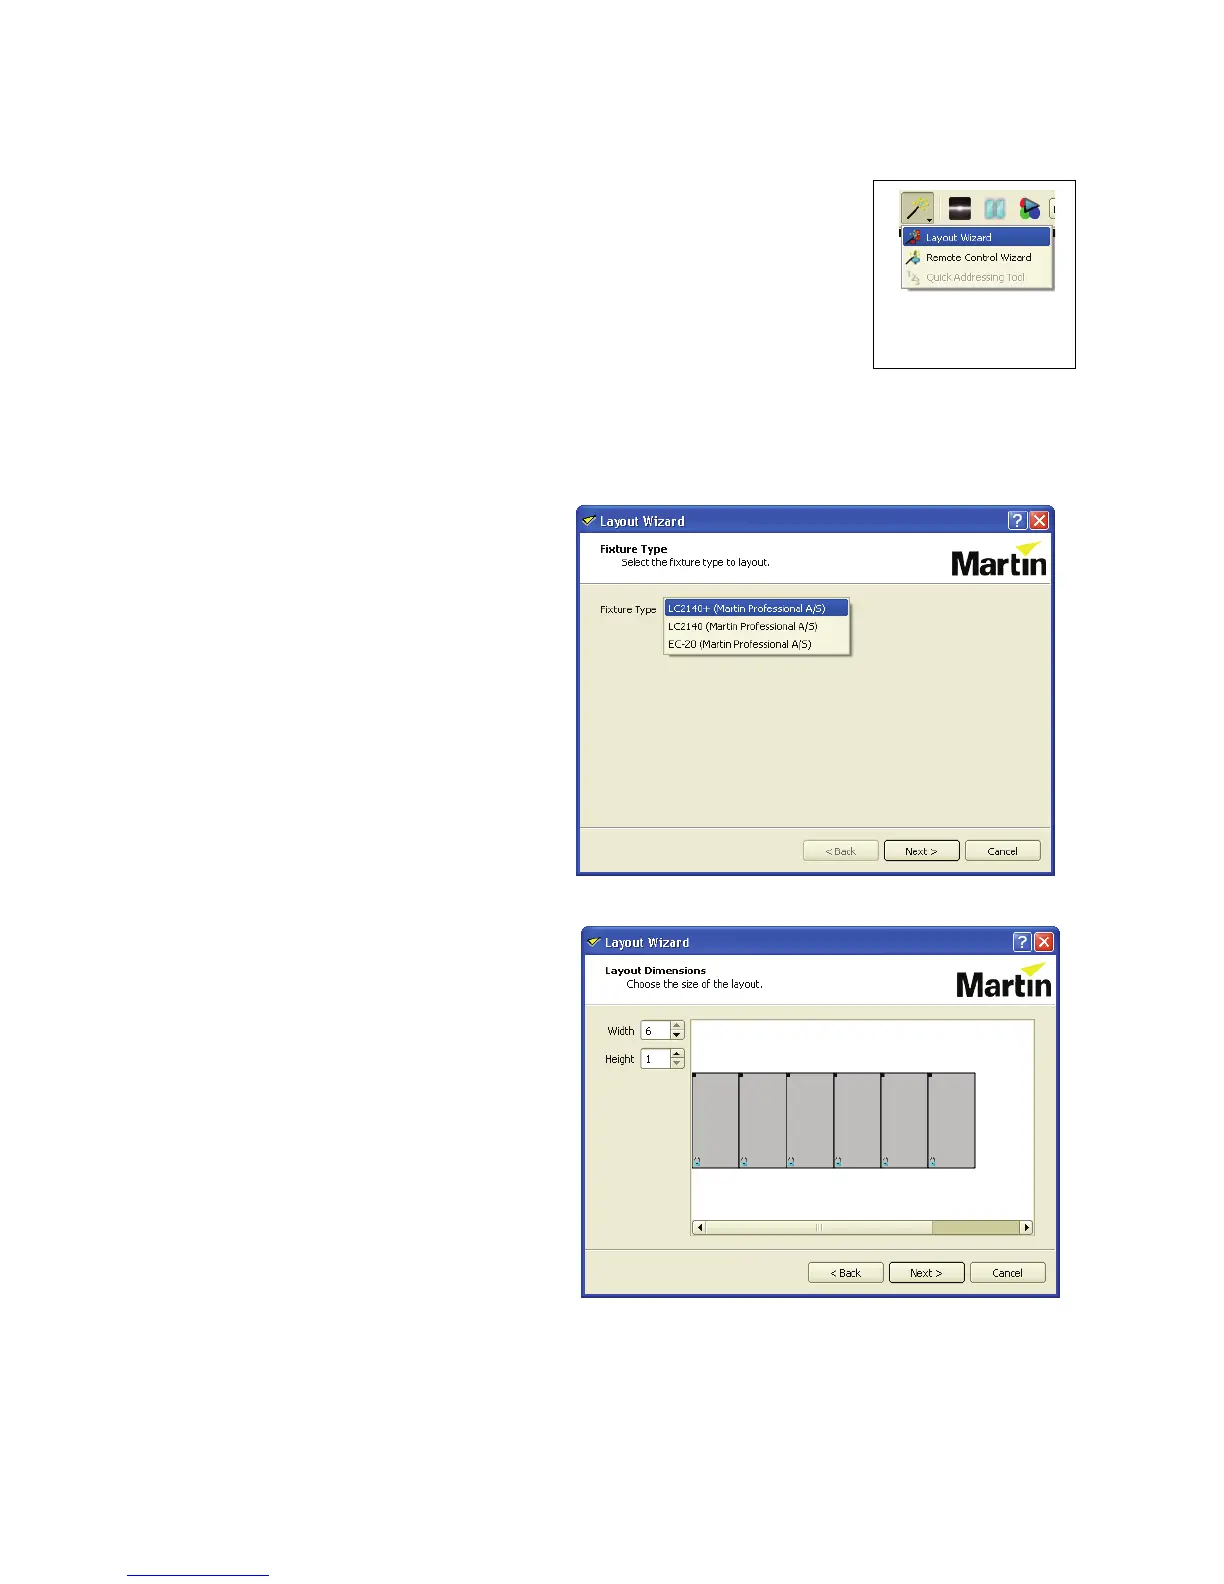
2. First, select the fixture type you
want to lay out. The P3-100 lists
the fixture types it has detected.
Click on Next.
3. The wizard gives you the option of
automatically creating a fixture
group for the panels the wizard will
place.
4. The Layout Wizard asks you to
define the height and width of the
screen (in number of panels).
Make sure that Width and Height
match the number and layout of
the physical panels you want the
Layout Wizard to set up.
5. The wizard asks for the cabling
layout of the screen, as the wizard
will use this information to
automatically determine the
location of each fixture in the
setup:
Horizontal: Fixtures are
daisy-chained one row at a time
(and then down/up to the next
row).
Vertical: Fixtures are
daisy-chained one column at a
time (and then left/right to the next column)
Figure 21: Layout
Wizard button