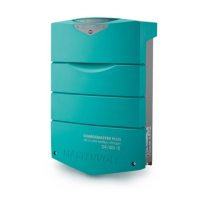
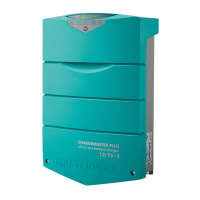
CombiMaster 120V Series –
User and Installation Manual
7.7.1 DIP switches (for a single-phase parallel configuration in a basic MasterBus system)
Step 1. Make sure that all power sources (AC and DC) are turned off.
Step 2. Make sure the AC IN and AC OUT breakers are open.
Step 3. Make sure the "On/Charge only"-switch position is "Charge only" () on all units.
Step 4. Check all connections are firmly tightened.
Step 5. On all units:
Set DIP switches 1 and 2 on for MasterBus operation.
Set DIP switch 10 on for parallel operation.
Set DIP switches 3 to 9 to fit the requirements.
Note: all units must have the same DIP switch settings!
MasterBus DIP switch settings
MasterBus operation off
MasterBus operation on
MasterBus powering off
MasterBus powering on
Configurable via MasterAdjust (Flooded by default)
Constant voltage (13.25V)
Inverter frequency 60Hz
Inverter frequency 50Hz
AC input support mode off
AC input support mode on
AC voltage input window wide
AC voltage input window narrow
Energy saving mode off
Energy saving mode on
Parallel operation off
Parallel operation on
Step 6. First install the DC fuses and then close the battery switch.
Check the DC voltage between plus and minus on each unit.
Step 7. Close the connection compartment of each unit.
Step 8. Switch all units on ("On/Charge only"-switch position is "On" (I)).
Step 9. Check that LED 2 is blinking green for 5 seconds during start-up to verify that the unit is
configured for parallel operation. If LED 1 blinks green or if LEDs 2 and 3 are blinking red,
check the DIP switches, cabling, and AC breakers are open. Then switch off all units, wait for
60 seconds and switch the units on again.
Step 10. Switch all units off ("On/Charge only"-switch position is "Charge only").
Step 11. Close the AC OUT breaker of each unit.
Step 12. Switch all units on ("On/Charge only"-switch position is "On" (I)).
Step 13. Check if the units are working in inverter mode (LED 2 is on green).
Step 14. Close the AC IN breaker of each unit.
Step 15. Turn on the AC power source.
Step 16. Check if the unit switches over to charger mode when 120V AC is applied to AC IN (LEDs 1
and 3 are on green).

 Loading...
