– User and Installation Manual
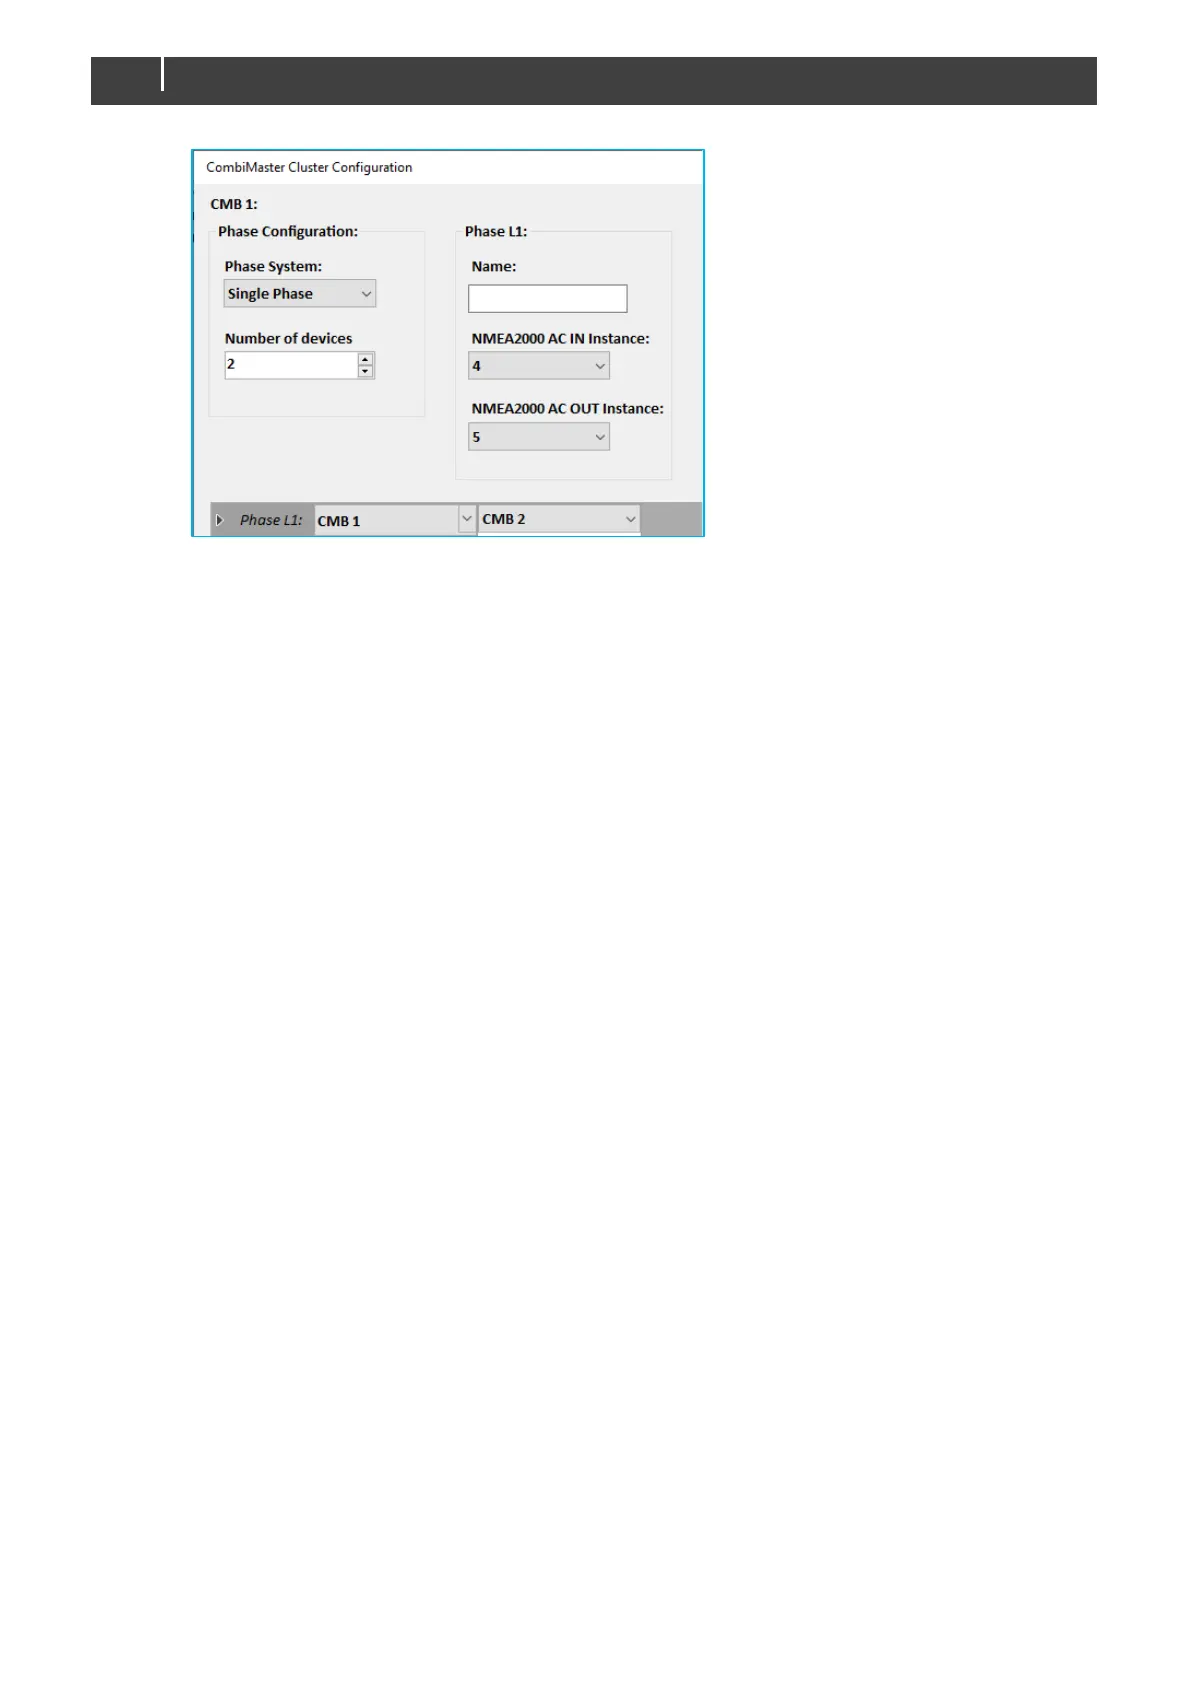
Step 15. Enter the Number of devices (or Devices per Phase in case of a split phase configuration).
In case of a split-phase configuration, this is the number of units per phase!
Step 16. Enter a phase Name.
Step 17. Select AC IN/OUT Instances. An instance is used to differentiate between multiple
monitoring sources.
Step 18. Select the cluster replicas from the Phase (L1) drop-down list(s).
Step 19. Keep clicking OK until all dialog windows have disappeared.
Step 20. Write the configuration to the network to use the new configuration.
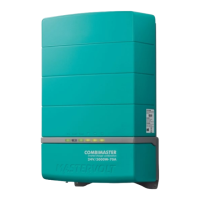
To identify the Primary unit, go to the Meters tab. The CombiMaster Inverter/Charger with two
or three AC IN/OUT Instances is the Primary unit.
Step 21. Switch all units off ("On/Charge only"-switch position is "Charge only" ()).
Step 22. Wait for 60 seconds and switch the units on again.
Step 23. Check the status of the LEDs during start-up to verify the configuration
LED 1 green blinking 5 seconds: single-phase standalone
LED 2 green blinking 5 seconds: single-phase parallel
LED 3: green blinking 5 seconds: split-phase L1
LED 4: green blinking 5 seconds: split-phase L2
LED 2 and red 3 blinking: error. Check cabling, AC breakers are open, and cluster settings in
MasterAdjust. Then switch off all units, wait for 60 seconds and switch the units on again.
Step 24. Switch all units off ("On/Charge only"-switch position is "Charge only").
Step 25. Close the AC OUT breaker of each unit.
Step 26. Switch all units on ("On/Charge only"-switch position is "On" (I)).
Step 27. Check if the units are working in inverter mode (LED 2 is on green).
Step 28. Close the AC IN breaker of each unit.
Step 29. Turn on the AC power source.
Step 30. Check if the unit switches over to charger mode when 120V AC is applied to AC IN (LEDs 1
and 3 are on green).