11921 Slauson Ave. Santa Fe Springs, CA. 90670 (800) 227-4116 FAX (888) 771-7713
15
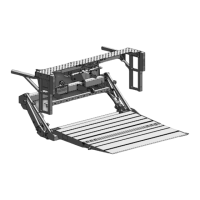
STEP 1 - ATTACH EXTENSION PLATE TO VEHICLE
NOTE: GPTWR Liftgate extension plate comes with bolt holes so it can be
bolted to vehicle body with optional bolt kit. GRADE 8 bolts are re-
quired. MAXON recommends getting the optional extension plate
hardware kit listed in OPTIONS section. Vehicle body must be drilled
according to instructions. Extension plate may also be welded to
vehicle body. Do the following bolting or welding instructions for the
extension plate.
CAUTION
To preserve the corrosion-resistant properties of the galvanized fi nish,
MAXON recommends bolting the galvanized extension plate to vehicle.
CAUTION
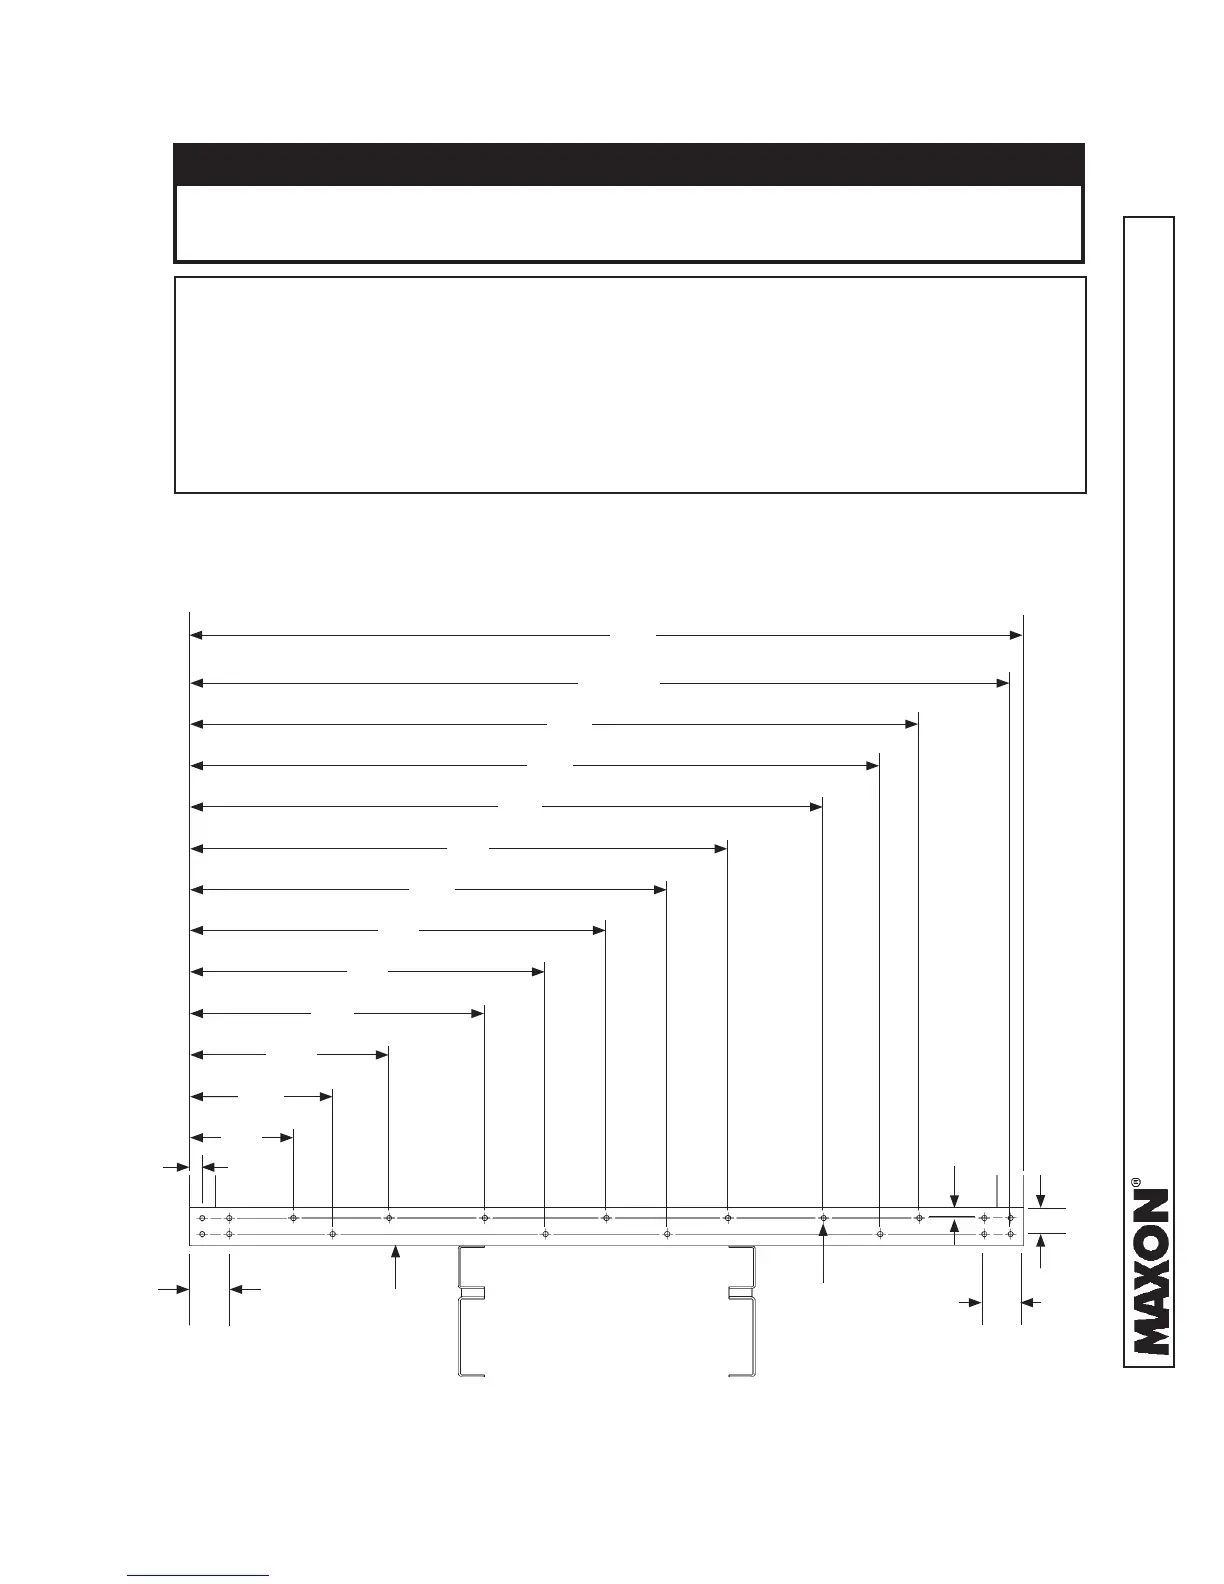
1. Mark and drill holes into rear sill as shown in FIGS. 15-1 and 16-1.
REAR SILL - HOLE LOCATIONS FOR 96” WIDE VEHICLE
FIG. 15-1
BOLT EXTENSION PLATE
USE 9/16” DRILL
(19 PLACES)
1-1/4”
3-1/8”
REAR
SILL
1-1/2”
19”
24”
14”
34”
41”
48”
55
62”
72”
77”
82”
94-1/2”
96”
6-1/2”
6-1/2”
 Loading...