11921 Slauson Ave. Santa Fe Springs, CA. 90670 (800) 227-4116 FAX (888) 771-7713
50
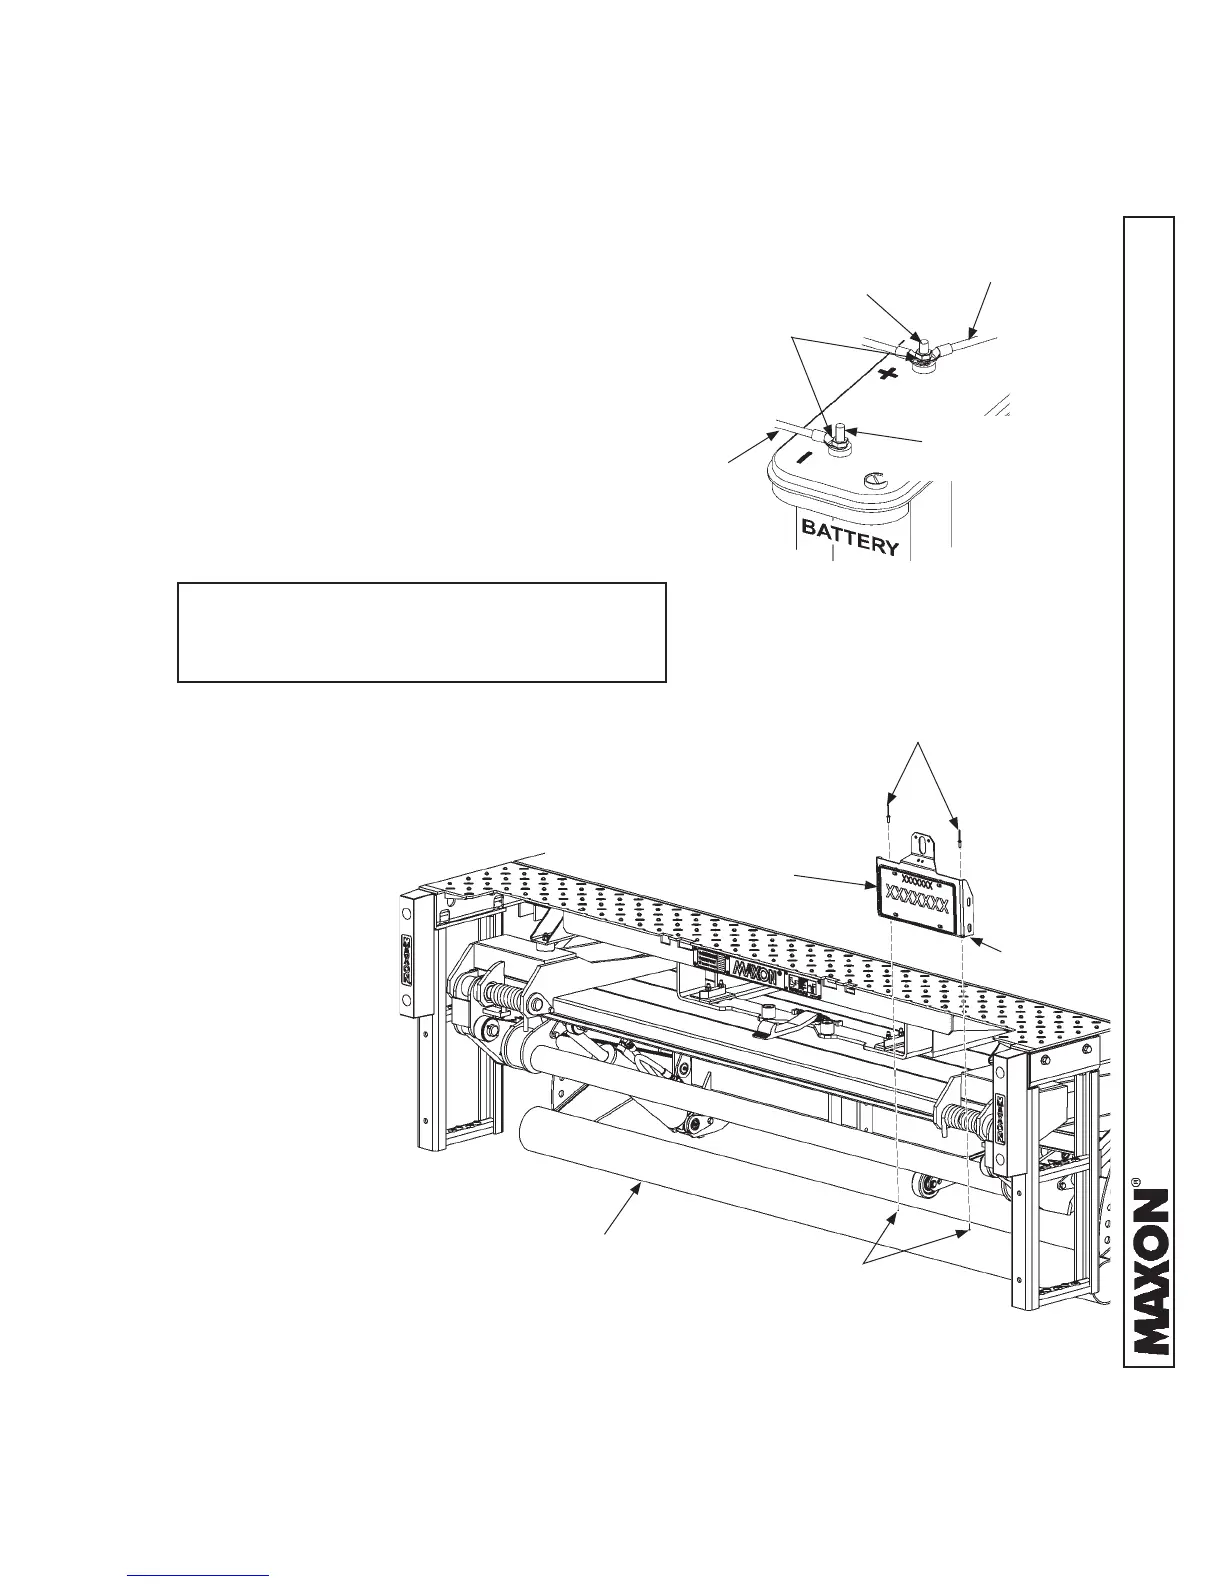
EXAMPLE FOR POSITIONING & RIVETING
LICENSE PLATE BRACKET TO UNDERRIDE
FIG. 50-2
RIVETS
BOTTOM
FLANGE
LICENSE PLATE
BRACKET
1/4” DIA.
HOLES
UNDERRIDE
5. Stow platform (FIG. 50-2). Refer
to operating instructions in
Operation Manual.
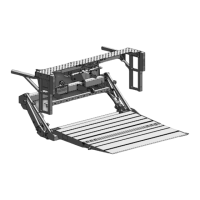
4. Reconnect power to the pump by
reconnecting positive (+) and nega-
tive (-) cables to battery (FIG. 50-1).
Reinstall and tighten nut when each
battery cable is reconnected.
POSITIVE (+)
BATTERY POST
BATTERY POWER RECONNECTED
FIG. 50-1
NEGATIVE (-)
BATTERY CABLE
NEGATIVE (-)
BATTERY POST
NUT
POSITIVE (+)
BATTERY CABLE
6. Put license plate bracket in desired position on
top of underride (FIG. 50-2). Next, use bottom
fl ange of license plate bracket to mark the two
holes on top of underride. Then, drill the 2 holes
with 1/4” drill bit (FIG. 50-2).
INSTALLATION WITH UNDERRIDE - Continued
STEP 11 - INSTALL OPENER & LICENSE PLATE
BRACKET WITH ICC BUMPER OR UNDERRIDE - Cont’d
NOTE: Ensure license plate bracket is
vertical with platform and underride
in the stowed position.
7. Rivet license plate bracket
to underride (FIG. 50-2).
8. Stow and unfold platform
several times to verify there
is no interference.
 Loading...