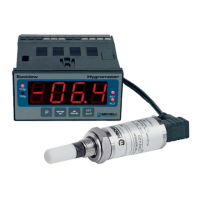
Easidew Online User’s Manual
10 97094 Issue 18.5, March 2016
INSTALLATION
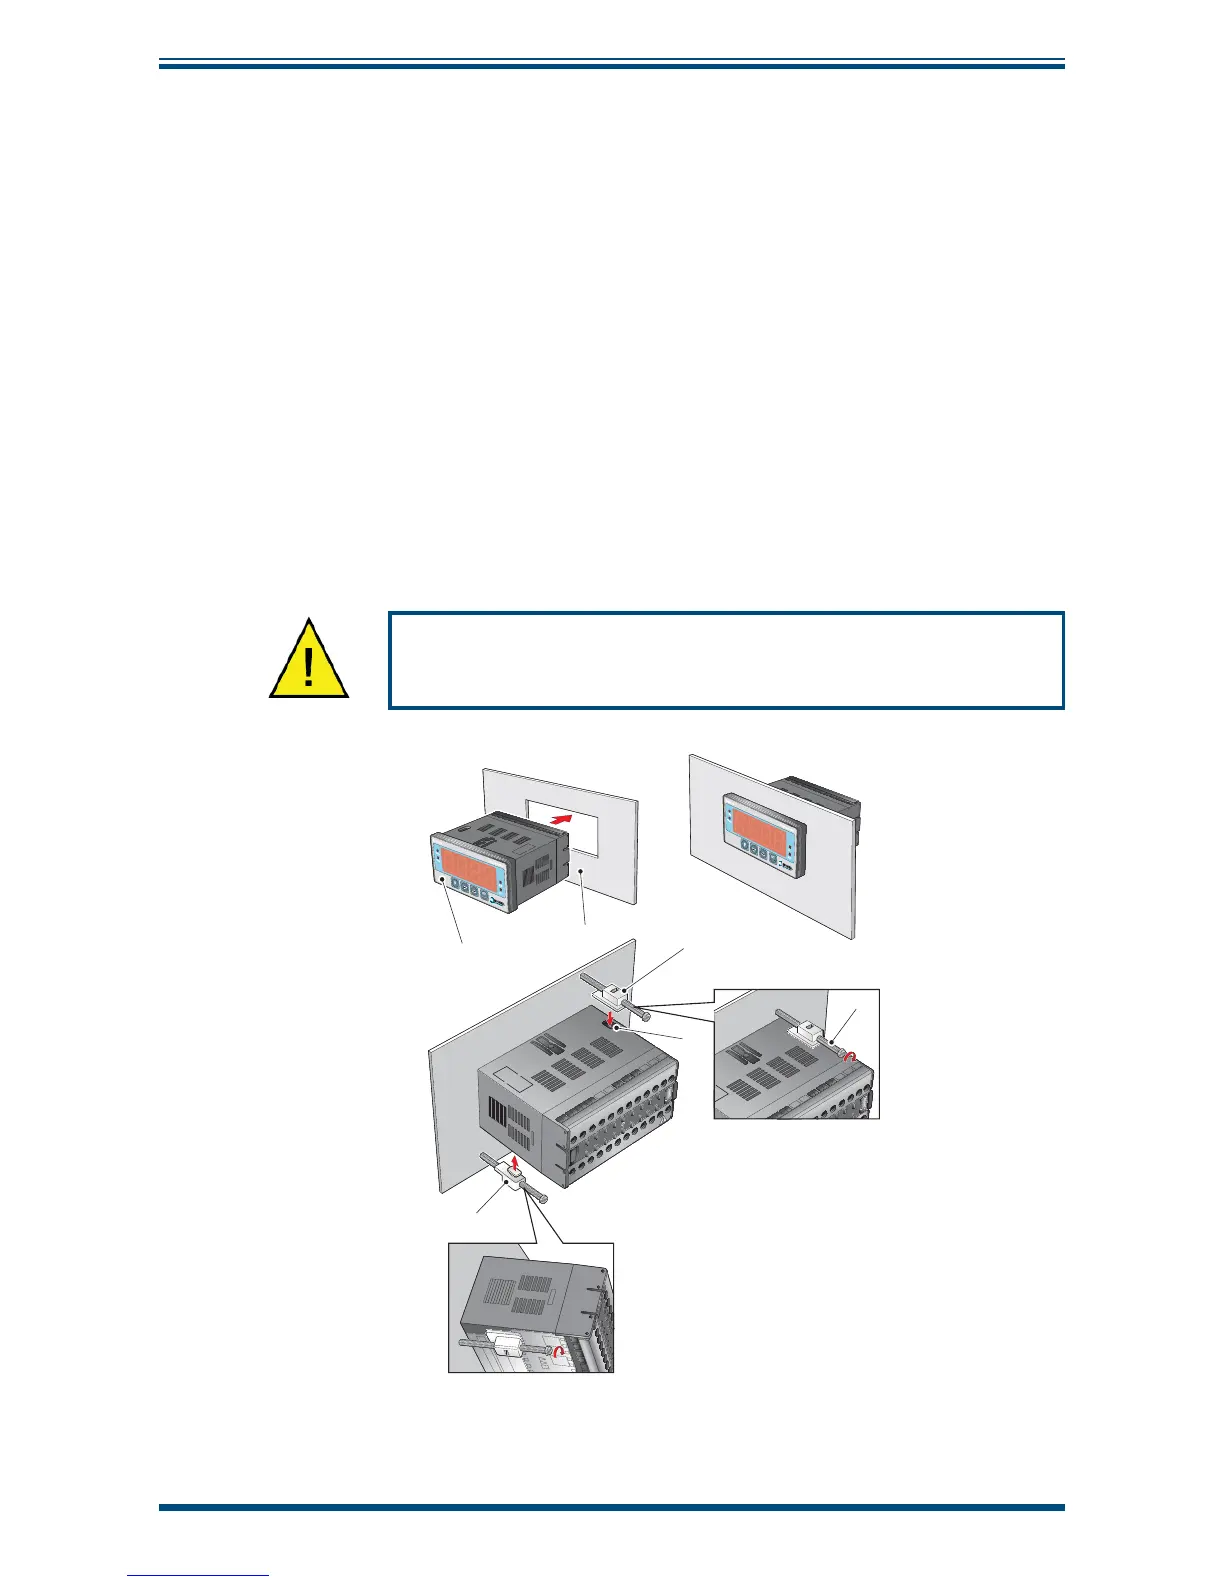
2.7 Mounting the Monitor
The monitor is designed for panel mounting and requires a panel cut-out of 46 x 92mm
(1.8 x 3.6”). The recommended panel thickness is 2 to 5mm (0.08 to 0.2”).
To mount the unit, proceed as follows (refer to
Figure 9):
1. Pass the monitor (1) through the front of the panel (2).
2. Support the monitor and insert the hook on the topside of the clamp (3)
into the slot (4) located on top of the monitor casing.
3. Tighten the fi xing screw (5) fi nger tight, against the back of the panel.
4. Insert the hook on the second clamp (6) into the slot located on the
underside of the instrument casing and tighten the fi xing screw, fi nger
tight, against the back of the panel.
5. Ensure that the monitor is sitting fl ush to the front of the panel (2) and
tighten the fi xing screws evenly against the back of the panel.
Caution: Do not overtighten the screws as this could cause
the case to crack.
1
2
4
3
5
6
Figure 9
Mounting the Monitor