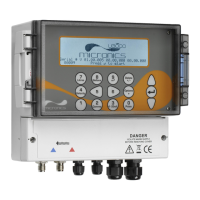
3: Operating Procedures
U3000/U4000 User Manual 21
(Issue 2.0)
3.3 Instrument Calibration
The instrument is fully calibrated before it leaves the factory; however the following adjustments are provided
to allow you to further ‘fine tune’ your instrument to suit local conditions and application where necessary.
Apart from the zero flow offset adjustment, these are normally carried out only where the instrument is to be
used at a permanent, or semi-permanent, location.
3.3.1 Adjusting the zero cut-off
This adjustment allows you to set a minimum flow rate (m/s) below which the instrument will indicate ‘0’. The
default setting is 0.01 m/s but you may adjust this value if required.
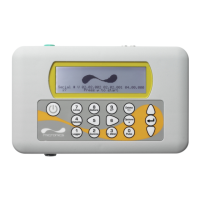
1. With the instrument operating in FLOW
READING mode, press the Options key to
access the FLOW READING OPTIONS
menu shown (password required).
2. Select Zero Cutoff (m/s) and press
ENTER.
3. Enter the value for the Zero Cutoff (e.g.
0.06 m/s) then press ENTER.
4. Scroll down to select Exit and press ENTER to return to the FLOW READING screen.
3.3.2 Adjusting the set zero flow offset
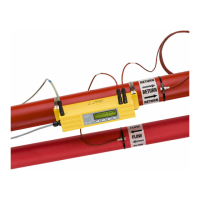
The U4000 instrument operates by comparing the time taken to send an ultrasonic signal between two
transducers in either direction. A Set zero flow offset adjustment is provided to compensate for any
inherent differences between the two sensors, noise pick-up, internal pipe conditions etc. It can be used to
‘zero’ the flow indication under no-flow conditions.
1. Stop the liquid flow.
2. With the instrument in FLOW READING mode press the Velocity function key and observe the reading
(m/s). Any reading other than 0.000 indicates an offset error and in practice this will typically be in the
range ±0.005m/s (possibly higher on smaller diameter pipes). If a greater figure is shown it is worth
cancelling the offset to obtain a more accurate result. Continue as follows:
3. Press the Options key to access the
FLOW READING OPTION screen shown.
4. Select Set zero flow (m/s) and press
ENTER.
5. Press ENTER on the subsequent screen to
accept the change, which will return you to
the screen shown.
6. Scroll down to select Exit and press
ENTER to return to the FLOW READING screen.
Key Point: If you have adjusted the Zero Cutoff point to anywhere above ‘0’ you
must reset it to ‘0’ before you can observe and adjust the Set zero flow offset, as
its value is very small. Once the Set zero flow offset has been cancelled you can
then reapply the Zero Cutoff if required.
Key Point: In order to cancel any applied offset you must either read the flow via
Quick Start or switch the instrument OFF & ON. Any value that you trim-out using
the offset adjustment will be added/subtracted from the flow reading across the
whole range.