18 M AIR User Manual
5.15 Setup
The Setup page is accessed via the icon at the top of the main screen.
Thisallowsthe channel layout to be modied, a console reset, and network
settings tobeadjusted.
For situations when one person is speaking for extended periods of time, the
Last Gate function may be helpful to keep the most recently active channel open,
preventing unwanted artifacts of the gate opening and closing during pauses
in speech.
The console defaults to “soft mutes”, meaning that if a channel has been
specically muted, and is also a part of a mute group, when the mute group
is unmuted, the channel that was specically muted will also be unmuted.
Selecting Hard Mutes will cause a channel that has been muted with its
dedicated Mute button will remain muted even if a mute group to which it
belongs is unmuted. DCA Groups normally just control volume levels without
actually having audio routing through them. However, engaging DCA Groups in
the Mute System will enable channels to be muted via DCA group assignments.
To reset the mixer to factory settings, press the Initialize Mixer button, then press
Yes to conrm.
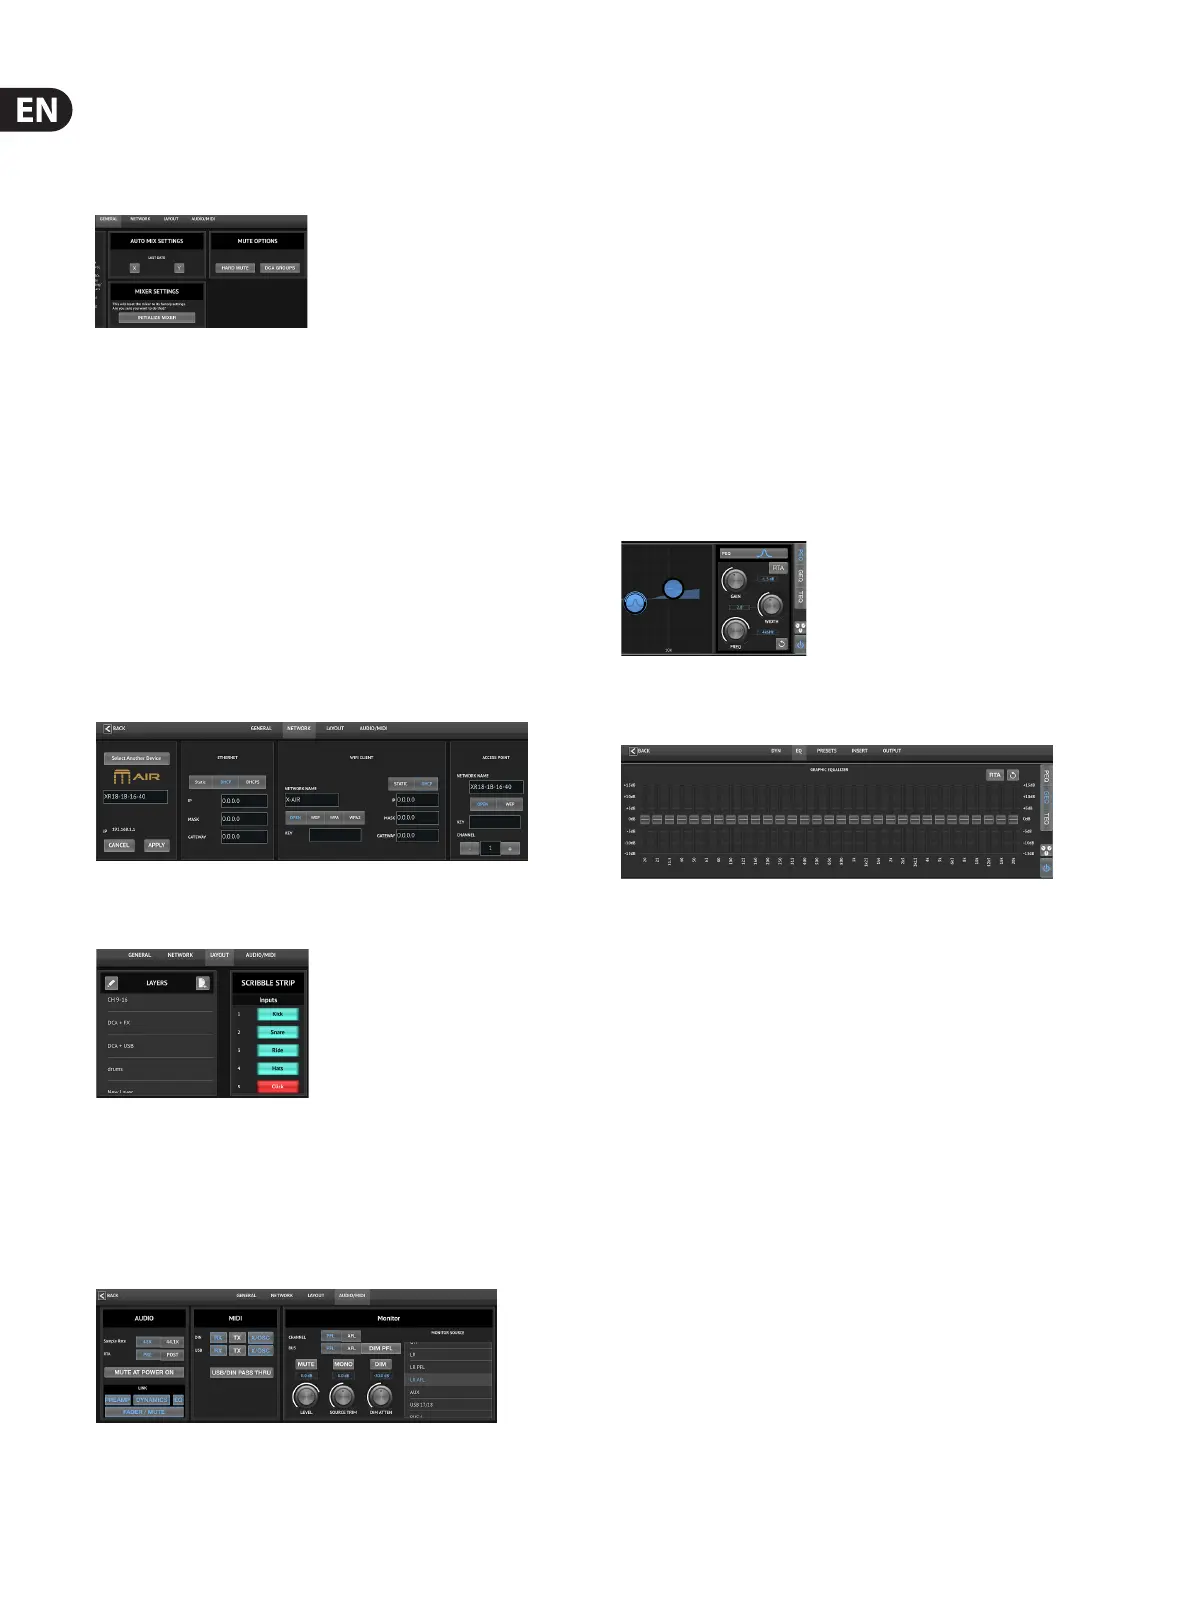
This screen allows the conguration of your wireless network connection.
SeetheNetwork Connection chapter for details.
The Layers list, also found on the right-hand side of the main screen, lets you
select which channels/buses are visible on the main screen. Custom layers can
also be created and edited, for example, to access only the drum channels.
The scribble strips are also edited on this page. Press a channel's blank box to
assign a color and name for that channel. The buses and eect blocks can
also be edited.
The Audio/MIDI tab allows global settings for audio, MIDI and monitor options.
The console operates at 48 kHz by default, but can be changed to 44.1 kHz.
TheRTA can be switched from pre to post-EQ to monitor the eect of EQ
adjustments. Engage the 'Mute at Power On' function to avoid pops during start
up. When the Link option is selected, adjacent channels are paired together.
Aside from the fader settings being matched, the preamp, dynamics, EQ and
fader/mute/sends can also be aligned.
Activate the desired MIDI transmit and receive options for the physical MIDI ports
and the USB MIDI in the menu.
The solo options can be selected in the monitor section. Channels and buses
can be set to pre or after fader listen, and the solo bus level, trim and dimmer
attenuation can all be set.
5.16 Main EQ
There are 3 EQ options for the main and monitor buses: 6-band parametric,
graphic, and “true” EQ. These are accessed by pressing the PEQ/GEQ/TEQ buttons
on the right side.
This parametric EQ functions the same as the channel EQ, but there are
6bandsavailable.
The GEQ and TEQ types appear to be identical, but the “true” EQ compensates
for adjacent frequency adjustments. Most graphic equalizers have a multiplying
eect when several neighboring bands are boosted or cut, causing an
exaggerated EQ adjustment. The TEQ will have an EQ curve that is more indicative
of the actual adjustments made on the sliders.
6. M AIR for Android
The M AIR applications for iOS, Android and Mac/Win/Linux allow all of the
physical controls and features normally found on analog mixers to be adjusted
digitally, and also allow eects and routing to be fully adjusted, all from a remote
location away from the input box. This results in a very compact, yet full-featured
mixing solution that can be operated while moving about the venue or studio.
This chapter will discuss the software’s functionality on an Android device.
6.1 Main View
The Main View screen provides access to all 16 channel faders, Aux in, and FX and
bus levels, as well as navigation to preamp controls, meters, FX slots and more.