27 M AIR User Manual
7.8 Main Tab
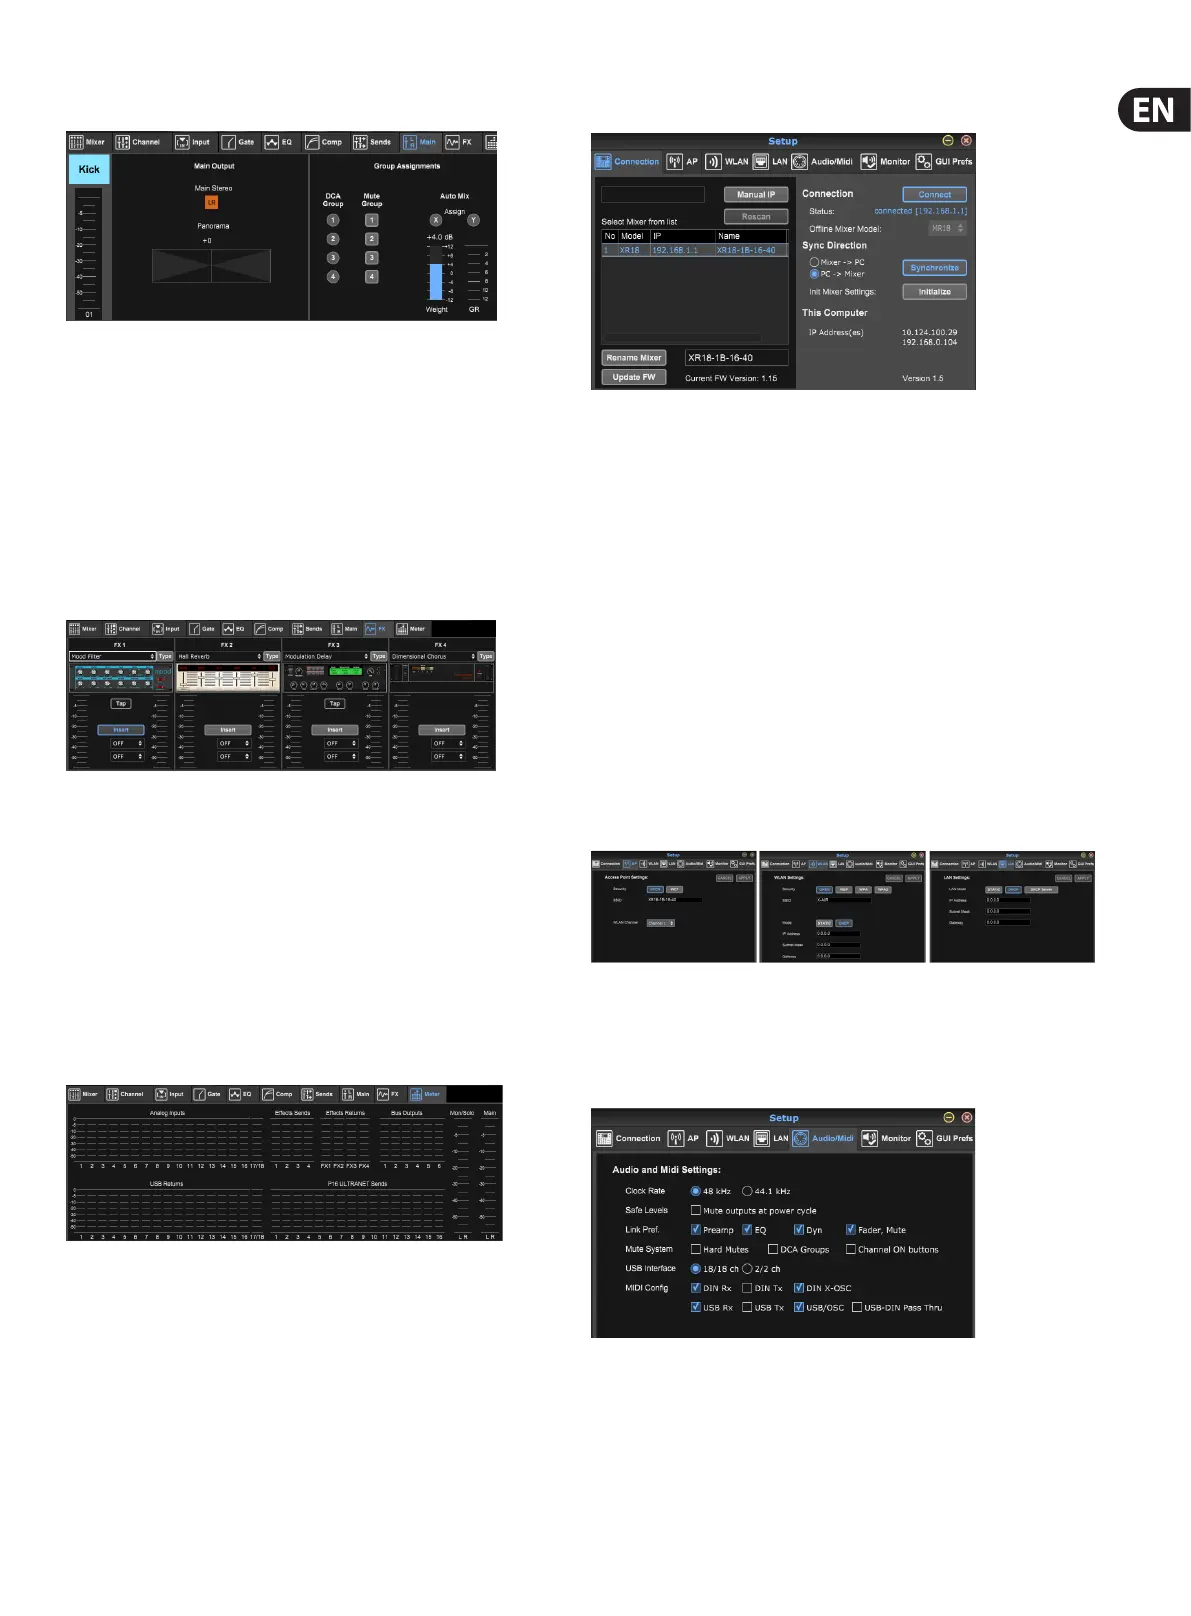
All of the controls on the Main tab are also accessible from the Channel tab.
The channel’s signal can be unassigned from the main output, which is useful
when recording sources that aren’t meant to be heard by the audience, or for
sources such as click tracks that are only meant for the performers’ mixes and
not the main speakers. The channel’s pan control can be adjusted and DCA,
Mute Group and Auto Mix assignments can be made as well.
Note - when applying groups processing to channels that are mixed on a
subgroup, the input channels would be unassigned from the Main LR to ensure
that only the processed subgroup is heard on Main LR.
7.9 FX Tab
The FX tab has 4 eect processors that can be routed and adjusted to various
channels and buses. A new eect can be selected by clicking the pull-down menu
where the current eect’s name is displayed, or by clicking the Type button which
also shows a graphic view of each eect. Once a desired eect is selected, click on
the graphic to bring up the edit window where the specic parameters can be
adjusted. If applicable, a tap tempo button is available to manually enter the rate
of delays or choruses. The button will ash to indicate the tempo. Click the Insert
button to engage the eect as an insert instead of side-chain. Select the channel
or bus where the eect shall be inserted with the pull-down menu. See the
Eects Overview chapter for more details.
7.10 Meter Tab
The Meter tab allows easy monitoring of all analog and digital levels,
including USB channels, Buses, Ultranet outputs, and the Main and Solo buses.
All meters show pre-fader levels except the Main LR which shows post fader
signal level.
7.11 Setup Menu
The Setup menu allows the wireless connection to be congured and allows
various global parameters to be selected and adjusted.
Connection Tab
After you connect your computer to the internal Access Point or external router,
the software will likely automatically recognize the mixer and ask to connect.
Once connected, a prompt will ask if you would like to transfer settings from
the mixer to PC, or from the PC to the mixer. Synchronization is generally
recommended to ensure proper parameter display, but you may also click
‘cancel’ if you don't want to sync settings. The Connection tab also allows you to
manually enter an IP address for situations where a network router is blocking
the broadcast from the app.
Note - save your settings to your computer’s hard drive before updating
the rmware!
By default, a generic name, such as MR18-1B-10-F3, will be assigned to your
mixer. This can be changed to something more specic and recognizable.
The console can also be initialized back to its factory state, but be aware that all
settings will be erased. We highly recommend using the Save function to store
any important scenes to your computer's hard drive.
Access Point, WLAN, LAN Tabs
The Access Point, WLAN and LAN tabs allow the wireless connection to be
congured. See the 'Network Connection' chapter for details.
Audio/MIDI Tab
The Audio/MIDI tab allows various global settings to be assigned. The console
can operate at 48 kHz or 44.1 kHz. Mute the main LR fader before changing clock
rates as pops can occur.
Engage the Safe Levels function to automatically mute the outputs during a
power cycle. This is particularly useful for situations where the mixer is always
connected to a PA system or monitoring setup.