-5.16-
5-1-11. Cap assy.
• Do not make mistake on the orientation of the Cap assy.
• Do not attach the Cap assy. with the Cap SP removed.
[Tools to be used]
• Phillips screwdriver (No.2 for M3 to M5)
• Small slotted screwdriver (for removing the cap housing U)
[Disassembling procedure]
1) Turn ON the power of the device and then move the slider to the center of the platen using
the JOG key.
2) Turn OFF the power supply switch, remove the SR cover, the YR cover.
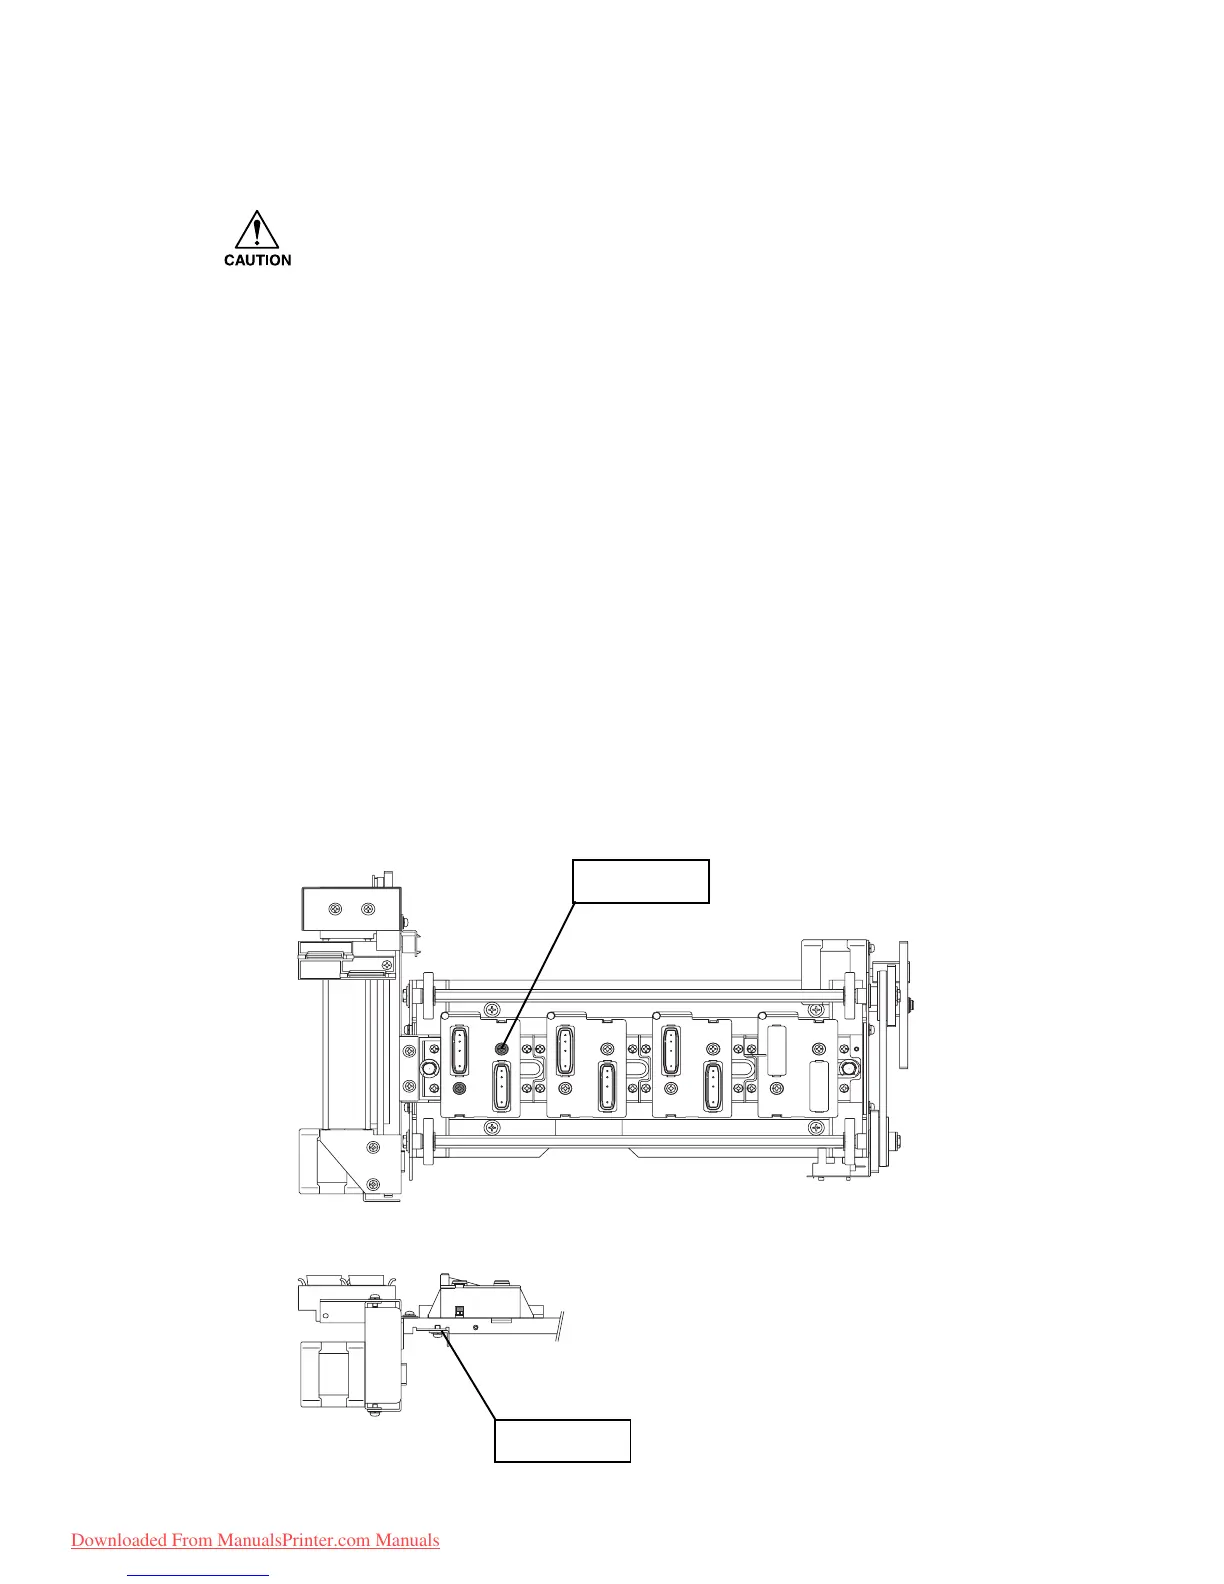
3) Remove the screw (TP3 x 12F) and then remove the cap housing U.
After removing the screw, you can remove cap housing U by pressing the fitting notch
using a slotted screwdriver.
4) Disconnect the tube (black) and pump tube (white) of the Cap assy. removed.
5) Remove the cap assy. and replace it.
[Assembling procedure]
• Assembly is reverse of disassembly.
TP3 x 12F
Fitting notch
Downloaded From ManualsPrinter.com Manuals
 Loading...


