– 4.6 –
4) Select the item to be corrected using the
or key.
Start plotting with the
ENTER
key.
To enter the correction value without performing
plotting, press the
key.
When the
key is pressed, jogging can be
performed using the
, , and
keys. Store the origin with the
ENTER
key
and start plotting.
• “ADJUST: TEST DRAW” only
plots the test pattern that is used to
check the adjustments. There is no
place to enter correction values.
• If “ADJUST: FINE” is selected,
refer to the section “If FINE has
been selected” below.
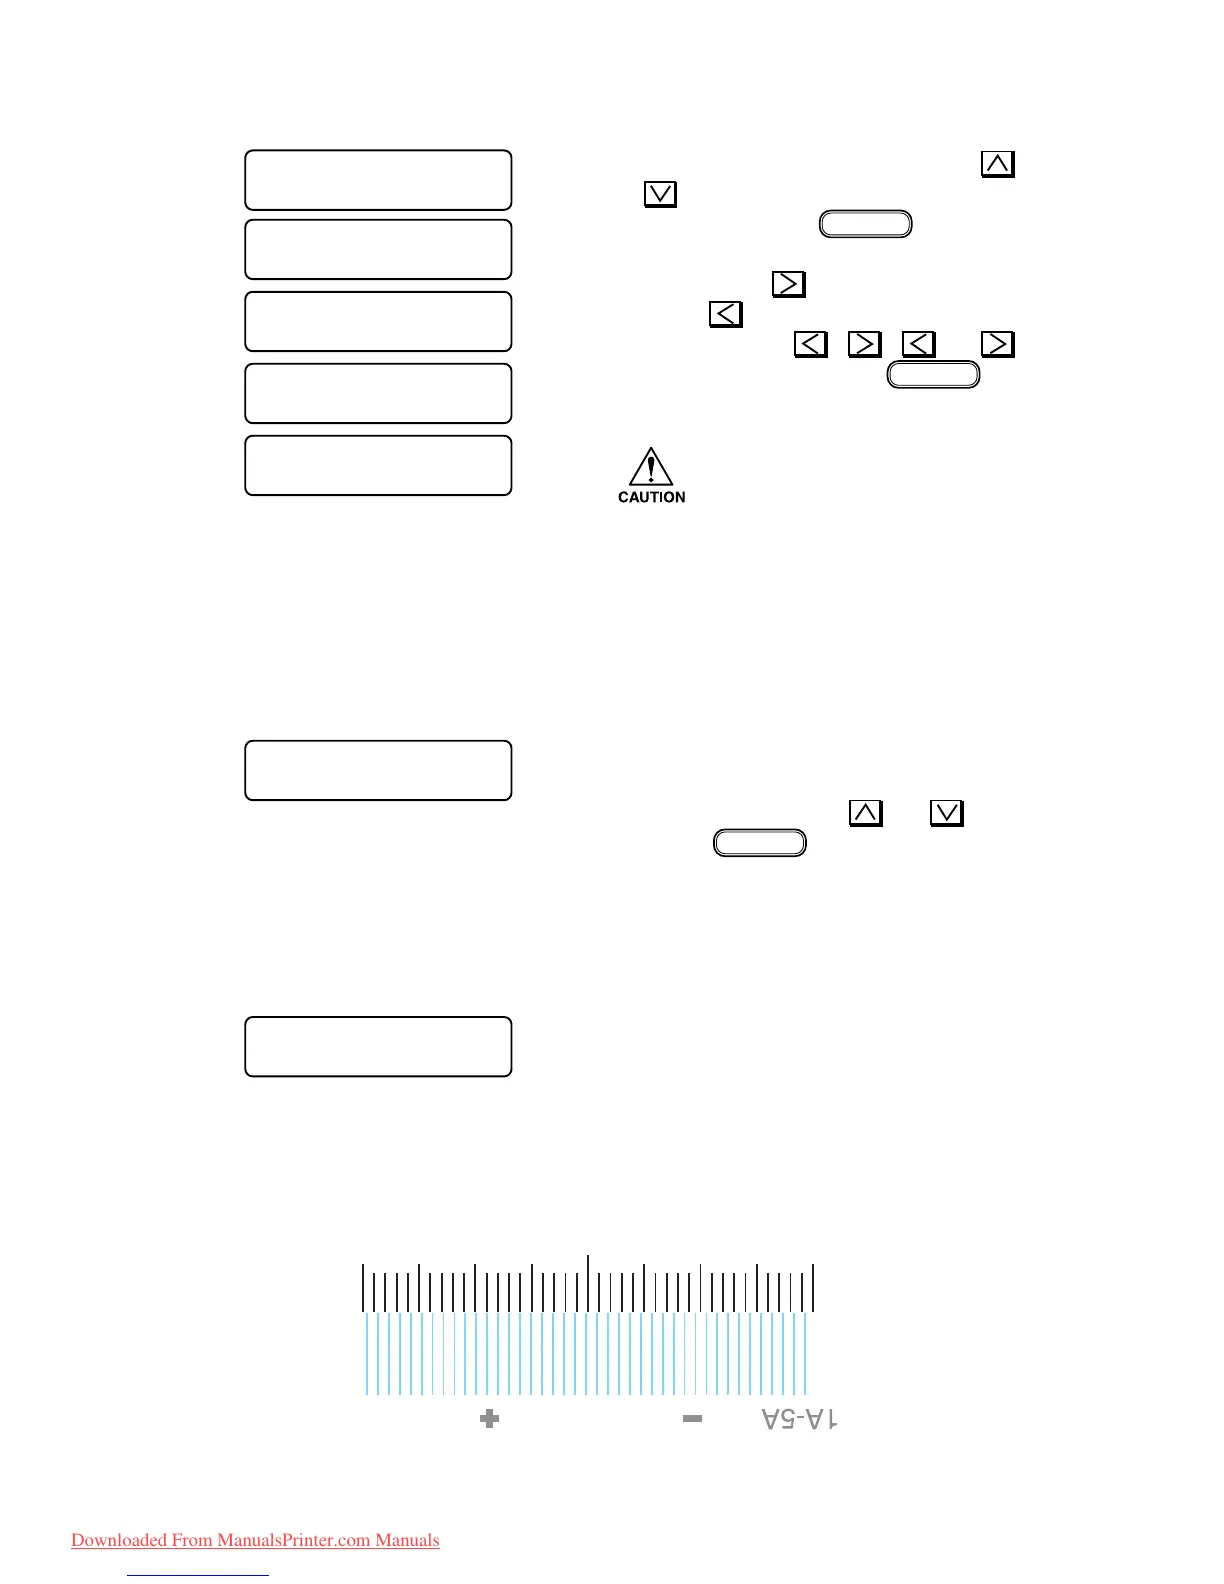
• Enter such a value tha the right and
left protrusions of the plotted pattern
agree with each otehr.
5) When plotting has been completed, correction
value input mode is entered.
Input the values using the
and keys.
Then press
ENTER
key to enter the values.
In the follow way, enter the correction values for
between heads 1 and 2, between heads 1 and 3,
between heads 1 and 4, between heads 1 and 5,
and between heads 1 and 6.
6) Then, enter the following correction items in
the same manner.
•Y SINGLE
•Y REPEAT
•Y BI-D
#PRN. adjust2
Adjust : Y Si.
#PRN. adjust2
Adjust : Y Re.
#PRN. adjust2
Adjust : Y Bi.
#PRN. adjust2
Adjust : TSTprint.
#PRN. adjust2
Adjust : FINE.
#ADJUST
Y Si. 1 - 2 : 0 . 0
#ADJUST
Y Si. 1 - 2 : 0 . 0
Downloaded From ManualsPrinter.com Manuals
 Loading...


