2-22 Measure Preset
Descriptions of items and functions are shown in table below.
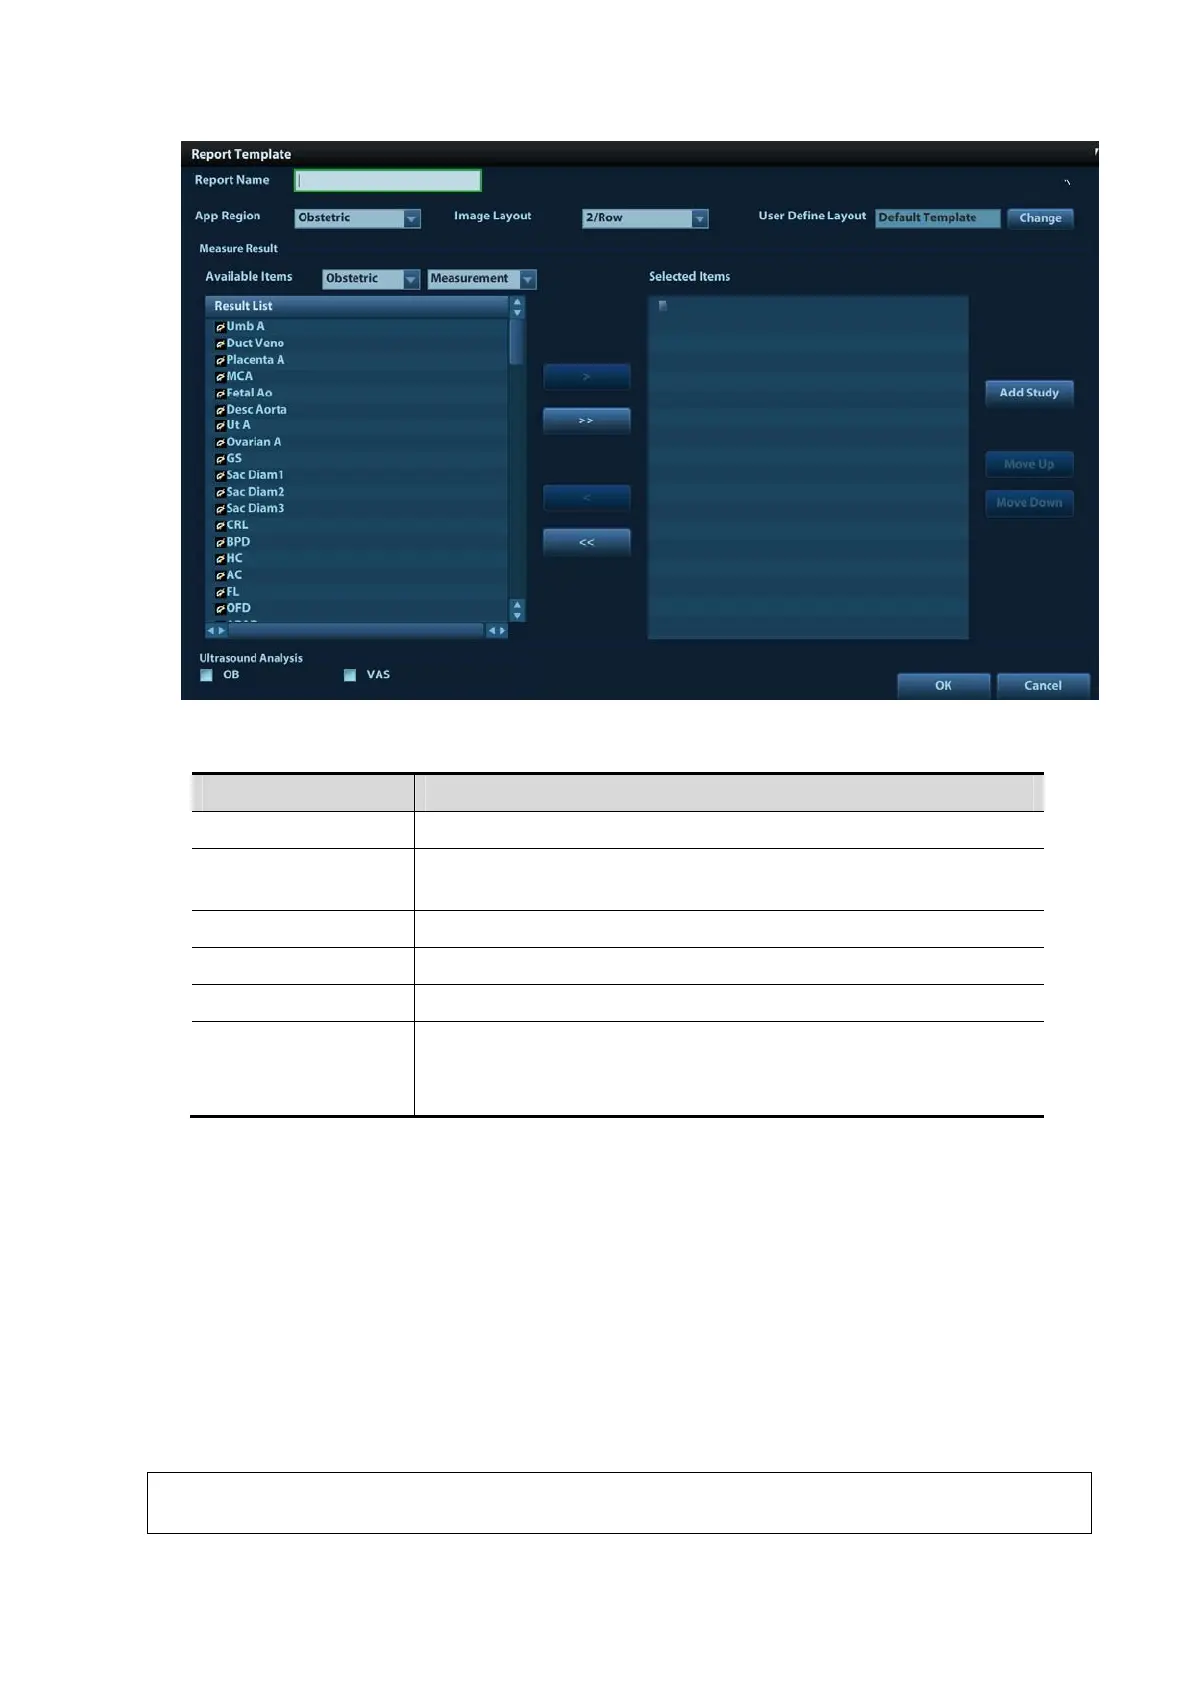
Item Description
Report Name Name of the report template.
Application Region
Select the application region. Patient information items displays
in the report are different for each category.
Image Layout Select numbers and arrangement of images display in the report.
User Define Layout Select the template for the user-defined layout.
Measure Result Set the measurement items displayed in the report.
Ultrasound Analysis
Whether to display the anatomy information.
The corresponding anatomy options will appear when clicking the
[Anatomy] button in the report.
3. Select an application category from the drop-down list under [Available Items].
4. Select [Measurement], [Calculate], [Study] or [All] from the drop-down list under [Available
Items], the corresponding items appear in the list.
5. Adding/ Removing items.
Use the [>] or [>>] button to add items to the [Selected Item] list.
Only tools appear in the right column and are completed in the ultrasound exam can be
displayed in the report.
For details, refer to “Add/ Remove the item” in section "2.4.1 General Measurement Preset".
6. Add the study.
Click [Add Study] and enter the study name in the dialog box popped up and click [OK].
New added study appears in the [Selected Item] list.
Tips: Select an item in the [Selected Item] list and click [Add Study], the new added study
displays as the sub-study of the selected one.