Transducers and Biopsy
12-20
3) Screw the pinch nut of the needle-guided bracket to confirm that the needle-guided
bracket is properly installed on the transducer.
4) Adjust the adjusting nut of needle type to a desired shift and screw the nut to fix the
guiding block.
5) Close the V-shaped cover and insert the needle to the guiding hole.
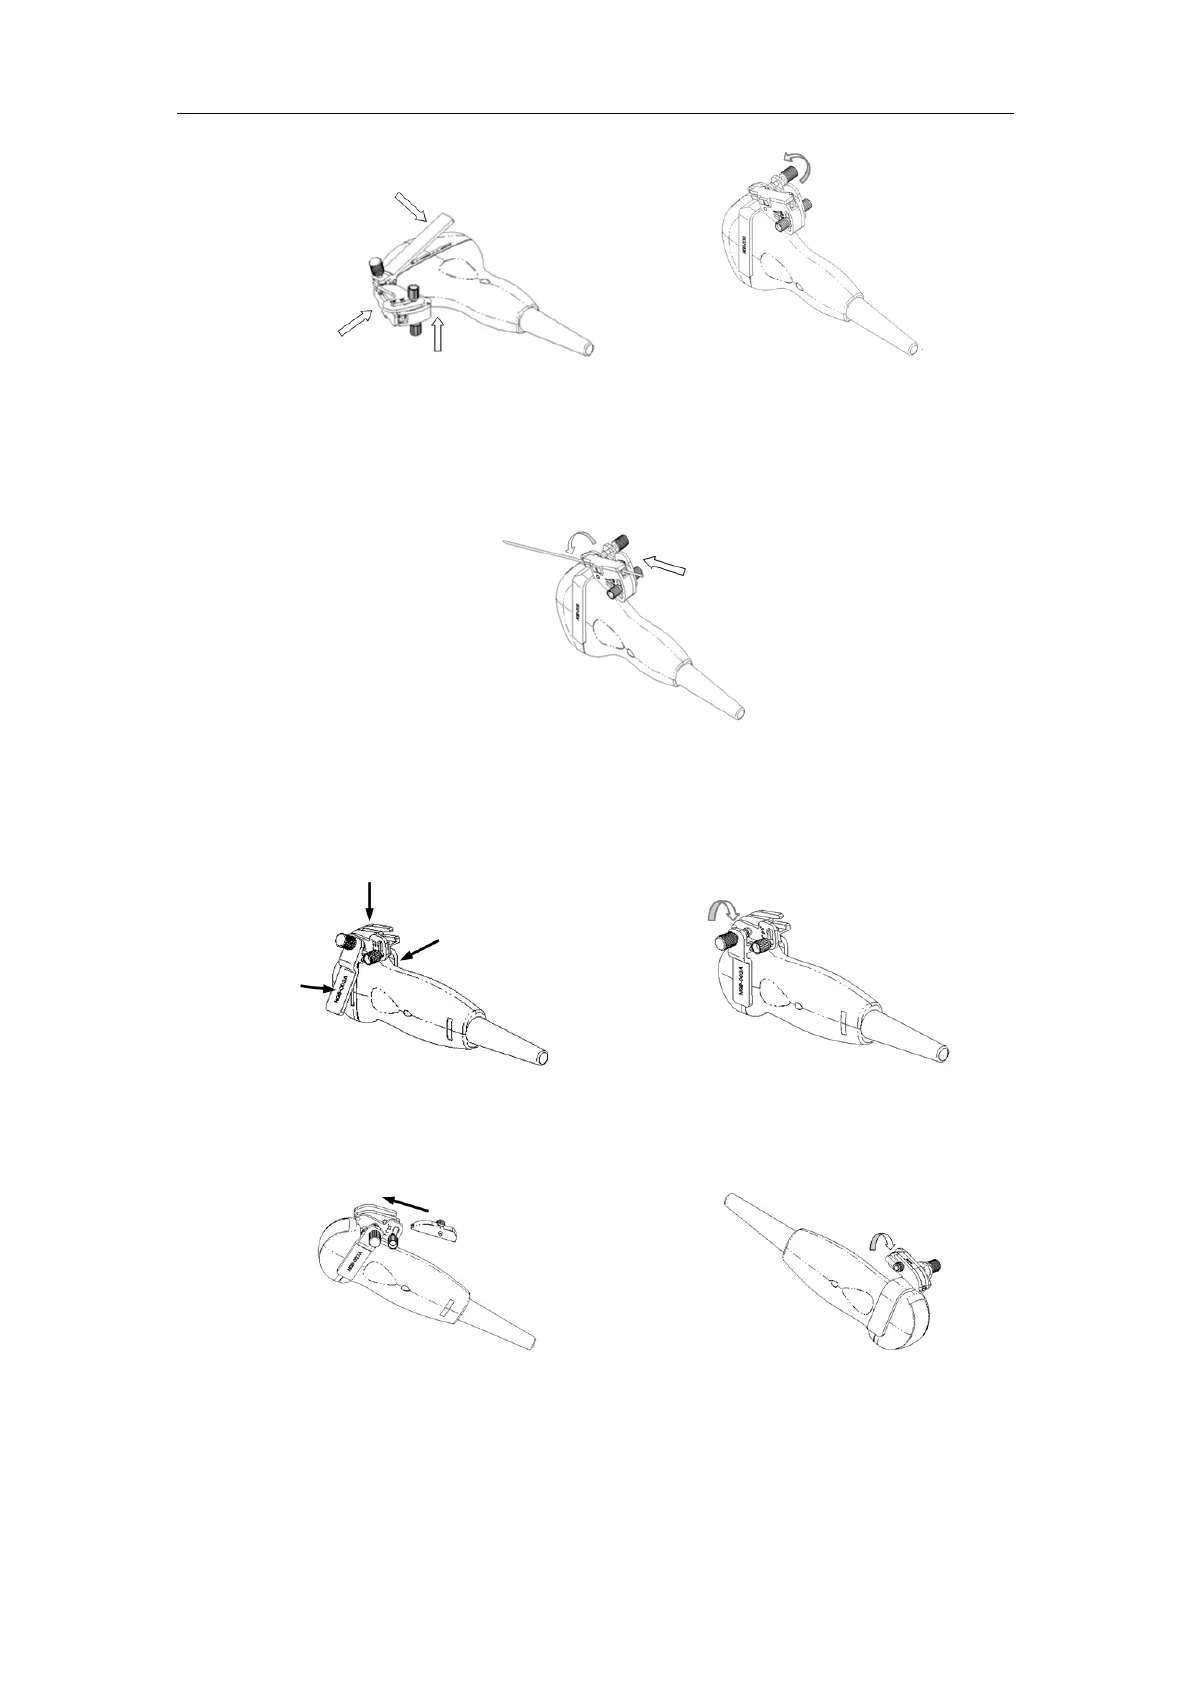
NGB-003 metal/needle detachable needle-guided bracket
1) Put on the transducer cover.
2) Select a proper needle-guided bracket, and match the groove with the tab of the
transducer respectively. Mount the bracket onto the transducer.
3) Screw the pinch nut of the needle-guided bracket to confirm that the needle-guided
bracket is properly installed on the transducer.
4) Select a proper guiding block and push it into the groove above the angle block.
5) Screw the nut of the block to secure the block.
6) Insert a biopsy needle with the same specification as that of the guiding block into
the hole of the guiding block.