25
Front Panel Menu Operation
5.1.5 Verification Count
This option reports on any pre-alarmed devices that are set to verification mode. This report
lists each time a device goes into pre-alarm status. If no devices are set to verification mode,
then no report appears.
Step 1: Select Verification Count
1. Use and to scroll the cursor to “Verif
Count”.
2. Press to select the Verification Count
submenu.
Step 2: Print or view the verification count
• To print the Verification Count report to the
printer, press when the cursor flashes
beside “Printer”.
• To view the Verification Count report on the
screen, press then to select
“Screen”. Follow the instructions below to
navigate the Verification Count.
Step 3: Select node, card, or loop
1. Use and to scroll through the
numbers.
2. Select the node number, then press .
3. Select the card or expansion number, then press
.
4. Select the loop or adder number, then press .
• You can also choose all nodes, cards,
expansions, loops or adders by selecting ALL.
If the display shows...
...no verified devices were found. The display returns to
the Reports menu.
- Reports Menu -
2 Current Levels
4 Sensitivity lev
5 Verif Count
- Report to -
1 Printer
2 Screen
Select Node, Card
& Loop
Node:ALL
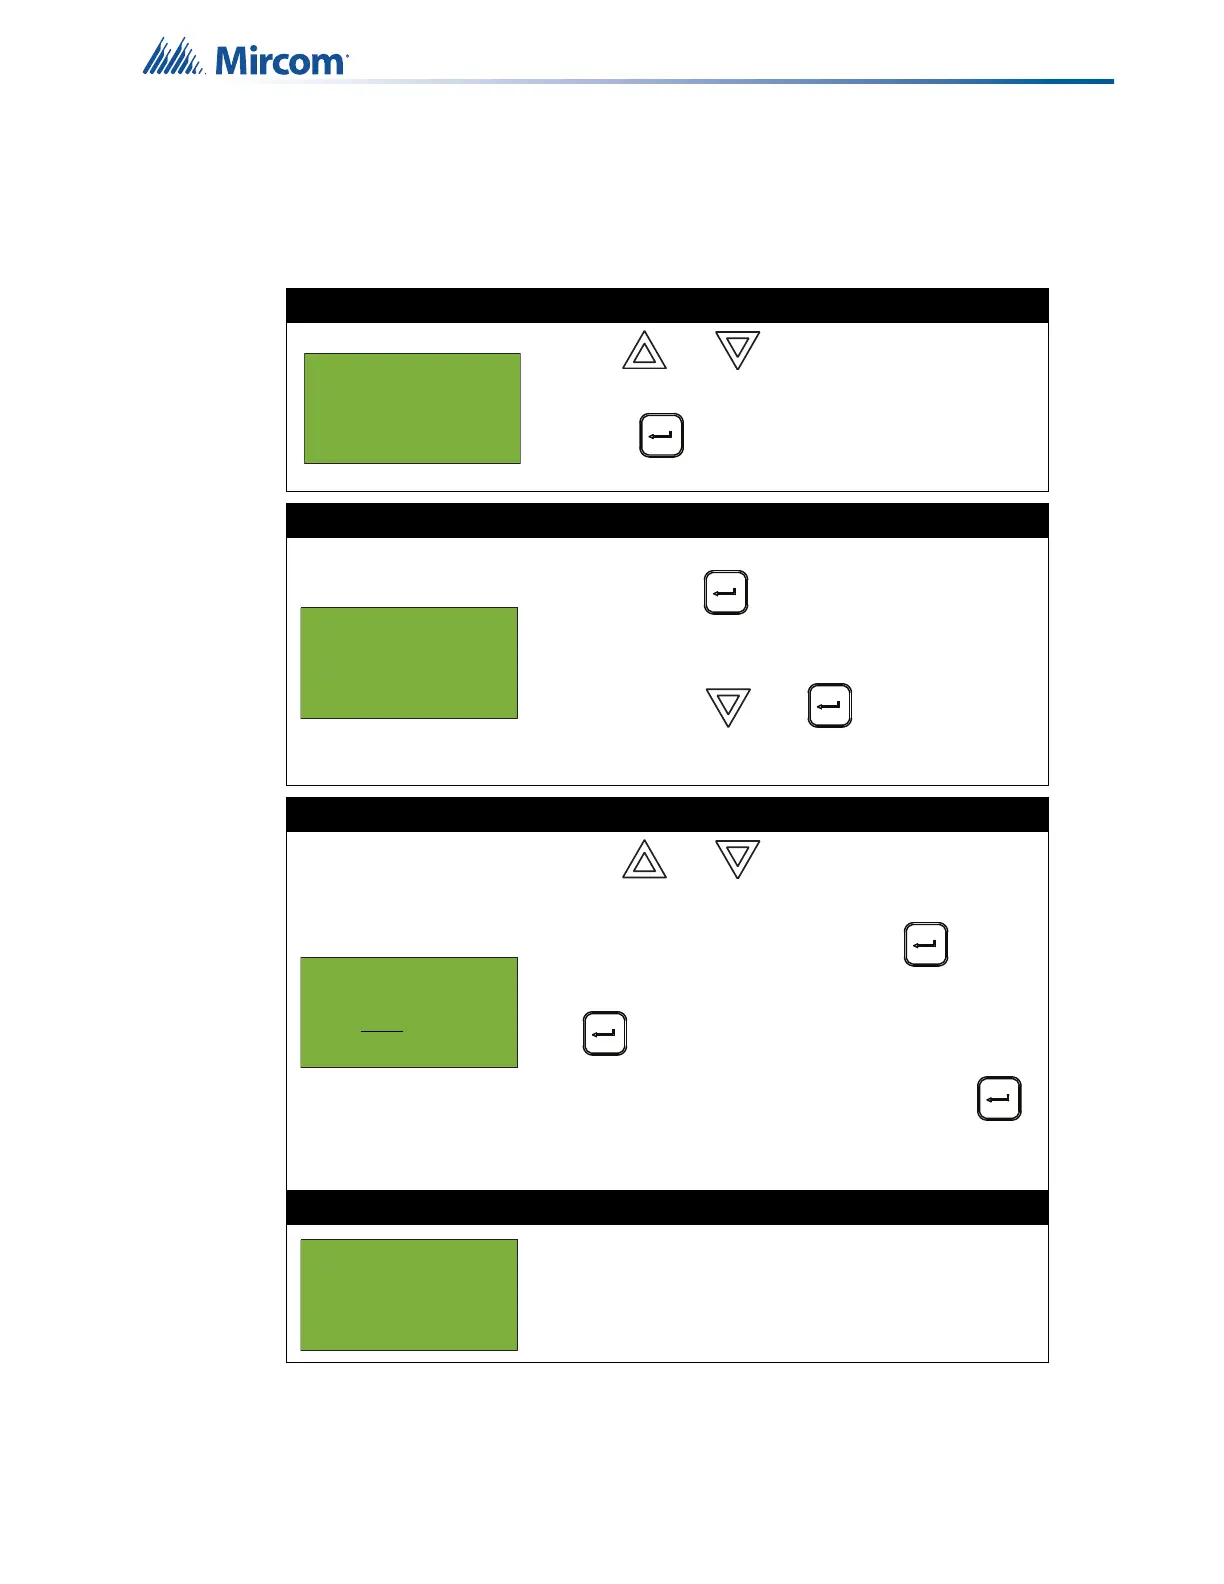 Loading...