40
9.1 Records tension data
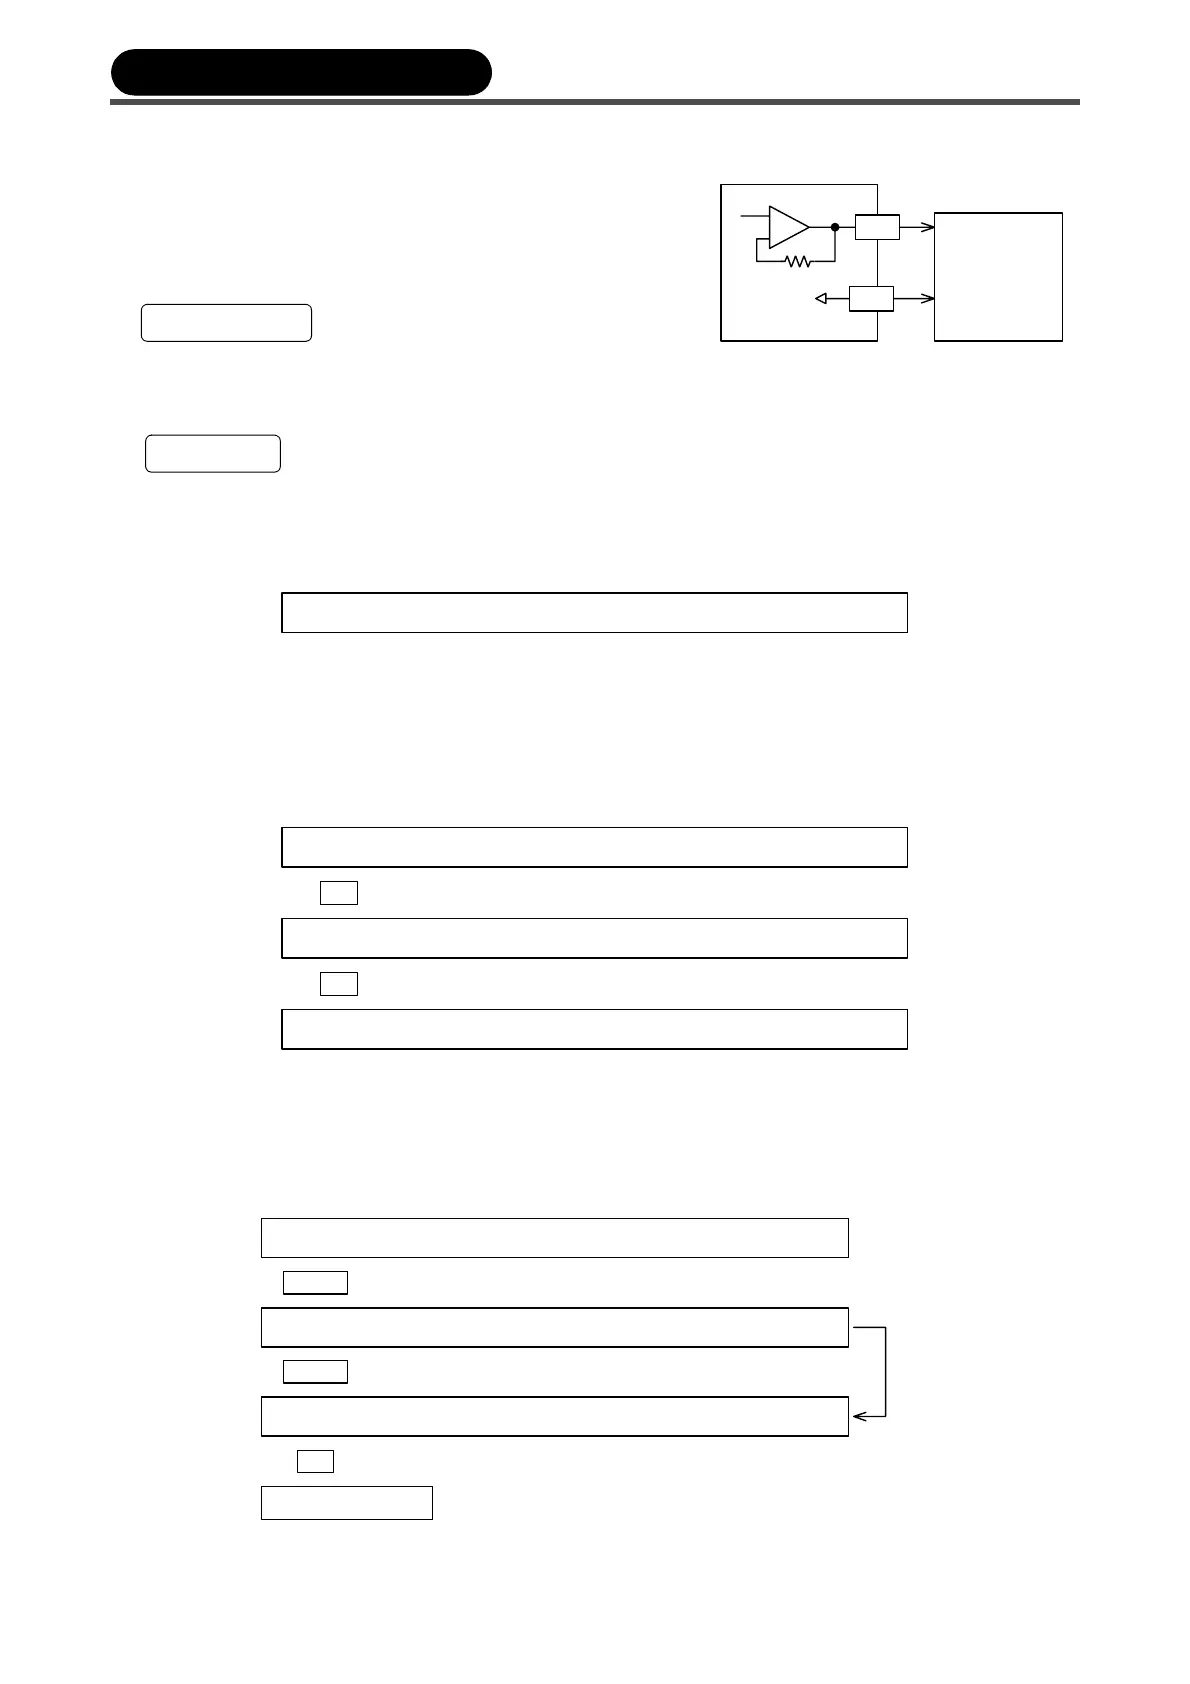
Corresponding to the tension detection from zero to full scale,
the output from 0 to 5V is generated. The full scale tension
is set by the parameter.
• Connect this signal between TMO and AOC.
• The load resistance should be 1 kΩ or greater.
• The output filter can be adjusted to 1/4, 1/2, 1, 2 or 4 seconds by the parameter.
• To change the response characteristic of the TMO tension monitor output, select "TMO FLT." within
"TENSION" on the engineer screen. Increasing the value slows the response characteristic.
9.2 Monitors input and output condition
To check condition of the contacts and analog data input and output, use the "CONTACTS" screen or similar
one within "OTHERS" on the engineer screen.
9.3 Returns all settings to the initial factory settings
To reset all the settings to the factory settings, use the "MEMORY INIT." screen within "OTHERS" on the
engineer screen. Note that the data having been established will disappear.
TMO
AOC
Tension meter
recorder
Load
resistance
1k Ω or more
0~5V
1. Connection
2. Setting
T O F L T . S E T T M O O U T P U T F I L T E R
1 / 4 s : 1 / 2 s : 1 s : 2 s : 4 s
M
C N T A C T S C O N T A C T S M O N I T O R
M C 1 : M C 2 : M C 3 : M C 4 : M C 5 M C 6 : Z T:
O
M N I T O R 1 S I G N A L I N P U T M O N I T O R
A I 1 → # . # V : A I 2 → # . # V : A I 3 → # . # V
O
M N I T O R 2 S I G N A L O U T P U T M O N I T O R
S A → # . # V : T M O → # . # V : N R O → # . # V
O
T
T
( Contact input / Output monitor screen )
( Analog input monitor screen )
( Analog output monitor screen )
M M O R Y I N I T .
P U S H < E N T E R > O R < C A N C E L >
E
M M O R Y I N I T . S T A R T
P U S H < E N T E R >
E
M M O R Y I N I T . C O M P L E T E
S T A R T T H E I N I T I A L T U N I N G
E
ENTER
ENTER
Initial setting screen
T
After several second
After completing the initialization, refer to page 8 and after to
re-establish the initial settings.
9. Other functions