CONFORMANCE TESTING
80
1.0 Power Testing
1.1
Unscrew the battery cover from the UUT and remove the lithium ion battery.
1.2
Connect TF-0568 to the battery terminals of the UUT, with a current meter in series to
measure current flow.
1.3
Insert the battery removed from the monitor into TF-0568.
1.4
With the monitor in the off state, the current draw (off current) should read < 350uA. Record the
test result.
1.5
Configure the current meter to the 10A range and press the “on” button on the monitor
to
power up the device.
1.6
Once the monitor powers up and enters the main screen, the current draw (on current) should
read as follows (depending on the model). Record the test result.
S12 Patient Monitor <1.6A
S19 Patient Monitor <2.3A
1.7
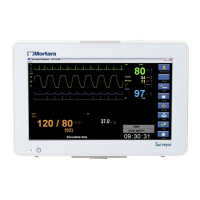
Verify the battery icon appears in the lower right section of the monitor.
1.8
Connect the external power supply (15 VDC) to the DC power input located on the right side of
the monitor. The current flow should reverse polarity and begin to charge the battery at a rate
of 2000mA or less (depending on the condition of the battery).
The charging current will be less when the monitor is in the on state versus the off state,
particularly for the S19 model.
1.9
Verify the AC Power LED, located in the lower left corner of the monitor is illuminated.
2.0 Functional Testing
2.1
Touch Screen calibration
2.1.1 Insert TF-0564 USB Test Harness Drive into the USB patient connector port of the UUT as
shown below: